Introduction

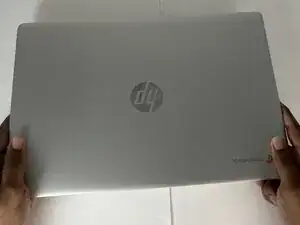
If you are experiencing charging issues or systems not generally connecting via USB port use this guide to replace your HP Chromebook 15a-nb001dx's USB port.

The USB port is in charge of connecting external devices to your computer. If you notice any problems with charging or some things that are plugged in to the USB port not connecting you should consider replacing the USB port.

When replacing the speakers make sure the device is powered off to ensure safety of you and internal components.

  1. aPrPUuaLUSnd2fVH
    aPrPUuaLUSnd2fVH
    MdnpfsJJpxmLfneY
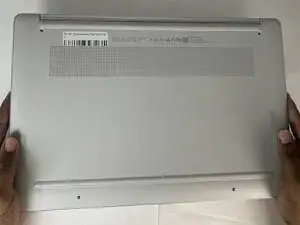
    • For your safety, unplug all peripheries, discharge the battery below 25%, and power down your device before beginning disassembly.

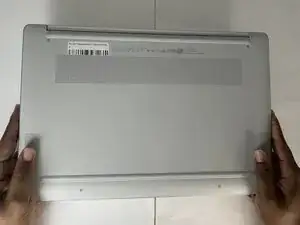
    • Lay the device down so the lower case is facing up.

  2. h23XgMhsGBoZChwM
    h23XgMhsGBoZChwM
    mpkBW6JBpce5ySww
    45ydgLME6DvnYkEq
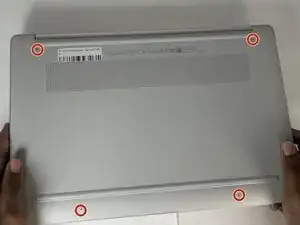
    • Use a Phillips screwdriver to remove four 6.6 mm screws that secure the lower case.

  3. h5EqGGIaEmOZrR2p
    h5EqGGIaEmOZrR2p
    YJfKlgYQOXodTNBZ
    yBdZ35cshFLFg3bh
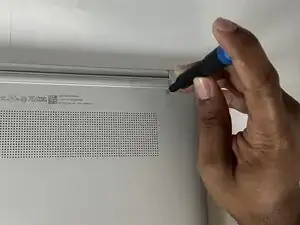
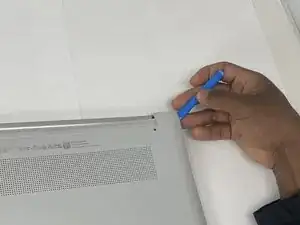
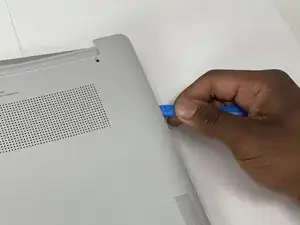
    • Insert an opening tool into the seam between the lower case and the chassis, near the hinge.

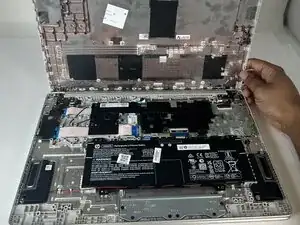
    • Pry around the entire perimeter of the lower case until it fully releases.

    • Remove the lower case.

  4. MR6catAekhYuPgyL
    MR6catAekhYuPgyL
    31AEhqyuH4xpsFyX
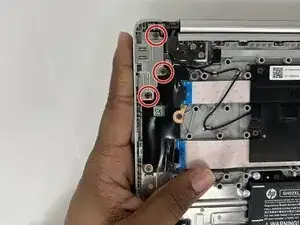
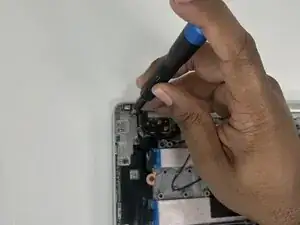
    • Use a Phillips #0 screwdriver to remove the three 4.1 mm screws that secure the metal bracket.

  5. JWhgQFjUKJyhvIJB
    JWhgQFjUKJyhvIJB
    2f4YIYOKu12kV5uY
    RERMY1blIboEUFGh
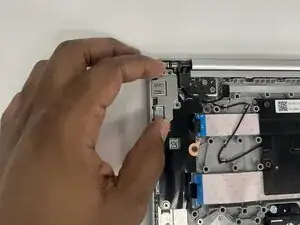
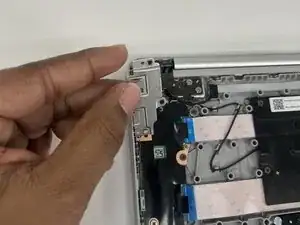
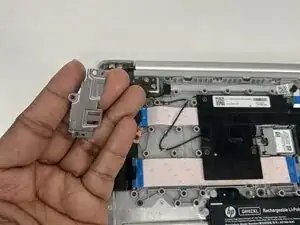
    • Grasp and remove the metal bracket.

  6. IB2iKJkqvJwaOqqF
    IB2iKJkqvJwaOqqF
    BdBVDLaVbJfmHWMY
    ZSlGHV56OSPFNhUL
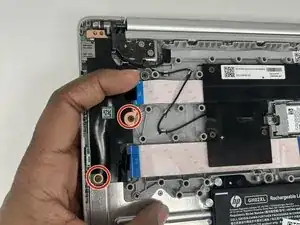
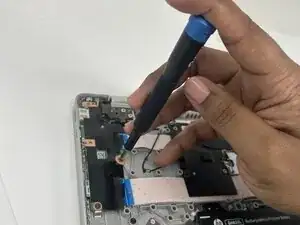
    • Use a Phillips screwdriver to remove the two 4.1 mm screws that secure the I/O board.

  7. uFZc62NFFSGBsFid
    uFZc62NFFSGBsFid
    UMJPLbqGHHinonnP
    oRZOJYgJvvMREElE
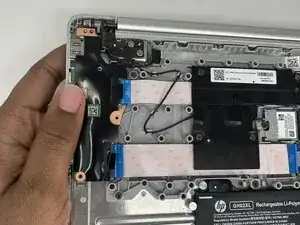
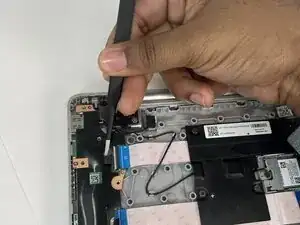
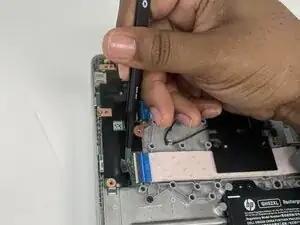
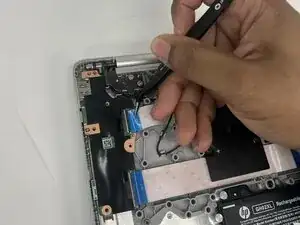
    • Use tweezers to fold back the black adhesive that covers the upper connector.

  8. eaIF1UMBujpk2eyU
    eaIF1UMBujpk2eyU
    LasCghbMYVeNZV4d
    14ZbfsBQEmH5cHNT
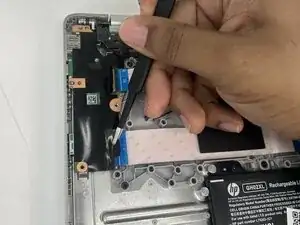
    • Use tweezers to fold back the black adhesive that covers the lower ribbon cable.

  9. UUJvXeacWfQSMXIC
    UUJvXeacWfQSMXIC
    rals6jlCRx3AviYm
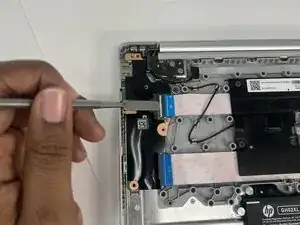
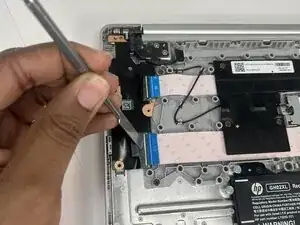
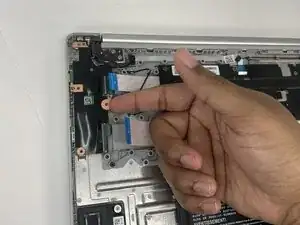
    • Use a spudger to flip up the black ZIF locking flap that secures the upper ribbon cable.

  10. G3UnWDNk6RWXD1E5
    G3UnWDNk6RWXD1E5
    Q5othXwvkTg6pEMC
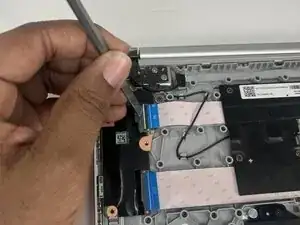
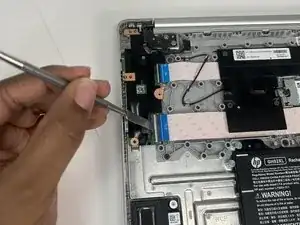
    • Use a spudger to flip up the black ZIF locking flap that secures the lower ribbon cable.

  11. caffWloAdfXKuvMD
    caffWloAdfXKuvMD
    B5BFZH6TByJPFZRP
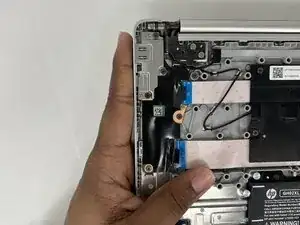
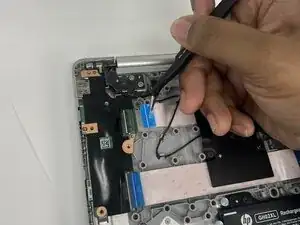
    • Use tweezers to grasp the upper ribbon cable's blue pull tab, then pull the ribbon cable directly out of its socket.

  12. OfXBfJDcGXnqQDs6
    OfXBfJDcGXnqQDs6
    soZCTFQFFBHOEd24
    QxgY1sCmchaiQYVB
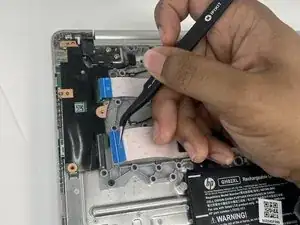
    • Use tweezers to grasp the lower ribbon cable's blue pull tab, then pull the ribbon cable directly out of its socket.

  13. KwWiGEnKMCMrWZEj
    KwWiGEnKMCMrWZEj
    XQFAkEmL2mD3XKwe
    CSheJAhF5eJeV2rV
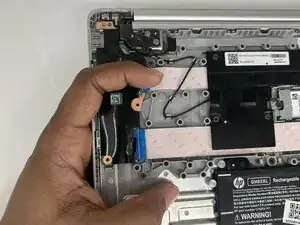
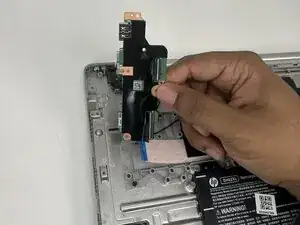
    • Lift the I/O board up and out.

Conclusion

To reassemble your device, follow the above steps in reverse order.
Take your e-waste to an R2 or e-Stewards certified recycler.
Repair didn’t go as planned? Try some basic troubleshooting or ask our Answers community for help.
Sahid

Member since: 19/02/25

957 Reputation

0 comments