Introduction
These instructions will teach you how to replace your LCD screen.
Tools
-
-
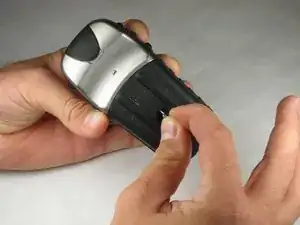
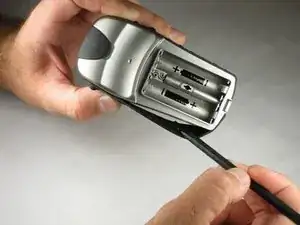
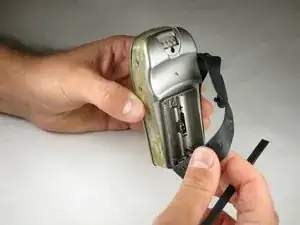
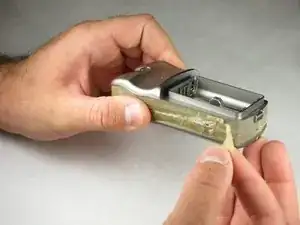
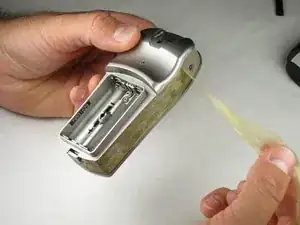
With the wedge side of a spudger (or a small, flat head screwdriver), remove the black rubber case support from the device body.
-
-
-
Split the front and rear panels by inserting a small pointed tool (such as a pen point or a screwdriver tip SL1.5) in the 5 plastic tabs along the sides of the device.
-
-
-
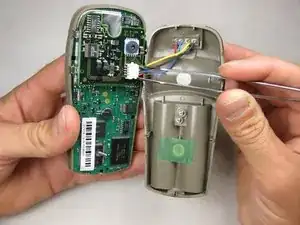
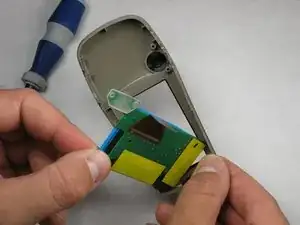
With tweezers (or your fingernails), carefully disconnect the wires between the PC input and the motherboard.
-
-
-
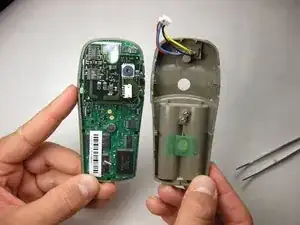
The motherboard should look like this. If it is dirty, gently use a small paintbrush to clean it of dust.
-
-
-
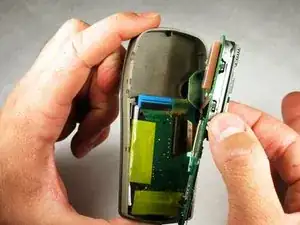
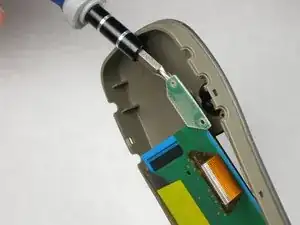
With the pointed end of a spudger (or the small end of a Philips #00 screwdriver), gently unhook the small black tabs by pressing into the interlocking hooks that are sunk into the white wire connector.
-
Gently pull the wire ribbon from the white connector.
-
-
-
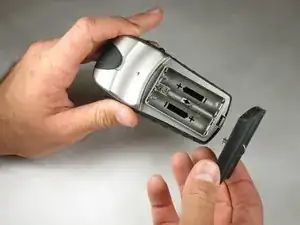
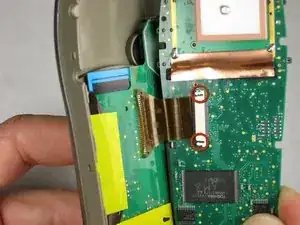
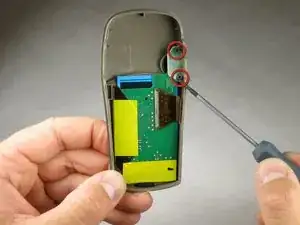
After removing the motherboard, locate the two #1 Philips screws.
-
Carefully remove both screws.
-
-
-
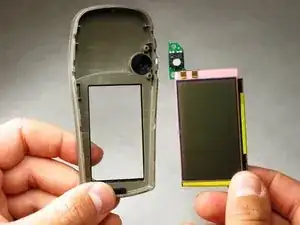
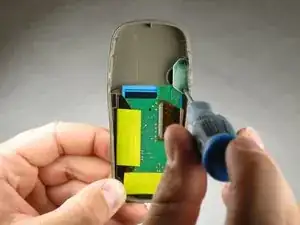
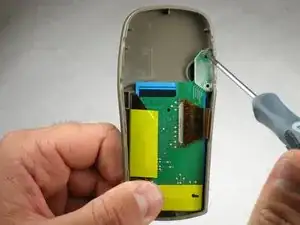
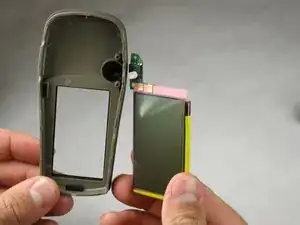
Gently remove the LCD screen from the case by lifting the area that held the two #1 Philips screws.
-


To reassemble your device, follow these instructions in reverse order.
One comment
where can I find the LCD test