Introduction
This guide will show you, in easy-to-follow steps, how to replace the LCD Screen. It seems like a lot of work, but don't worry because it isn't.
-
-
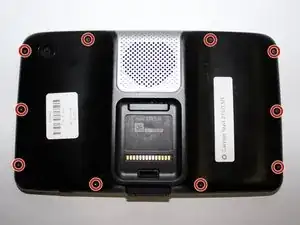
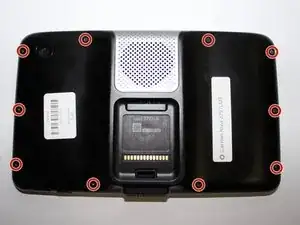
Using your T-6 Torx Screwdriver, unscrew the ten 2.38 mm torx T-6 screws from the back of your GPS.
-
-
-
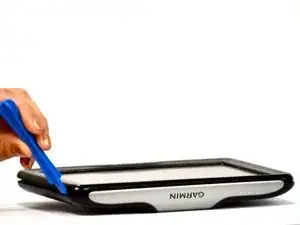
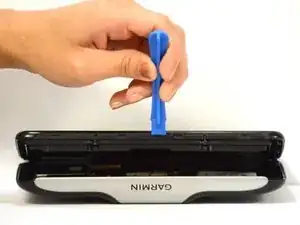
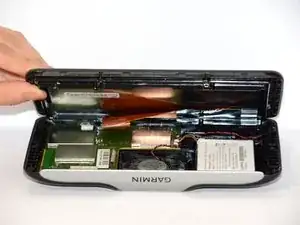
Using the biggest plastic opening tool, pry open the GPS from the sides. You should now be able to see everything inside the GPS.
-
-
-
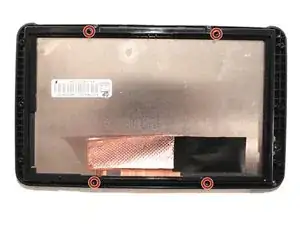
Using your T-4 Torx Screwdriver, unscrew the four 2.38 mm Torx T-4 screws from the back of your screen.
-
-
-
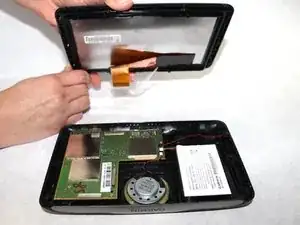
Now pulling up on one of the corners, bring the top half of the casing out of the bottom half.
-
-
-
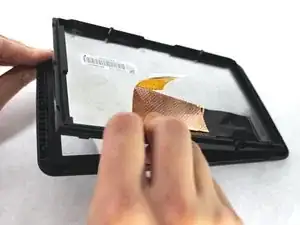
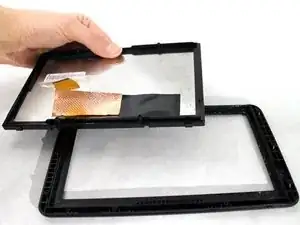
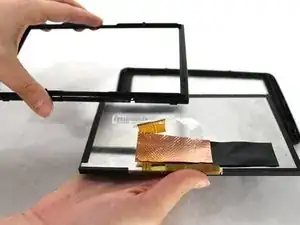
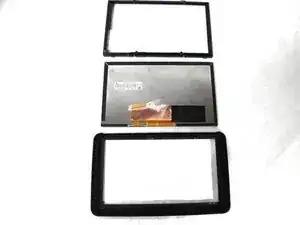
Now remove the front casing and back casing away from the screen. You will end up with three separate pieces.
-
To reassemble your device, follow these instructions in reverse order.
2 comments
Instructions lacking. Go here, https://www.youtube.com/watch?v=iMotyMvC... . Not the exact same Garmin, but virtually the same and worked much better than the instructions here!!
allen1 -
Still can't get my older Garmin back in working order.
where can i take it for someone else to re-cycle it as I have a brand new one .