Introduction

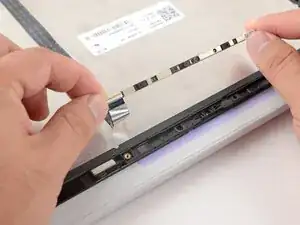
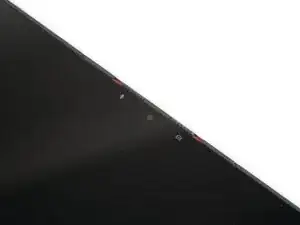
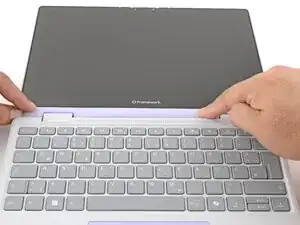
Follow this guide to remove and replace the webcam in your Framework Laptop 12.

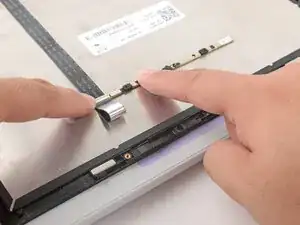
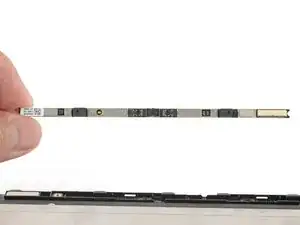
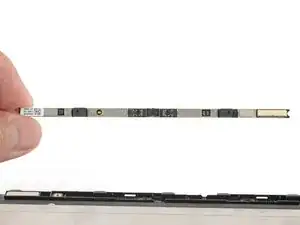
The webcam is a thin circuit board that houses the front-facing camera and two microphones. If your video calls are blurry, or you sound muffled in voice chats, you may need to replace the webcam.

You'll encounter some component terms in this guide:

  • The Display Cover is the plastic bezel strip below the screen.
  • The Top Cover is the plastic shell that houses the display.
  1. ENj2nRYJffBN2QaN
    ENj2nRYJffBN2QaN
    YjlDgdAsDVIlgqUJ
    GRNSY6XxqDVbUVQJ
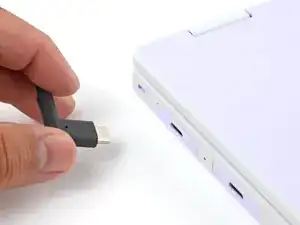
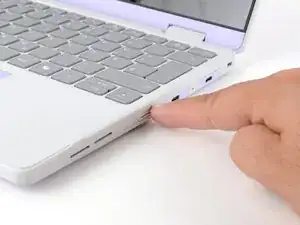
    • Before you begin repairs, unplug your laptop and shut it down from the operating system. This ensures that the laptop isn't in standby/suspend mode.

    • The indicator LEDs along the edges should be unlit. The laptop should be silent.

    • If you accidentally turn on the laptop during repair, hold the power button down for 10 seconds to shut it down.

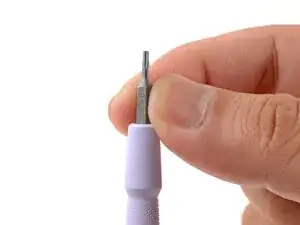
    • Make sure your Framework Screwdriver has the T5 Torx bit (labeled as T-5) facing outwards. If it's not, pull the bit out and flip it.

  2. OOFrpl5xH2AvEkp4
    OOFrpl5xH2AvEkp4
    w153OGXCgYY3D1cw
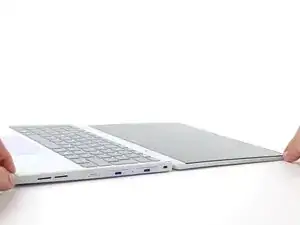
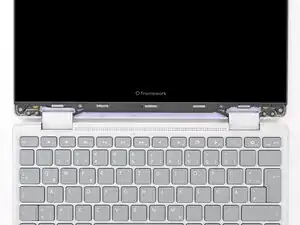
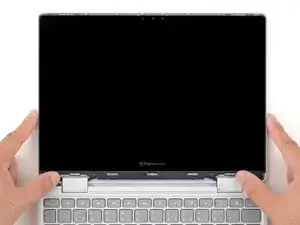
    • Open the laptop lid so that both the screen and the base lie flat on your work surface.

  3. HgN3jUq3h5nkMFtJ
    HgN3jUq3h5nkMFtJ
    NHDEkhNEZxjoRPXI
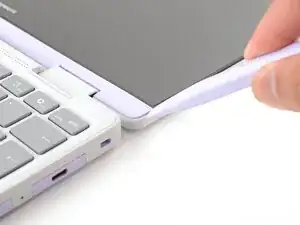
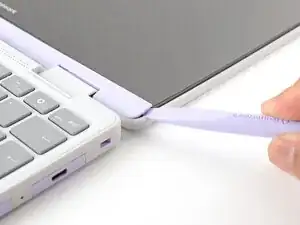
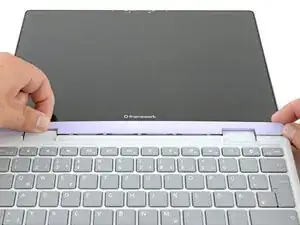
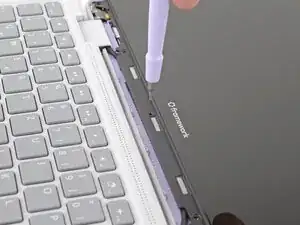
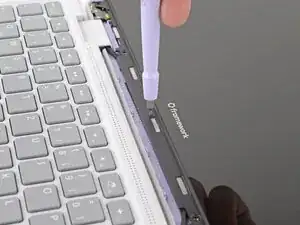
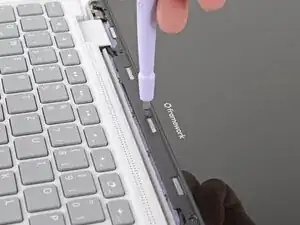
    • The Display Cover is held in place with magnets along the top edge and clips along the remaining edges.

    • Use the flat end of your Framework Screwdriver to pry up the right edge of the Display Cover.

  4. Z6NtN1UWLrp1fSr4
    Z6NtN1UWLrp1fSr4
    Tor4QSIuRTmBK1Vx
    mREVqmn4SYUx34cQ
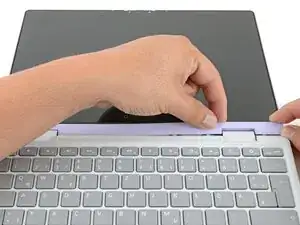
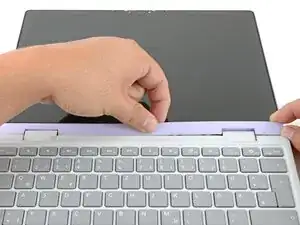
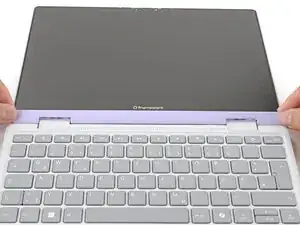
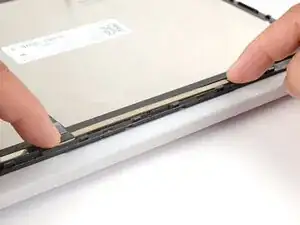
    • Slide your fingers under the top edge of the Display Cover to release it from the laptop.

  5. ZsBb2QHLsvSWPDII
    ZsBb2QHLsvSWPDII
    3oNUPWr1XtQtrKRo
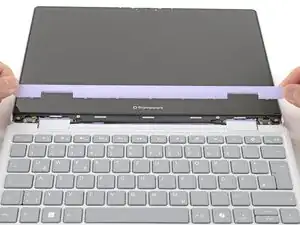
    • Remove the Display Cover.

  6. CifwEnOhxYhPi5hM
    CifwEnOhxYhPi5hM
    yEBGvwu3mZvOh4YJ
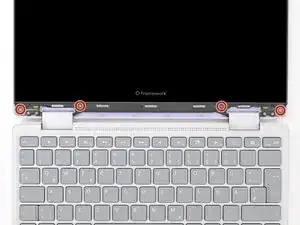
    • Use your Framework Screwdriver to remove the four 3.3 mm‑long T5 Torx screws securing the display to the Top Cover.

    • These screws are not captive. Store them in a safe location for reassembly.

  7. PnBNt2m43FxSjRUK
    PnBNt2m43FxSjRUK
    xltsLidEBpXR6qBY
    wSrCYK6rPtYdU2GE
    • Insert the bit end of your Framework Screwdriver into the small hole on the display, below the Framework logo.

    • Slide the display down towards the hinge edge to release the tabs holding the top edge of the display in place.

  8. iTwhaChQLwHpgOwL
    iTwhaChQLwHpgOwL
    O5UnQduSJtXojWJo
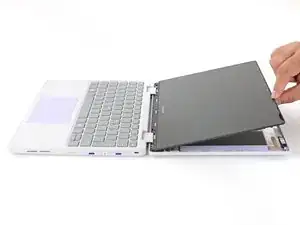
    • Use your fingers to lift the top edge of the display from the Top Cover.

  9. 3kmBg3a3vW6pVlDC
    3kmBg3a3vW6pVlDC
    DBFKHHWaaBtFhWgH
    MlOCoIEHrVNuXFmu
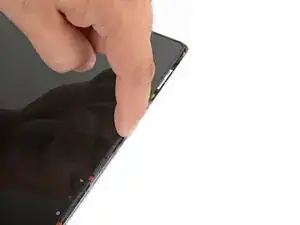
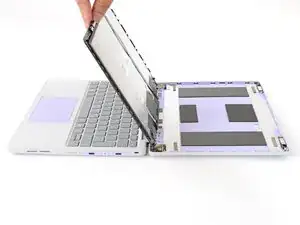
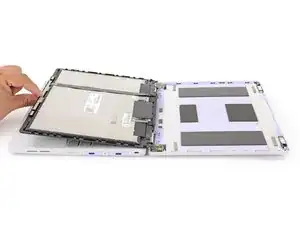
    • Use your fingers to carefully swing the display over so it lies on top of the keyboard.

  10. YmSlogSc4dMmcyKr
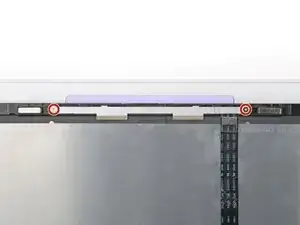
    • Use your Framework Screwdriver to remove the two 3.3 mm‑long T5 Torx screws securing the webcam bracket on the top edge behind the display.

    • These screws are not captive. Store them in a safe location for reassembly.

  11. 2dFFJ1ExP4e55U3p
    2dFFJ1ExP4e55U3p
    Uh4HkwUrbtkVKobS
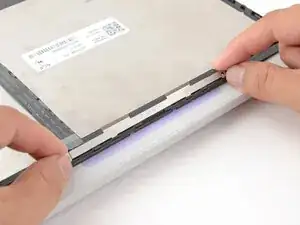
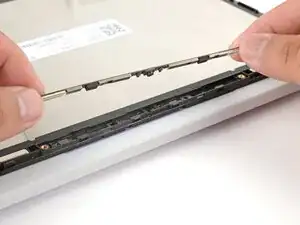
    • Lift and remove the webcam bracket.

  12. cf3MF5HKLqgNigaU
    cf3MF5HKLqgNigaU
    IUYjSLUXSI6ItiDk
    fjd4wNDgpeJIKT6X
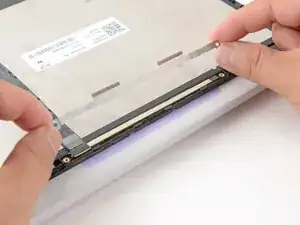
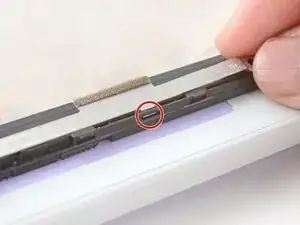
    • Use the flat end of your Framework Screwdriver to lift the webcam out of its recess.

    • Avoid touching the black camera module near the center of the webcam.

    • Flip the webcam over and gently hold it down with your fingers.

  13. TEtvpAQXseKg61Rs
    TEtvpAQXseKg61Rs
    hRyxvt45j1mdhqXY
    HIGvabGtjRIGuFIB
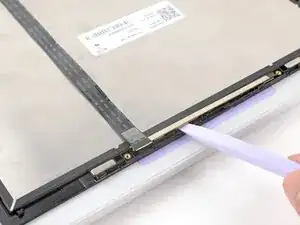
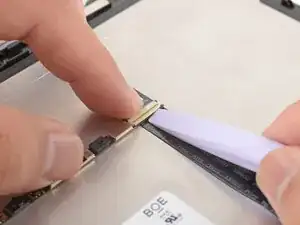
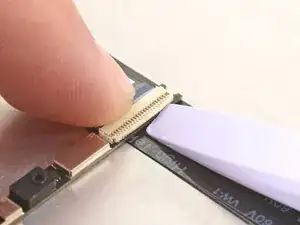
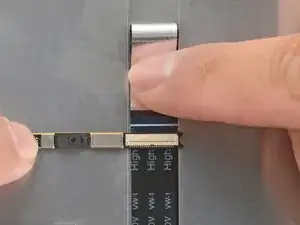
    • Use the flat end of your Framework Screwdriver or a fingernail to gently pry up the locking tab on the webcam cable ZIF connector.

  14. HNUFwJEdKk3VqwuL
    HNUFwJEdKk3VqwuL
    PbZRTPFfJCxt5Ddu
    B4bWFUSIqAwcXBsj
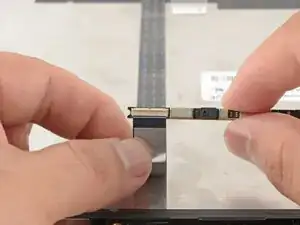
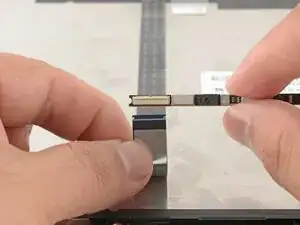
    • Slide the webcam cable out of its connector.

    • Remove the webcam.

  15. GFISPDuIsRdKxMhT
    • Congratulations on completing disassembly! The remaining steps will show how to reassemble your Framework Laptop.

  16. pDnmapkkLrMECaCJ
    • Peel off any protective liners covering the camera lens on the replacement webcam.

    • Carefully look over the part and peel off any remaining liners. The liners are normally clear or colored plastic films that easily detach.

  17. BIQqviaKVETOQ4LR
    BIQqviaKVETOQ4LR
    WO6OWQXYZVnYi2g6
    5x1QI6sMyIscVQxI
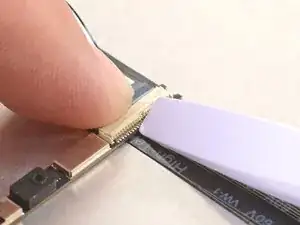
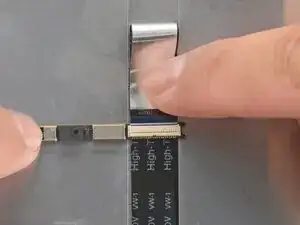
    • Bend an inch (2.5 cm) of the webcam cable over so that the shiny side is facing you.

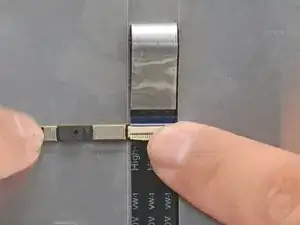
    • Slide the webcam cable into the ZIF connector up to the printed line on the cable.

    • Use your finger to flip down and gently press the locking tab in place.

  18. tUKRSGCI3aCL2VLC
    tUKRSGCI3aCL2VLC
    BgkY4FCqLCcGfVMZ
    • Use your fingers to flip the webcam back into its recess in the Top Cover.

  19. Uh4HkwUrbtkVKobS
    Uh4HkwUrbtkVKobS
    2dFFJ1ExP4e55U3p
    gs1TpvAtOLGYFbLB
    • Align the webcam bracket to the Top Cover and lay it in place.

    • Make sure the tabs on the top edge of the webcam bracket sit in their slots on the top edge of the display.

  20. YmSlogSc4dMmcyKr
    • Use your Framework Screwdriver to install the two 3.3 mm‑long T5 Torx screws to secure the webcam.

  21. MlOCoIEHrVNuXFmu
    MlOCoIEHrVNuXFmu
    DBFKHHWaaBtFhWgH
    3kmBg3a3vW6pVlDC
    • Use your fingers to carefully swing the display over so it lies on top of the Top Cover.

  22. s4Yvc6QfsgNgZJSO
    s4Yvc6QfsgNgZJSO
    UjDoNXEKFngxQHnc
    nVdPTB2ZRSbXLAnV
    • Align the display in the Top Cover such that the top edge of the display is slightly below the top edge of the Top Cover.

    • Use your fingers to slide the display upwards to latch the tabs on the top edge of the display.

    • The top edge shouldn't have any gaps when the display's in place.

  23. CifwEnOhxYhPi5hM
    CifwEnOhxYhPi5hM
    yEBGvwu3mZvOh4YJ
    • Use your Framework Screwdriver to install the four 3.3 mm‑long T5 Torx screws to secure the display to the Top Cover.

    • Tighten the screws until they're snug. Don't over-tighten them, or you may damage the screw tabs.

  24. 3oNUPWr1XtQtrKRo
    3oNUPWr1XtQtrKRo
    ZsBb2QHLsvSWPDII
    • Align the Display Cover to the bottom of the display.

  25. I6ol6upCGPkQKjWD
    I6ol6upCGPkQKjWD
    R4DwqKHU1lRnIQWA
    • Use your finger to press along the length of the Display Cover to snap it onto the laptop.

    • Make sure all the clips along the left, top, and right edges are fully seated.

Conclusion

You finished fixing your Framework Laptop!

Take your e-waste to an R2 or e-Stewards certified recycler.

If you need help, contact Framework support.
Arthur Shi

Member since: 03/01/18

296850 Reputation

0 comments