Introduction
Webcam cable installation prereq guide
Tools
-
-
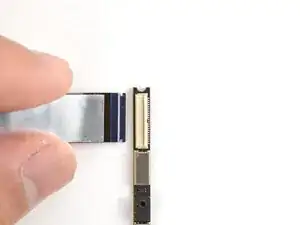
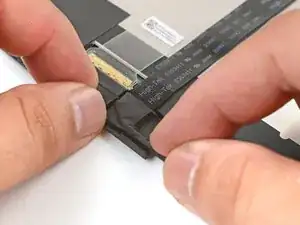
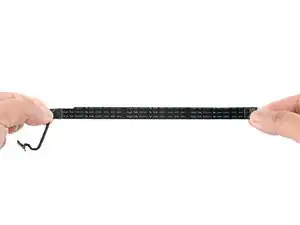
Hold the webcam cable with the shiny side facing up.
-
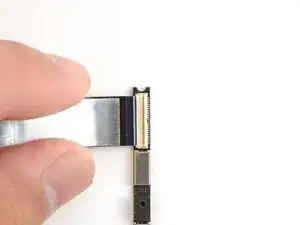
Slide the cable into the webcam module's ZIF connector, up to the printed line on the cable.
-
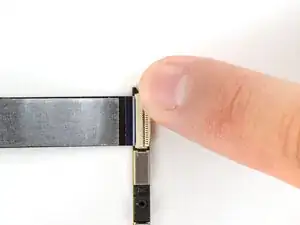
Use your finger to flip down and gently press the locking tab in place.
-
-
-
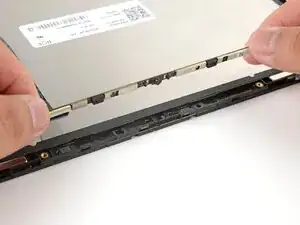
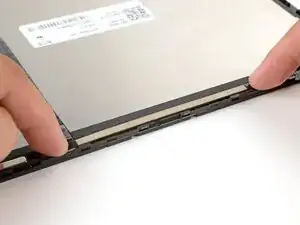
Use your fingers to align and lay the webcam bracket in place.
-
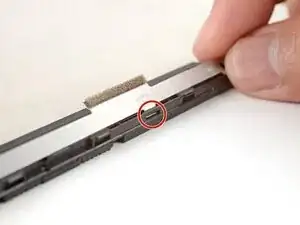
Make sure the tabs on the top edge of the webcam bracket sit in their slots on the top edge of the display.
-
-
-
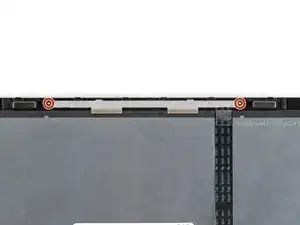
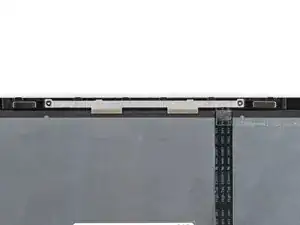
Use your Framework Screwdriver to install the two 3.3 mm‑long T5 Torx screws to secure the webcam bracket.
-
-
-
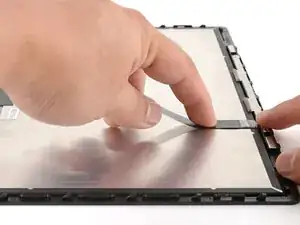
If the webcam cable has any plastic liners covering adhesives, peel them off to expose the adhesives. These liners should peel easily from the cable.
-
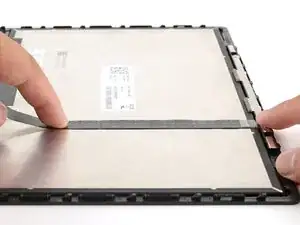
Use your fingers to press the cable onto the display.
-
Guide the cable bend into its channel on the display.
-