Introduction
Touchpad removal prereq guide
Tools
-
-
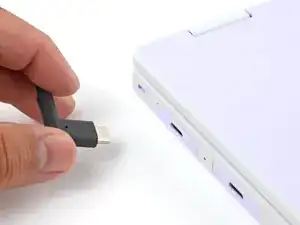
Before you begin repairs, unplug your laptop and shut it down from the operating system. This ensures that the laptop isn't in standby/suspend mode.
-
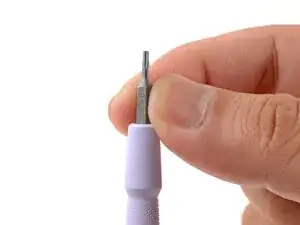
Make sure your Framework Screwdriver has the T5 Torx bit (labeled as T-5) facing outwards. If it's not, pull the bit out and flip it.
-
-
-
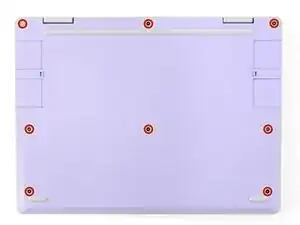
Use your Framework Screwdriver to fully loosen the eight captive T5 Torx screws on the bottom of your laptop.
-
-
-
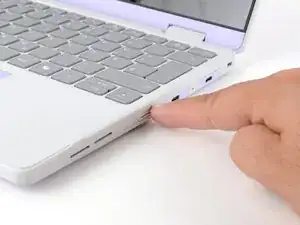
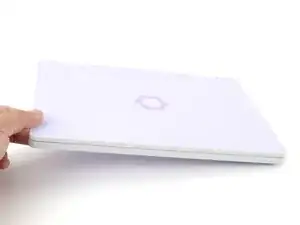
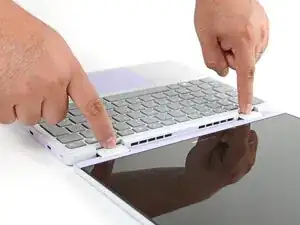
Use your fingers to grip the Input Cover in the hinge cutouts.
-
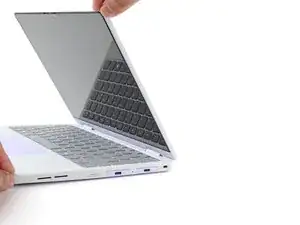
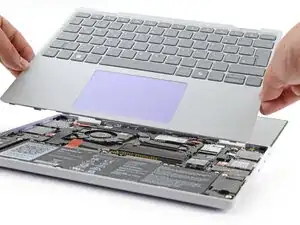
Lift upwards to swing the Input Cover up from the base of the laptop.
-
Remove the Input Cover.
-
-
-
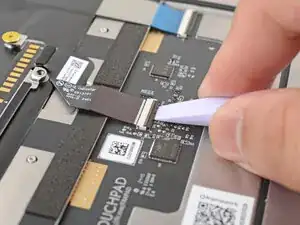
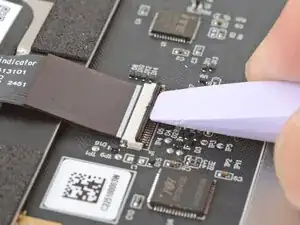
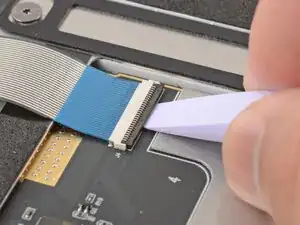
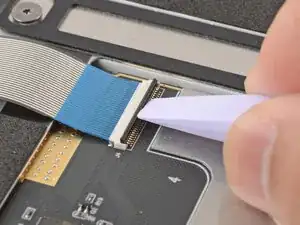
Use the flat end of your Framework Screwdriver or a fingernail to gently pry up the black locking tab on the touchpad cable ZIF connector, located on the back of the touchpad.
-
-
-
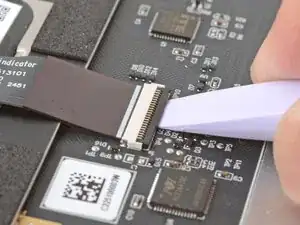
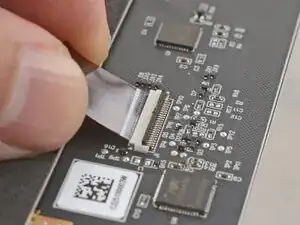
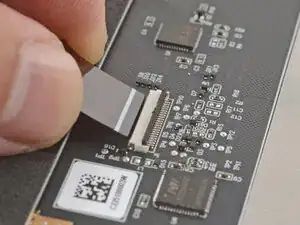
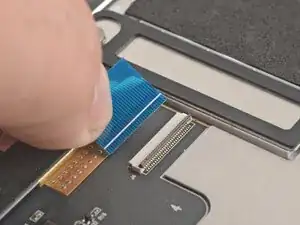
Use the flat end of your Framework Screwdriver or a fingernail to gently pry up the black locking tab on the keyboard cable ZIF connector, located on the back of the touchpad.
-
-
-
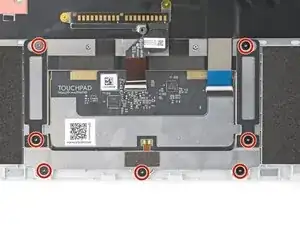
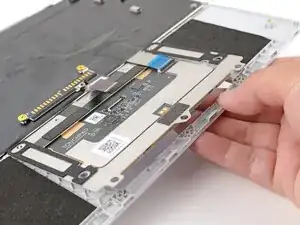
Use your Framework Screwdriver to remove the seven 2.1 mm‑long T5 Torx screws securing the touchpad.
-
-
-
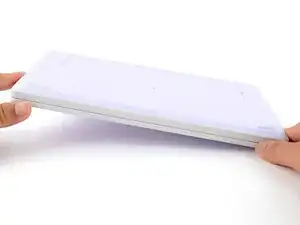
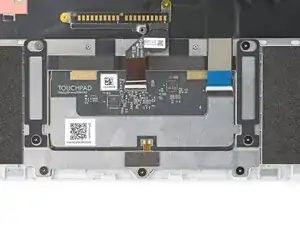
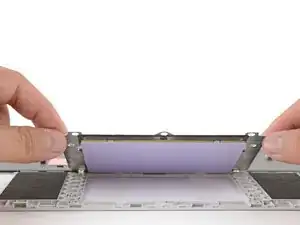
Use your fingers to pop the touchpad out of the Input Cover from the underside.
-
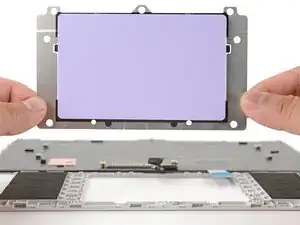
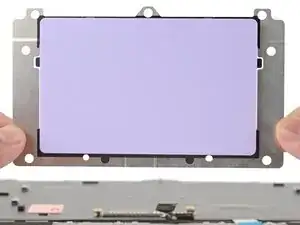
Lift and remove the touchpad.
-