Introduction

Mainboard removal prereq guide

  1. ENj2nRYJffBN2QaN
    ENj2nRYJffBN2QaN
    YjlDgdAsDVIlgqUJ
    GRNSY6XxqDVbUVQJ
    • Before you begin repairs, unplug your laptop and shut it down from the operating system. This ensures that the laptop isn't in standby/suspend mode.

    • The indicator LEDs along the edges should be unlit. The laptop should be silent.

    • If you accidentally turn on the laptop during repair, hold the power button down for 10 seconds to shut it down.

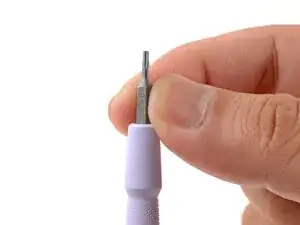
    • Make sure your Framework Screwdriver has the T5 Torx bit (labeled as T-5) facing outwards. If it's not, pull the bit out and flip it.

  2. U6Na255rCpfSIiOE
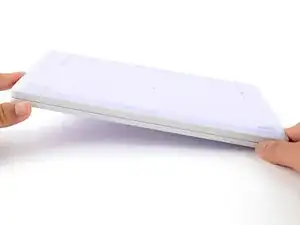
    • Set your Framework Laptop face-down on a clean work surface.

  3. kXDH52QdDLEsGWb3
    kXDH52QdDLEsGWb3
    xVySkCZQWfETEILq
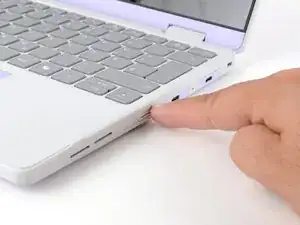
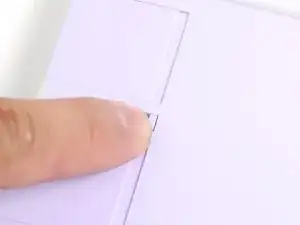
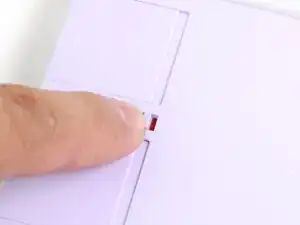
    • Use your fingers to flip the two Expansion Card latches (one for each side) into the unlocked position.

    • The latches display a red bar when they're unlocked.

  4. 3Ay6ujvbxLibrg3V
    3Ay6ujvbxLibrg3V
    3qShdMnt1UVHQQTE
    KJBBGAsADfIFXRuF
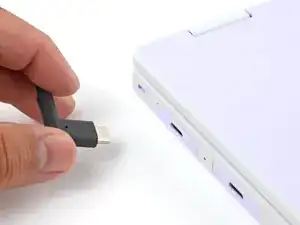
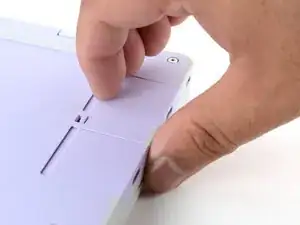
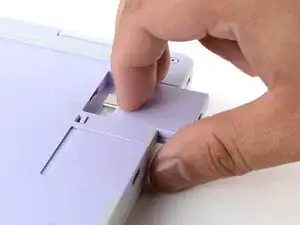
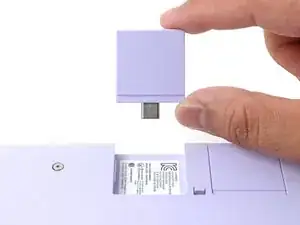
    • Grip the lip of an Expansion Card with your fingers.

    • Pull the Expansion Card out of its slot and remove it.

    • If you have trouble pulling the Expansion Card out, you can also use the flat end of your Framework Screwdriver to push against the lip.

    • Repeat this procedure to remove all remaining Expansion Cards.

  5. mm1cOsKEjSReLdDl
    mm1cOsKEjSReLdDl
    nMf3oZliOaXESRbZ
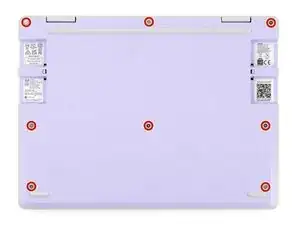
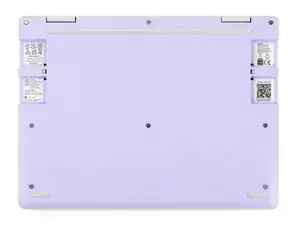
    • Use your Framework Screwdriver to fully loosen the eight captive T5 Torx screws on the bottom of your laptop.

    • Most screws in your Framework Laptop (including these) are captive—they're designed to stay in place after you loosen them.

    • Your laptop comes with a spare set of screws in the frame above the battery. Be careful—the replacement screws aren't captive.

  6. UomOMxHFjJlXOmVI
    • Flip your laptop face-up on your work surface.

  7. oXWu5f4x2x1bEW6V
    oXWu5f4x2x1bEW6V
    3moNOQ3UsMjPtUCn
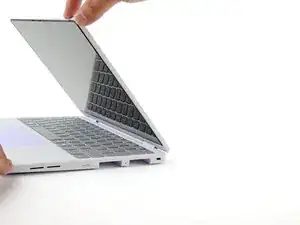
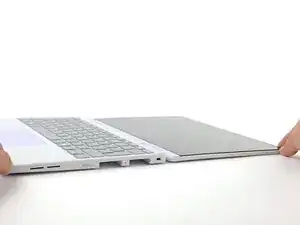
    • Open the laptop lid so that both the screen and the base lie flat on your work surface.

  8. c6WsnKyZ5rguOoBJ
    c6WsnKyZ5rguOoBJ
    MZcsSlwlBdcXrEDK
    oihhCJTMXDodWRZU
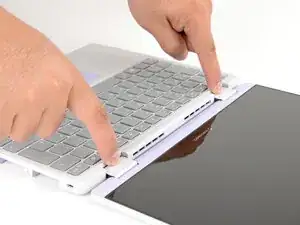
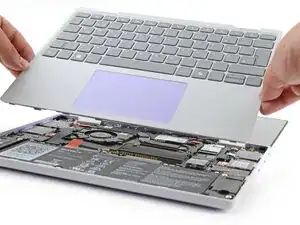
    • Use your fingers to grip the Input Cover in the hinge cutouts.

    • Lift upwards to swing the Input Cover up from the base of the laptop.

    • You may feel resistance from the magnets. If the cover feels like it's snagged, check that you've fully loosened the screws on the bottom of your laptop.

    • Remove the Input Cover.

  9. b5AQM3feYGn4ttQZ
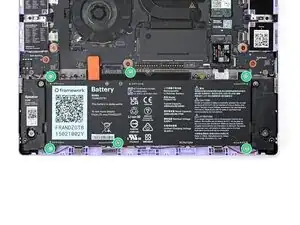
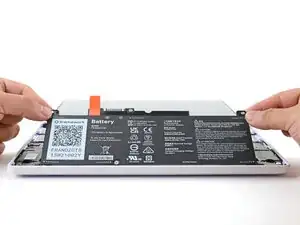
    • Use your Framework Screwdriver to loosen the six captive T5 Torx screws securing the battery.

  10. QMPLTpItI3EVDGEI
    QMPLTpItI3EVDGEI
    qXL3hfIHcHhpCpPg
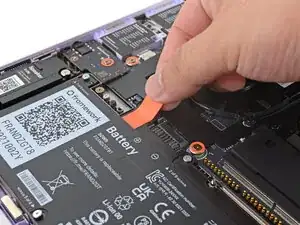
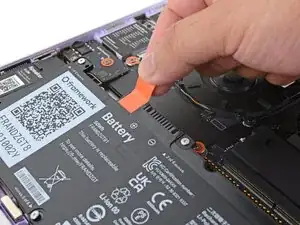
    • Grab the orange battery tab with your fingers and lift straight up to disconnect the battery.

    • The battery connector can be tight, requiring some force. If it feels like part of the battery won't come up, check that the battery screws are fully loosened.

  11. vBhTTUMPMdexvY2I
    vBhTTUMPMdexvY2I
    BpR3xLIgaPNfTJcs
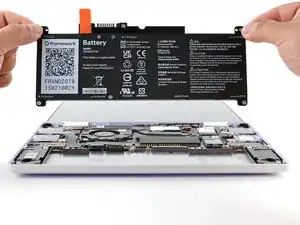
    • Lift and remove the battery from the laptop.

  12. KAOWWMONMeDSxtex
    KAOWWMONMeDSxtex
    vlKJhDm1v6nB6Luo
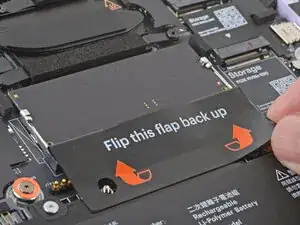
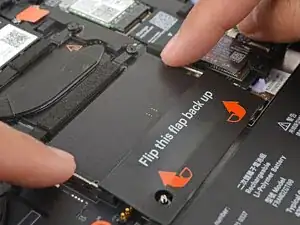
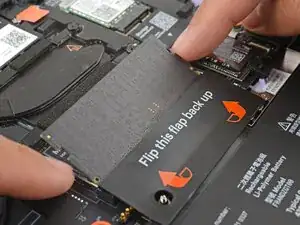
    • Use your fingers to flip open the memory flap.

  13. Edoj1MZOatkp4rGp
    Edoj1MZOatkp4rGp
    xgYWgMAhEGG4RxdO
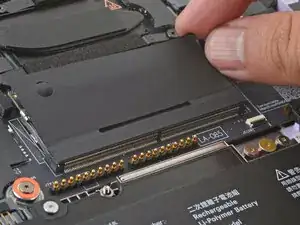
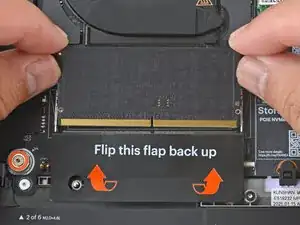
    • Use your fingers to spread the clips on both sides of the memory module apart to unclip the memory.

    • The memory module will pop up to an angle when it's unclipped.

  14. w6OkPxg33R3KsEH3
    w6OkPxg33R3KsEH3
    bAUSgrnLNxJPZlOO
    • Use your fingers to grab the memory module by its edges.

    • Slide the memory module out of its socket and remove it.

  15. 4dqSQVK6XNZHSl1P
    4dqSQVK6XNZHSl1P
    oqdfOnOtfZHZKgwI
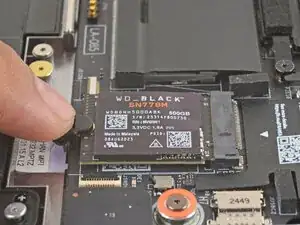
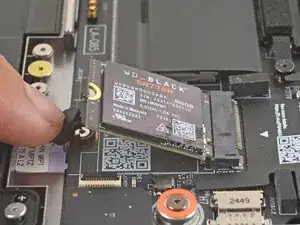
    • Use your finger to press down on the black SSD latch to unlatch the SSD.

    • The SSD will pop up to an angle when it's unlatched.

  16. 66yiASHFwq5Rr13G
    66yiASHFwq5Rr13G
    fd46vgci5DCXdmyo
    IsbGSneEqZxgOFWB
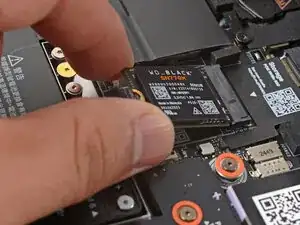
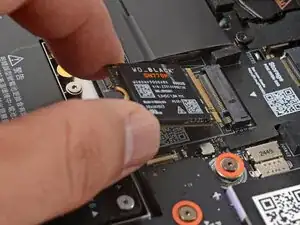
    • Grab the SSD by its edges and pull it out of its socket.

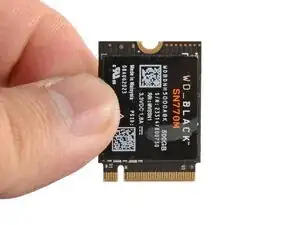
    • Remove the SSD.

  17. 1LspFmdiEPudL3Zr
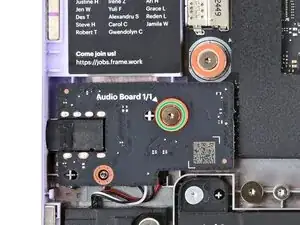
    • Use your Framework Screwdriver to loosen the captive T5 Torx screw securing the Audio Board along the left edge of the laptop.

  18. 6ipcMMTu1qUXBRPQ
    6ipcMMTu1qUXBRPQ
    bykbM2GttMpr464U
    tSWTJlYldWHuAX2M
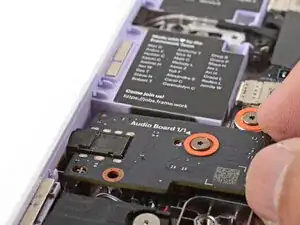
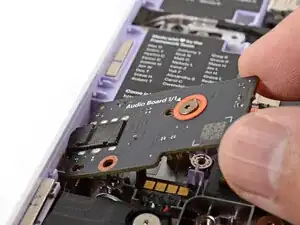
    • Use your fingers to lift the right edge of the Audio Board and pull it out of its recess.

    • Remove the Audio Board.

  19. LI6roagGYBQKm4KK
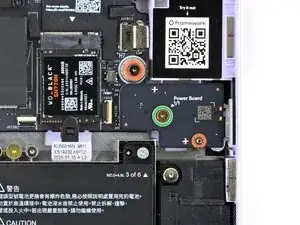
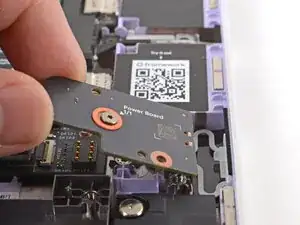
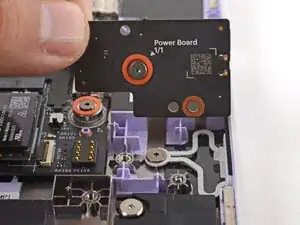
    • Use your Framework Screwdriver to loosen the captive T5 Torx screw securing the Power Button Board (labeled "Power Board").

  20. 1YWOCxYgWLZMlQme
    1YWOCxYgWLZMlQme
    HACIfBQ22OHPqWSW
    • Use your fingers to lift and remove the Power Button Board.

  21. WASDcqOnxB6NN21Z
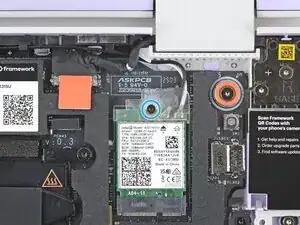
    • Use your Framework Screwdriver to loosen the captive T5 Torx screw securing the Wi-Fi card bracket.

    • The Wi-Fi card will pop up slightly when you unfasten the bracket.

  22. UVLUcXs34pQECrLM
    UVLUcXs34pQECrLM
    iiyH6iidQLvMvZiX
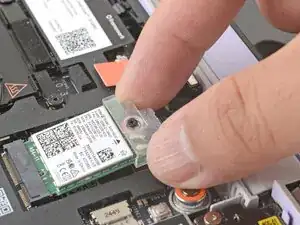
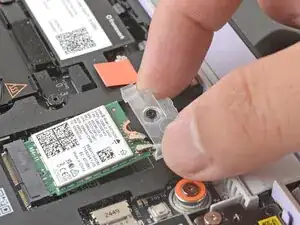
    • Grab the Wi-Fi card bracket with your fingers and slide it off the top of the Wi-Fi card.

    • Remove the bracket and store it in a safe location for reassembly.

  23. ki2LVyOtGbHyMXgX
    ki2LVyOtGbHyMXgX
    ryODAahNgYUHRZkG
    VNKH6uCVQXorSQJn
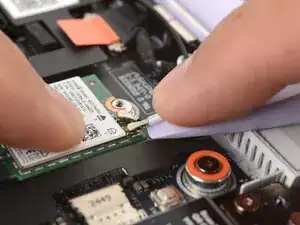
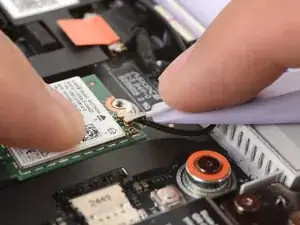
    • The Wi-Fi card has two delicate coaxial cable connectors. Follow this step carefully to avoid damaging them.

    • Press and hold the Wi-Fi card down with your finger.

    • Slide the flat edge of your Framework Screwdriver under the white antenna cable, as close to the metal head as possible.

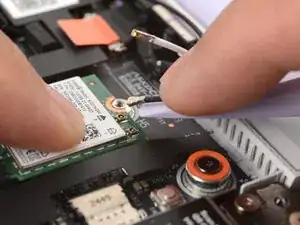
    • If you have angled tweezers, slide one arm of a pair of tweezers under the antenna connector, as close to the metal head as possible.

    • Gently lift the connector straight up to disconnect the white antenna cable.

    • Repeat the procedure with the black antenna cable.

  24. kfLYpLXD2YPL3bVh
    kfLYpLXD2YPL3bVh
    rufgfCYKRJZaZUey
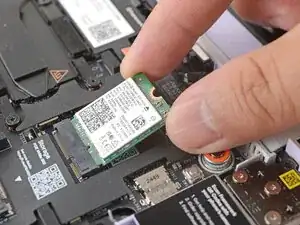
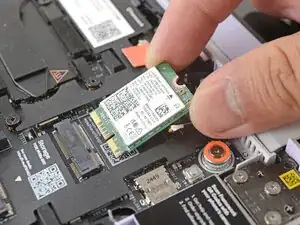
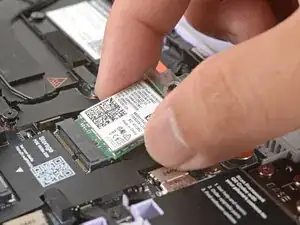
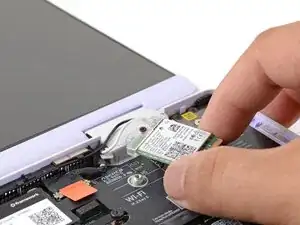
    • Grab the Wi-Fi card by the edges and pull it out of its socket.

    • Remove the Wi-Fi card.

  25. PSHXb6UOtMs1DU3m
    PSHXb6UOtMs1DU3m
    Hww1WveUsYaVXQKi
    c4IAJkc5w4r2DR4y
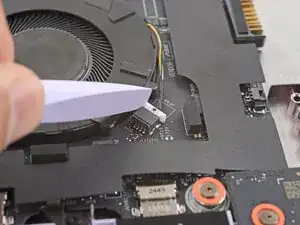
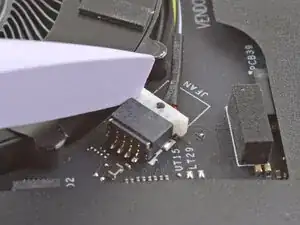
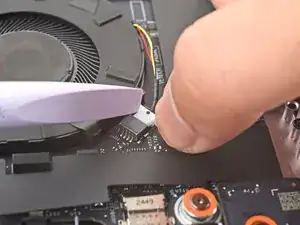
    • Use the flat end of your Framework Screwdriver to gently push on one of the fan connector's protruding edges, then the other, to loosen the connector out of its socket.

  26. lB2dosTkuvOOvGXc
    lB2dosTkuvOOvGXc
    ThsWyKVZFcIisn11
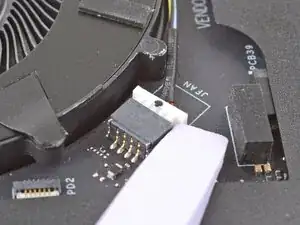
    • Use your fingers and your Framework Screwdriver to slide the fan connector out of its socket.

  27. mKJyC4J46PFXybtg
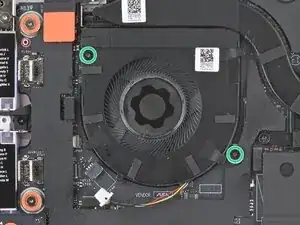
    • Use your Framework Screwdriver to loosen the two captive T5 Torx screws securing the fan.

  28. IBZPBj34FC2cpsLX
    IBZPBj34FC2cpsLX
    EXnBhVYTCroX4ngJ
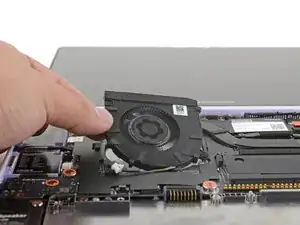
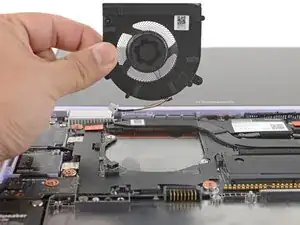
    • Lift and remove the fan.

  29. WiseuL6Dfs6dKJqD
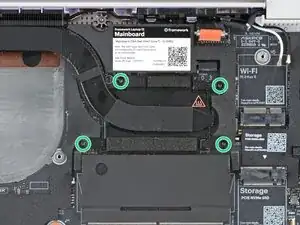
    • Use your Framework Screwdriver to loosen the four captive T5 Torx screws securing the heatsink.

  30. 1YsjKG5xyQiXGsyn
    1YsjKG5xyQiXGsyn
    kbDjNmBJjFG1ArLZ
    DFBfIGD6pOeILP3l
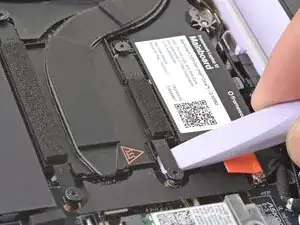
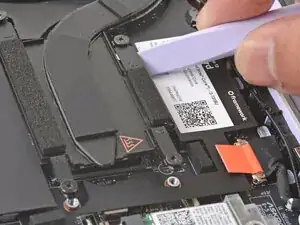
    • Slide the flat end of your Framework Screwdriver under the heatsink arm labeled "2".

    • Gently twist the Framework Screwdriver to lift the heatsink arm and loosen the heatsink.

    • You'll feel some resistance from the thermal compound holding the heatsink in place. Stop if the heatsink arm begins to bend.

    • If the heatsink won't budge, make sure you've fully loosened the four screws securing the heatsink.

    • Repeat the procedure with the heatsink arm labeled "3".

  31. OgcVBMKDIEQRTUWh
    OgcVBMKDIEQRTUWh
    pi3cSWRuWMQLYrOG
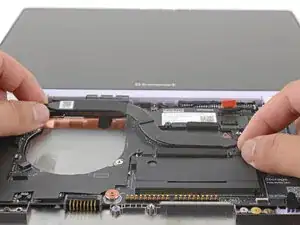
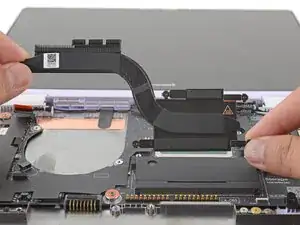
    • Lift and remove the heatsink.

  32. lKO1i6FGNsbQxJsv
    • Use your Framework Screwdriver to loosen the captive T5 Torx screw securing the Wi-Fi card bracket.

    • The Wi-Fi card will pop up slightly when you unfasten the bracket.

  33. snjVaKHnMBx2JsDG
    snjVaKHnMBx2JsDG
    wQDjWBITEa1PVSAX
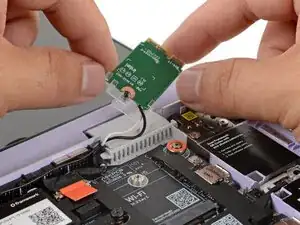
    • Be careful not to strain the two delicate antenna cables attached to the Wi-Fi card.

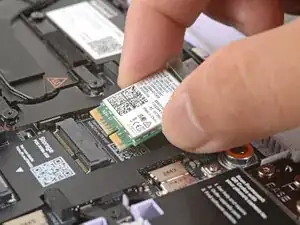
    • Grab the Wi-Fi card by its edges and slide it out of its socket.

  34. qRV3BT6TQRNSrkqS
    qRV3BT6TQRNSrkqS
    5lEZvU3eNrvNSXxn
    • Carefully reposition the Wi-Fi card away from the Mainboard.

    • If the clear bracket or an antenna cable detaches from the Wi-Fi card, don't worry! You can reattach it during reassembly.

  35. CA3OUDP2DLIV6Qdo
    CA3OUDP2DLIV6Qdo
    NNSI1WljcHX5FnuU
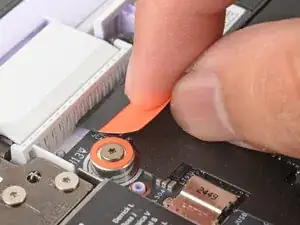
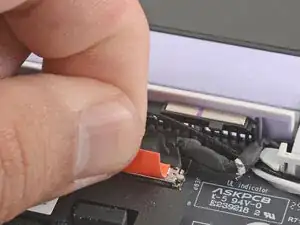
    • Use your fingers to grab the orange tab on the webcam cable, located near the left hinge.

    • Lift straight up to disconnect the cable.

  36. FGK5R44H33I2Xbxj
    FGK5R44H33I2Xbxj
    IjsIyVD56lsr3UpT
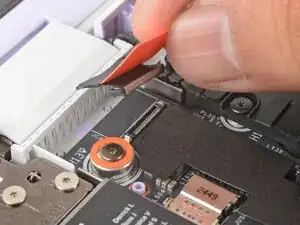
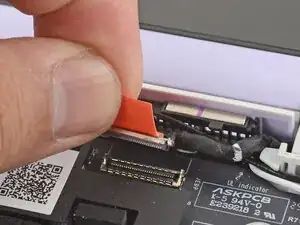
    • Use your fingers to grab the orange tab on the display cable, located near the right hinge.

    • Lift straight up to disconnect the cable.

  37. vuRL2iW2gokJqQQG
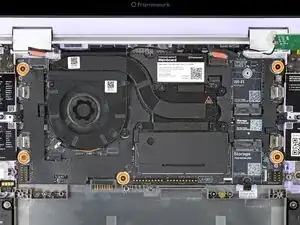
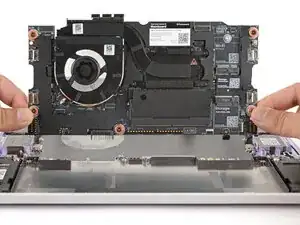
    • Use your Framework Screwdriver to loosen the five captive T5 Torx screws securing the Mainboard.

  38. 1IyJr5SnZVE1i1oO
    1IyJr5SnZVE1i1oO
    C54TvmcIgQlZ6ACF
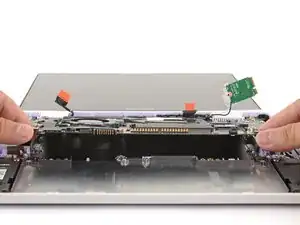
    • Make sure you've removed all Expansion Cards. Installed cards will hold the Mainboard in place.

    • Use your fingers to grab the Mainboard by its edges.

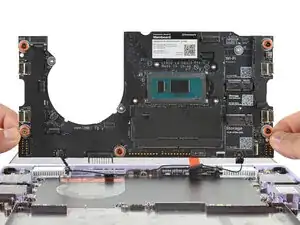
    • Lift and remove the Mainboard.

Arthur Shi

Member since: 03/01/18

296850 Reputation

0 comments