Introduction

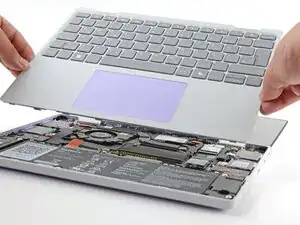
Input Cover installation with Expansion Cards removed.

  1. HlXOsUPuPR5UTUnF
    HlXOsUPuPR5UTUnF
    euBDDIJMdxks34JT
    dJsHj4gYdJu6rFRJ
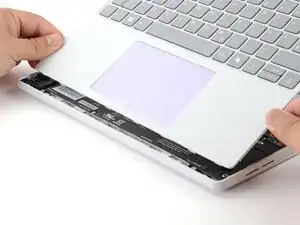
    • Angle the bottom edge of the Input Cover towards the base of the laptop.

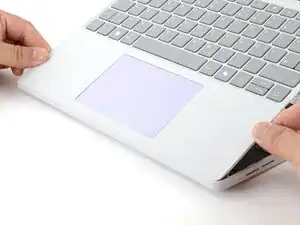
    • Align and insert the bottom edge of the Input Cover into the base of the laptop.

    • Make sure the slots along the bottom edge of the Input Cover slide into the tabs in the base.

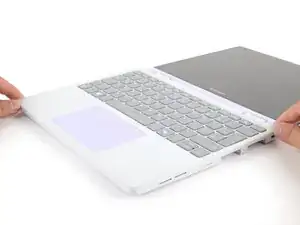
    • Lower the Input Cover's top edge onto the laptop until the magnets snap it in place.

    • Make sure the Input Cover sits neatly within the laptop frame and no corners are popping up.

  2. LQOPqRl6wsCbXpjt
    LQOPqRl6wsCbXpjt
    DrwVuUnUTLsOVdMG
    • Close the laptop lid.

    • Flip your laptop face-down on a clean work surface.

  3. mm1cOsKEjSReLdDl
    mm1cOsKEjSReLdDl
    nMf3oZliOaXESRbZ
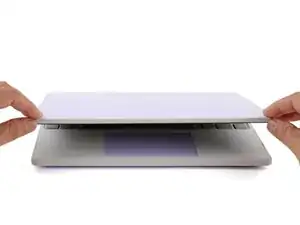
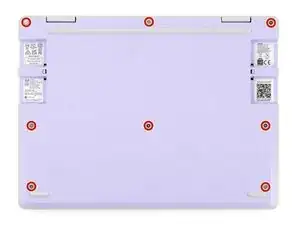
    • Use your Framework Screwdriver to tighten the eight captive T5 Torx screws on the bottom of your laptop.

    • Tighten the screws until they're snug. Don't over-tighten them, or you may strip the screws.

Arthur Shi

Member since: 03/01/18

296850 Reputation

0 comments