
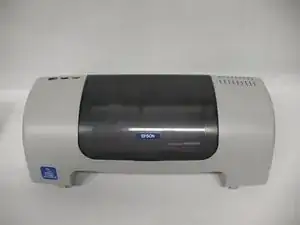
Introduction
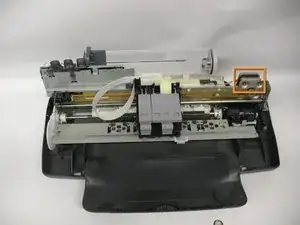
Replacing the driver motor of your printer.
-
-
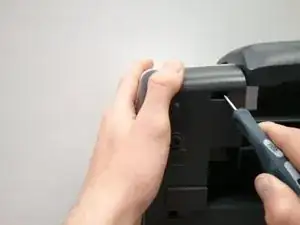
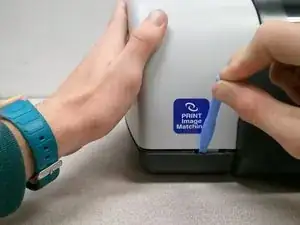
To remove the top cover of the printer, you have to first release it from several tabs.
-
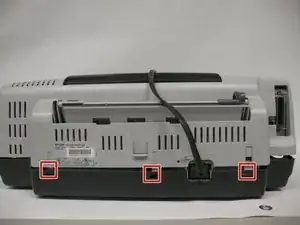
These three are the easiest tabs to remove. They are located on the back side of the printer.
-
-
-
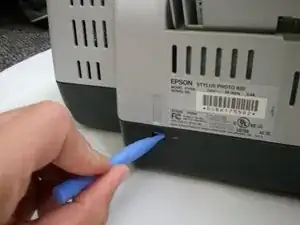
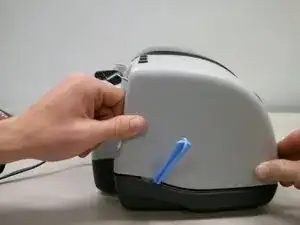
Push the tab in with one of the plastic opening tools.
-
Keep the tab pushed in by leveraging the tool between the tab and the hole. Pull up on the case so that the tab doesn't lock back into place.
-
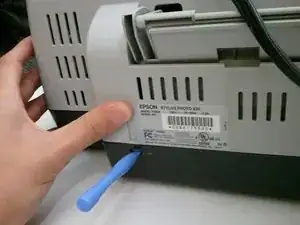
Repeat this process with the furthermost right tab, then proceed with the middle tab.
-
-
-
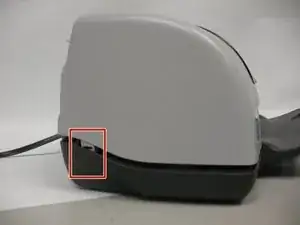
Insert the pointed end of a spudger into the hole on the bottom left corner of the printer and pry out the tab.
-
-
-
Insert the pointed end of a spudger into the hole on the bottom right corner of the printer and pry out the tab.
-
-
-
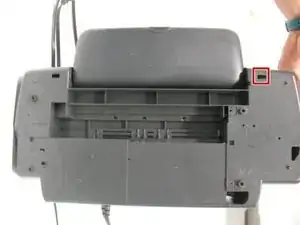
The final two tabs can be more difficult to release. Viewing from the front, they are located in the back left and right corners of the printer.
-
The release points for the tabs are located in holes on the depressed area of the base (darker piece).
-
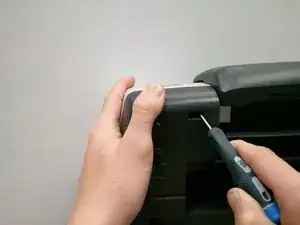
Use the pointed end of a spudger to pry out the tab.
-
Use one of the plastic tools to keep the tab pried out. Once it releases, push in towards the printer (viewing from the side) and pull up on the case.
-
-
-
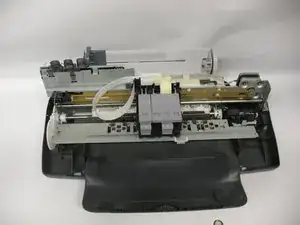
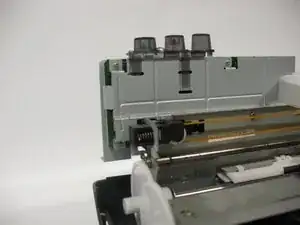
All of the tabs have now been released.
-
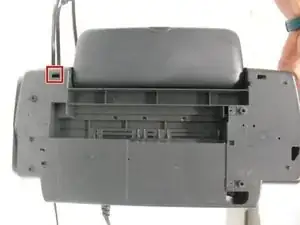
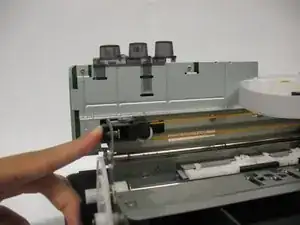
When trying to completely remove the cover, it gets caught on these two back components. Maneuvering around these can be tricky.
-
Push the cover to the right slightly and then push it backwards (out of the screen in this picture). This should give it some wiggle room. Repeat this as necessary.
-
-
-
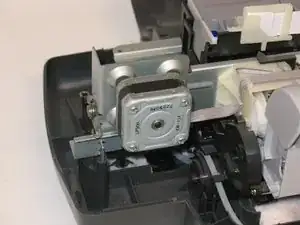
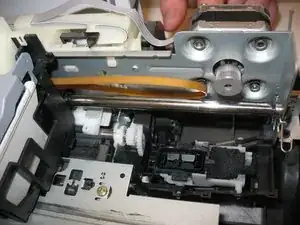
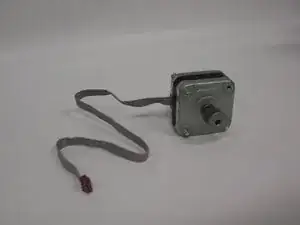
Remove the four screws that hold the motor down.
-
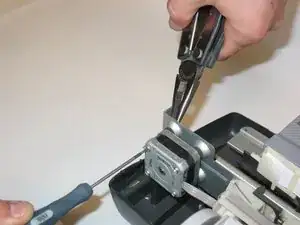
Use a small pair of needle-nose pliers to hold the back nut steady.
-
-
-
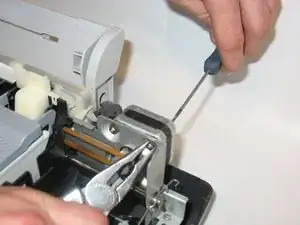
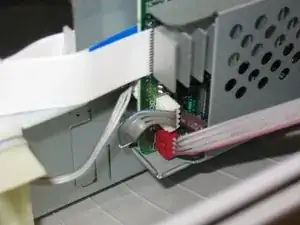
Push on the spring loaded tensioner on the left side of the belt to loosen the force on the drive motor.
-


To reassemble your device, follow these instructions in reverse order.