Introduction
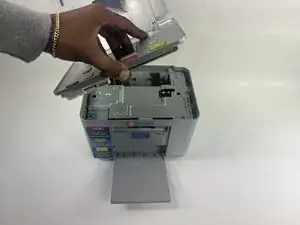
The top plate includes the buttons and screen for operating the device. The plate will need to be replaced in the event of cracking or buttons not operating due to device lid. The top plate may also need to be removed to access any components underneath it that need to be replaced.
Before using this guide, inspect the top plate for any cracks or wearing, as these will need to be treated carefully while handling the plate. Additionally, the top lid can easily be removed by lifting the lid up and gently pulling. This guide does not utilize this feature, but should be considered in case the lid is in the way.
-
-
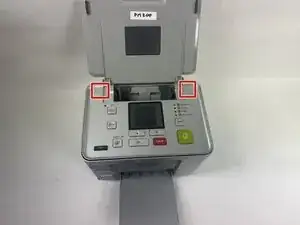
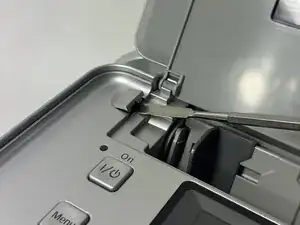
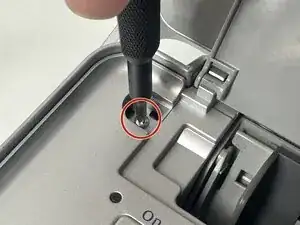
Power off device and use a metal spudger to remove each of the two caps over the screws that hold the top plate to the device.
-
-
-
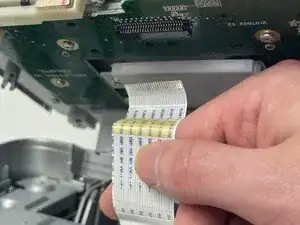
Gently lift the lid and turn it to face the daughterboard underneath.
-
Gently pull the no-fuss ribbon cable out from its connector.
-


To reassemble your device, follow these instructions in reverse order.