Introduction
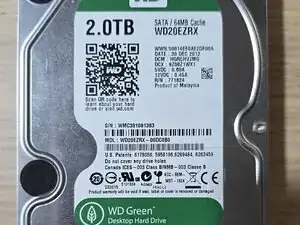
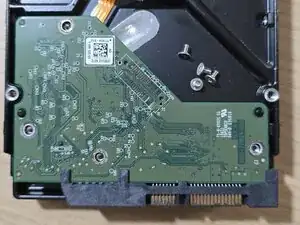
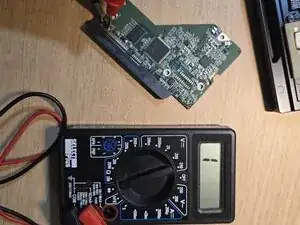
My 2012' WD20EZRX (SATA WD Green HDD 2TB) stopped working: no noises, no signs of life, not working with any of my SATA-USB adapters.
I want to open the PCB and check (remove and/or replace) the TVS diodes, maybe it will help.
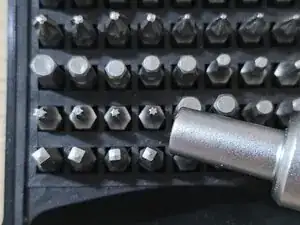
Tools
-
-
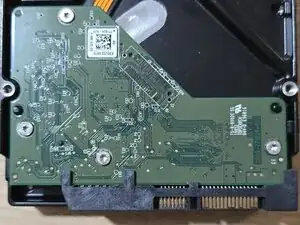
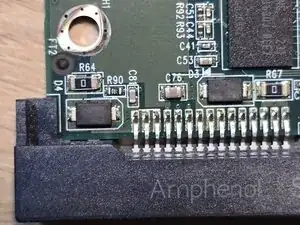
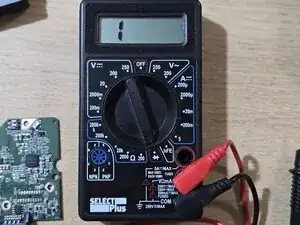
I see that TVS diodes D3 D4 are on the bottom left part of the PCB.
-
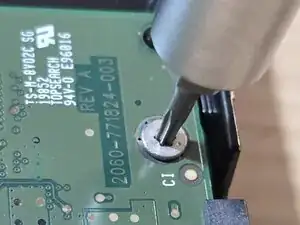
A TVS (Transient Voltage Suppression) diode works by clamping voltage spikes.
-
If diode(s) are shortened, they can be replaced.
-
-
-
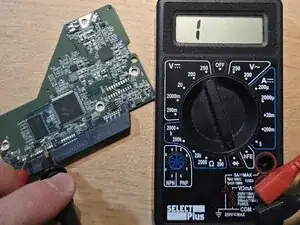
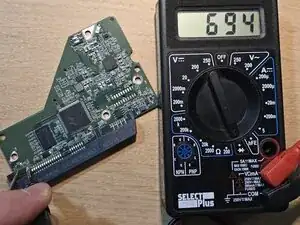
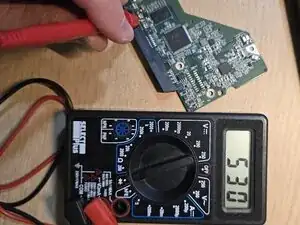
First 3 measurements are ok (each diode shows shortcut in 1 direction and non shortcut in another)
-
-
-
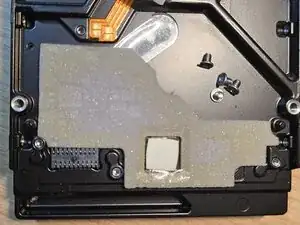
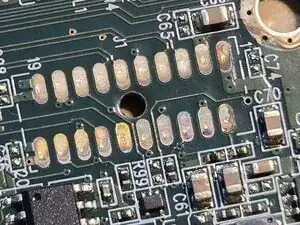
Connection pads are green and dirty, I'm going to clean them with a pen eraser (rubber). You see the result on the 2nd photo.
-
Unfortunately, it didn't helped, and the drive is still not working and not making any noises.
-

To reassemble your device, follow these instructions in reverse order.