Introduction
Tools
-
-
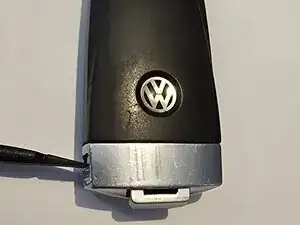
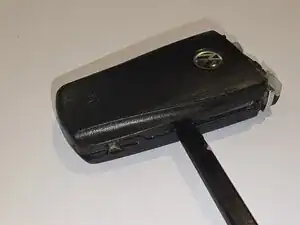
Pry the plastic cover open with the spudger tool, starting from the side from where you removed the metal cap, towards the middle of the key. The cover should pop off easily.
-
-
-
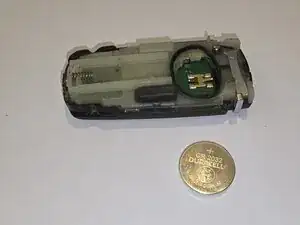
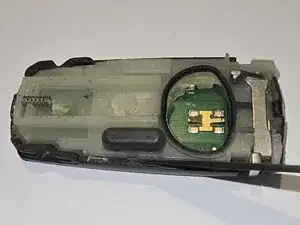
Remove the battery and keep it in safe place. WARNING! coin cells are VERY DANGEROUS for small children, if swallowed.
-
-
-
WARNING! From this step we will void any warranty of your keyfob.
-
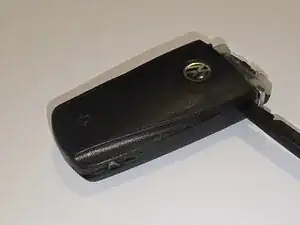
If you just needed to replace your battery, going forward is not neccessary. If you need to solder in a new button, the only possible way to do it, is to cut open the key. It will reassemble without issues later.
-
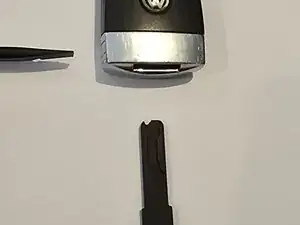
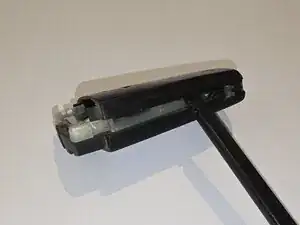
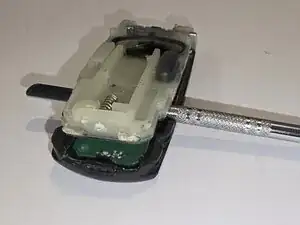
Be careful not to damage the grip tabs of the plastic cover that we removed earlier, while you carefully cut away the two long lighter color plastic tabs on both sides, using a sharp knife.
-
-
-
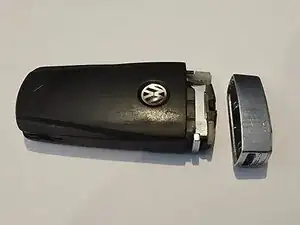
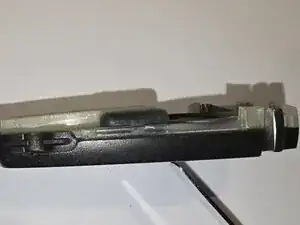
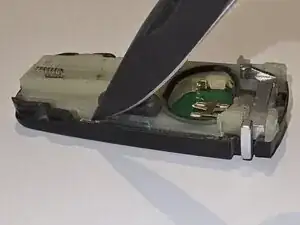
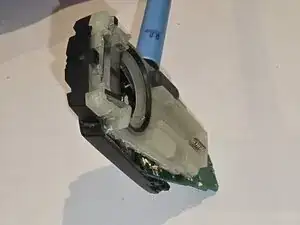
Insert the metal spudger and pry the fob open. If it does not come easily, then the previous step was not completed well enough and some plastic is still holding.
-
The cirquit board should just fall out if you pry the bottom end more open.
-
-
-
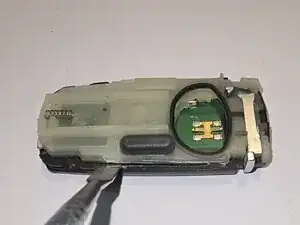
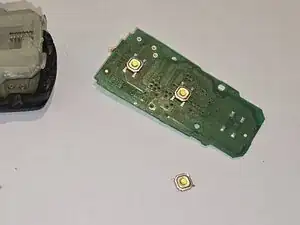
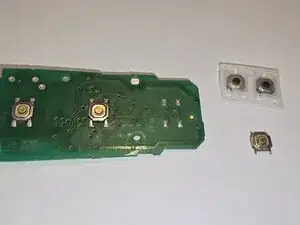
The button is 5x5x1.5mm tactile momentary pushbutton
-
Test all of the buttons for clickyness. Its smart to change out any soon-to-fail buttons all together.
-

To reassemble your device, follow these instructions in reverse order.