Introduction
Tools
-
-
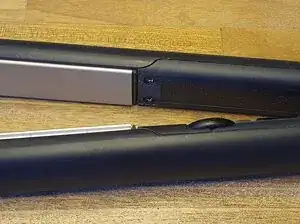
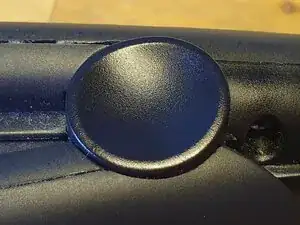
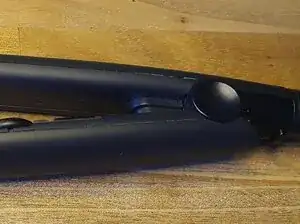
Locate and remove the Hinge caps (One on each side)
-
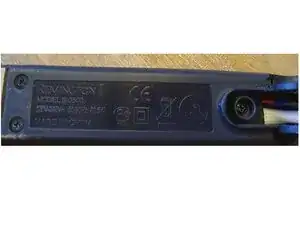
On one side there will be a Philips screw below the cap
-
Take care. Screws seem quite soft, so find a well matching screwdriver
-
-
-
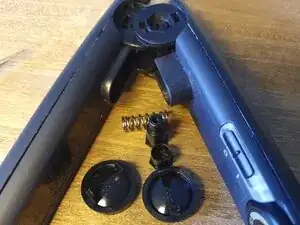
Here you see the caps
-
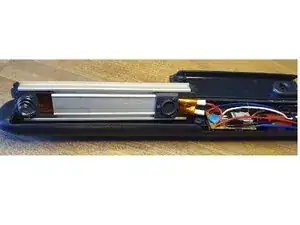
Then the two "tube" like parts of the hinge/axle
-
Then comes the spring that forces the arms apart (Which came out just above where it is seen in the picture
-
-
-
The swivel on the mains cord is held back by 2 screws also easily accessible when the arms are separated
-
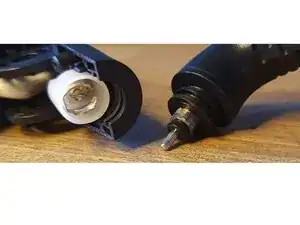
I bend the small pickups in the white part a little bit to make then just a bit tighter. (I dont know if this was the loose connection, but after assembly the blue light signalling heating started working again)
-
Caution, the parts inside carry (in my case 230 Volts) So checking for loose connections while taken apart should be done with an Ohm Meter or similar.
-

To reassemble your device, follow these instructions in reverse order.