
Introduction
The following guide will show you how to replace the motherboard in the Digitac Jazz Ultratab C725. This guide requires the use of a soldering iron multiple times. If you are unfamiliar with soldering, we recommend that you check out this soldering guide.
-
-
Locate the four 3.5 mm Phillips head screws holding the silver back plate and the screen together. There are 2 screws on the top and another 2 screws on the bottom.
-
Using the Phillips #00 Screwdriver, remove all 4 screws.
-
-
-
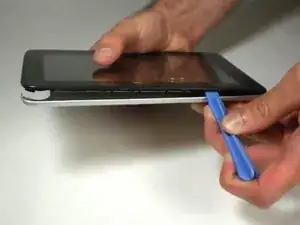
Flip your device so that the long side without the buttons is facing you.
-
Insert the Plastic Opening Tool between the silver back plate and the screen about 1 inch from corner of the device on either side.
-
Jimmy the Plastic Opening Tool until the screen unsnaps from the back plate.
-
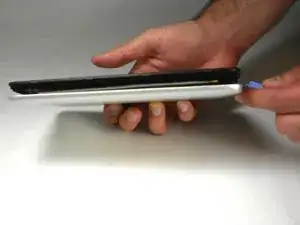
Work your way down the edge of the device, popping out all locations where the screen snaps into the silver back plate.
-
Go around the corners with the Plastic Opening Tool and unsnap additional snap-in locations as necessary.
-
-
-
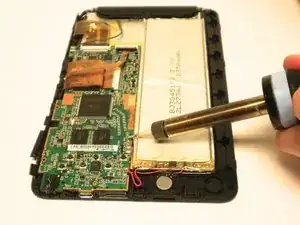
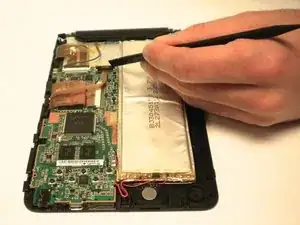
Take a Soldering Iron and melt the solder connecting to battery wires to the motherboard.
-
There are two wires, black and red.
-
Next, use the soldering iron to melt the connection for the speaker.
-
The speaker has two wires as well, red and black.
-
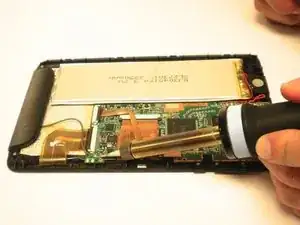
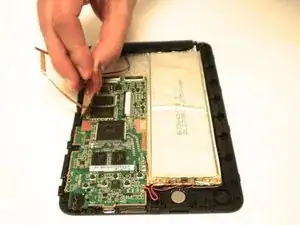
Finally, use the soldering iron to melt the connection for the antenna wire.
-
The antenna wire is a the single grey wire.
-
Once the solder is melted, pull the wires out.
-
-
-
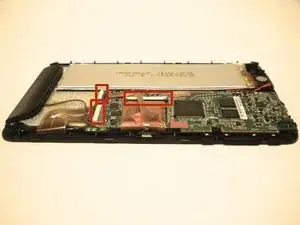
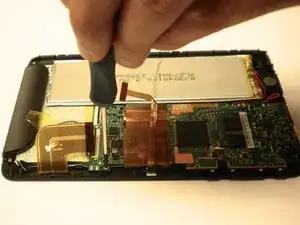
Locate the 3 white clips on the motherboard that hold the data cables.
-
Using the Spudger, pry the black clips up to a 90 degree angle.
-
Once the clip is up, pull the data cables out.
-
Repeat this for all 3 clips.
-
-
-
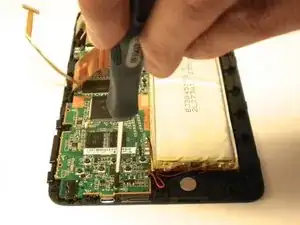
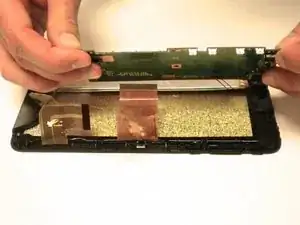
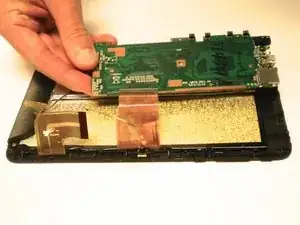
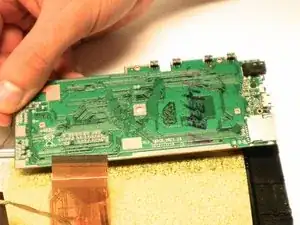
Locate the two 4.0 mm Phillips head screws that are holding the motherboard. There is one on the top and one on the bottom of the motherboard.
-
Using the Phillips #00 Screwdriver, remove both screws.
-


To reassemble your device, follow these instructions in reverse order.