Introduction
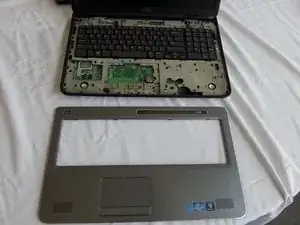
In the case of a broken touch pad or Palm Rest, this guide will demonstrate how to replace the Palm Rest of the Dell XPS 17 L702X.
-
-
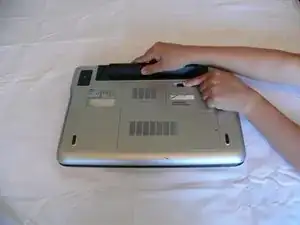
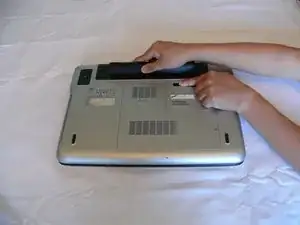
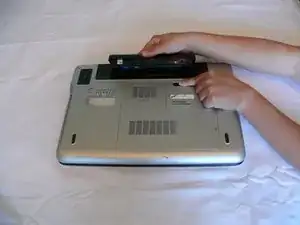
While holding the tab, lift the battery out of its compartment.
-
Release the tab after removing the battery.
-
-
-
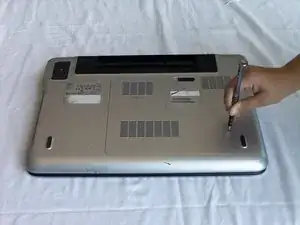
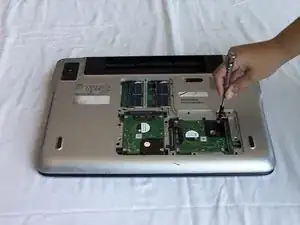
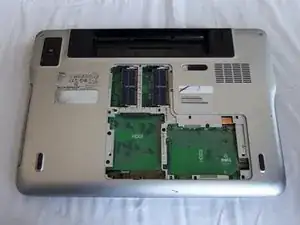
Lift the module cover by inserting a plastic opening tool into the crevice near the screw and lift upwards.
-
-
-
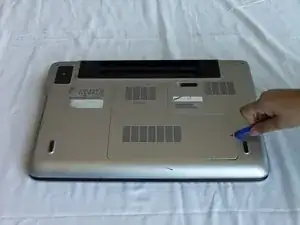
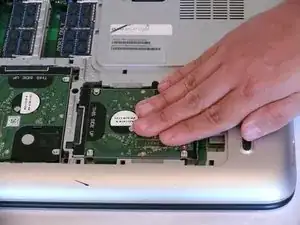
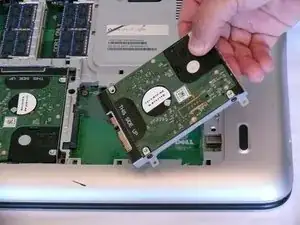
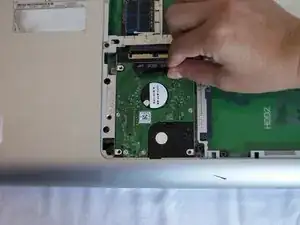
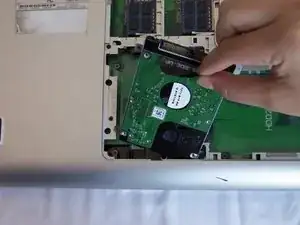
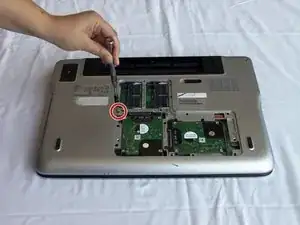
Slide the hard drive with your hand towards the hole where the back panel assembly screw was located (in step 5) to disconnect it.
-
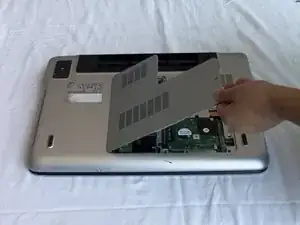
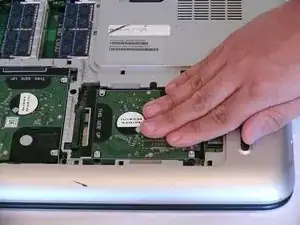
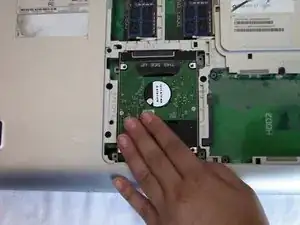
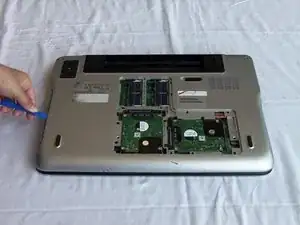
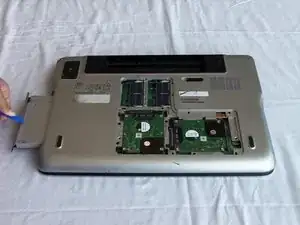
Lift the hard drive up to remove it from the case.
-
-
-
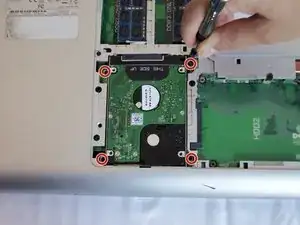
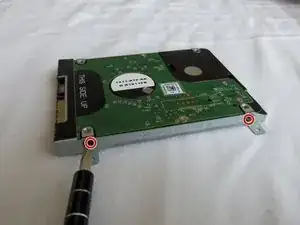
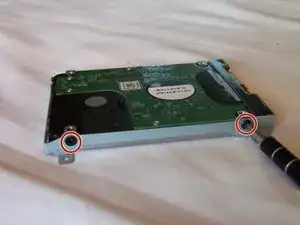
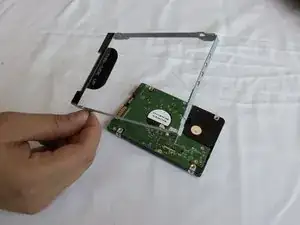
Unscrew the two 4mm screws from each side of the hard drive casing with a Phillips screwdriver.
-
-
-
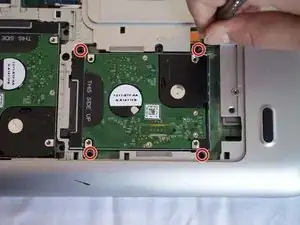
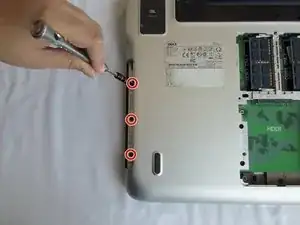
Unscrew three 4mm screws near the edge of the optical drive compartment with a Phillips screwdriver.
-
-
-
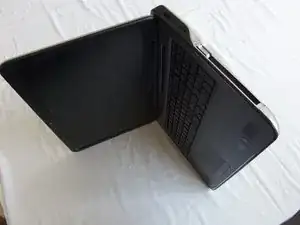
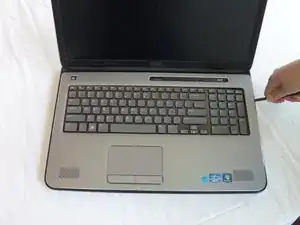
Open the laptop to about a 90 degree angle and place it on its side with the empty optical drive slot pointing upwards.
-
-
-
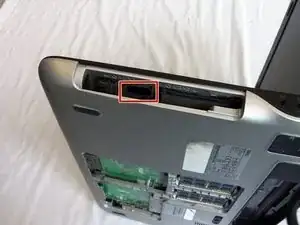
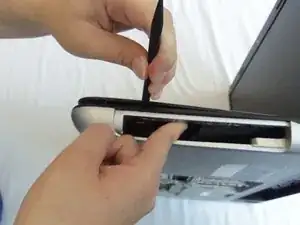
Push and hold the tab inside the optical drive's opening with your index finger.
-
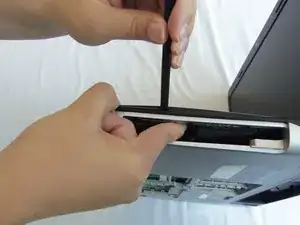
Insert a spudger between the black and silver plastic pieces that are above the tab and pry apart the two pieces.
-
-
-
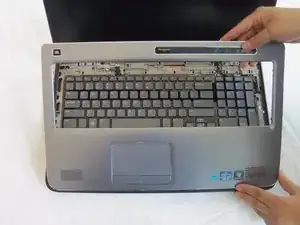
Gently lift and rotate the palm rest panel until it's upside down as it is still connected by the mouse pad wires.
-
-
-
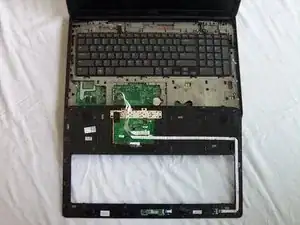
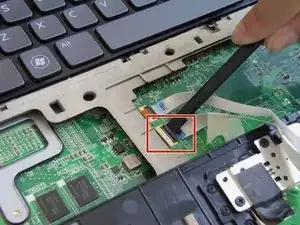
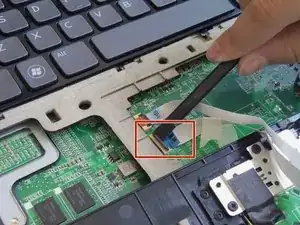
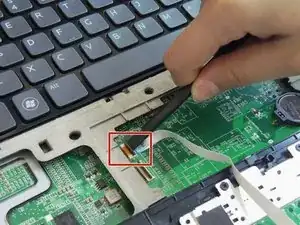
Put the spudger below the black tab of the wider cable and push up to release.
-
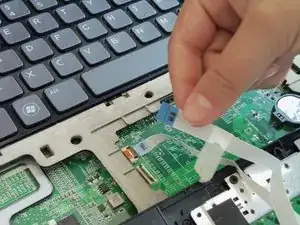
Gently pull out the cable.
-
-
-
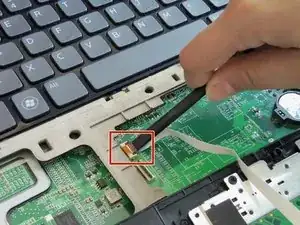
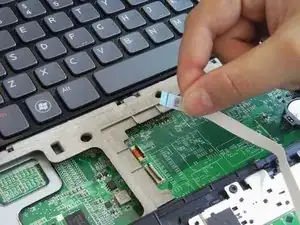
Insert the spudger below the black tab of the remaining cable and push up to release.
-
Gently pull out the cable.
-


To reassemble your device, follow these instructions in reverse order.