
Introduction
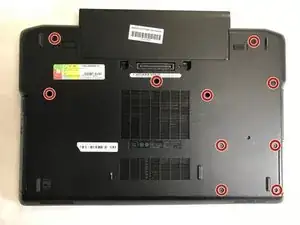
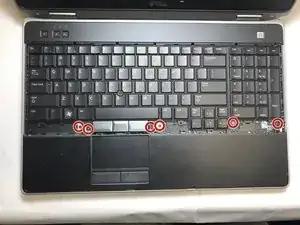
The steps in this guide will require a JIS #0 screw driver to remove 6 screws with a head size of approximately 4.36mm and length of 3.63mm.
Tools
-
-
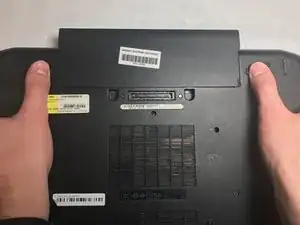
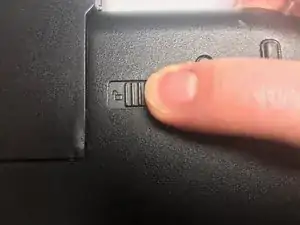
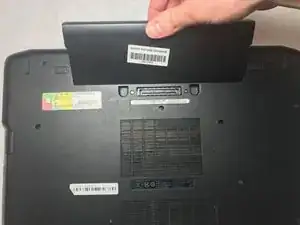
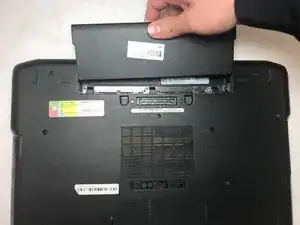
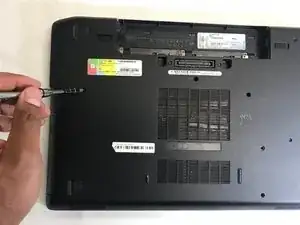
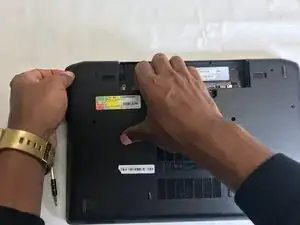
With the laptop closed and the bottom side facing up, slide the two battery latches towards the sides of the laptop.
-
-
-
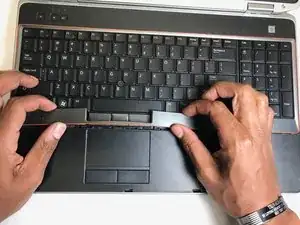
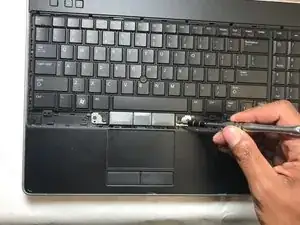
Lift the keypad up from the bottom.
-
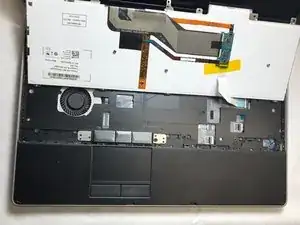
Rest the keypad on the LCD screen for easy access during the next step.
-
-
-
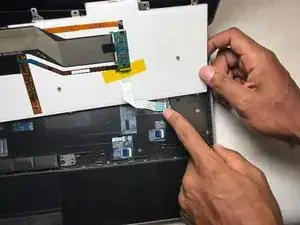
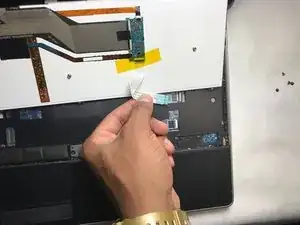
Peel back the tape holding the ribbon connector.
-
Disconnect the ribbon and the keyboard will be free from the laptop.
-


Conclusion
To reassemble your device, follow these instructions in reverse order.
One comment
Hello,
Nice instructions, could someone please tell me what are the other conector/ribbions used for in this dell e6520 under the keyboard ? any help will most appreciated.
Thanks in advance