Introduction
-
-
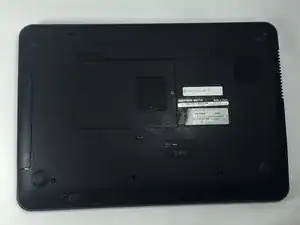
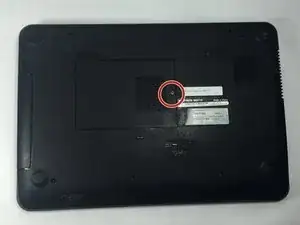
Slide both of the battery release latches on the bottom of the device in towards the center of the computer.
-
-
-
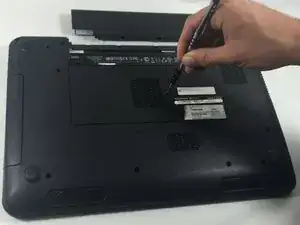
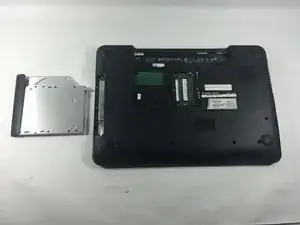
Remove the module cover pressing in the release tabs and pulling the cover up and away from the base of the device.
-
-
-
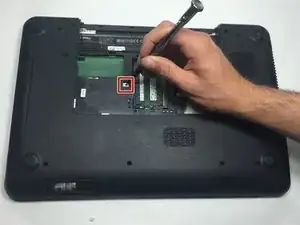
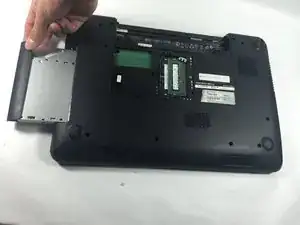
Insert a small screwdriver into the hole and slide the optical drive away from the center of the device. This will slide the optical assembly out from the side of the device.
-
-
-
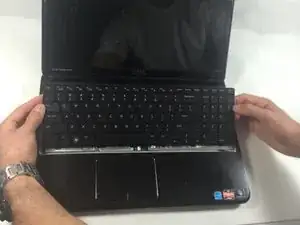
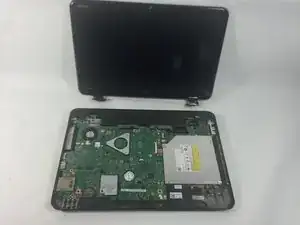
Flip the laptop over and open it to reveal the keyboard.
-
Open the computer and push the screen back as far as possible.
-
-
-
Lift and slide the keyboard towards the screen to remove the tabs on the keyboard from the slots on the palmrest.
-
-
-
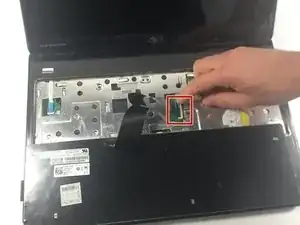
Flip the keyboard over and place it on the front of the device making sure not to pull out the keyboard-cable.
-
-
-
Lift up the connector latch and remove the keyboard cable. The keyboard is now free from the device.
-
-
-
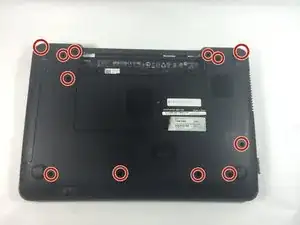
Turn the computer over and remove the twelve 5 mm Phillips # 0 screws on the back of the device.
-
-
-
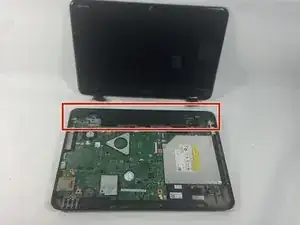
Turn the computer over and open the display as far as possible and remove the four 5 mm Phillips # 0 screw holding the palmrest in place.
-
-
-
Disconnect the power button board cable, touch pad cable and the hot key board cable from the connectors.
-
-
-
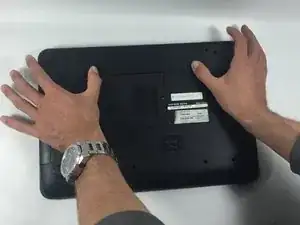
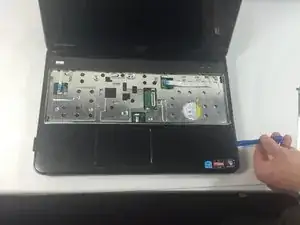
Use a plastic opening tool to carefully pry out the palmrest assembly and lift it off the computer base.
-
-
-
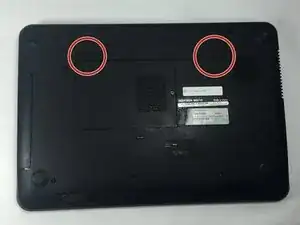
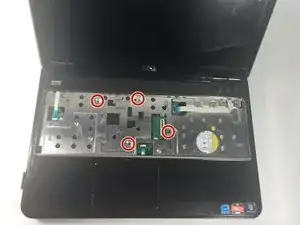
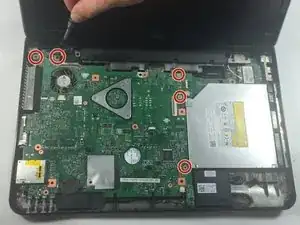
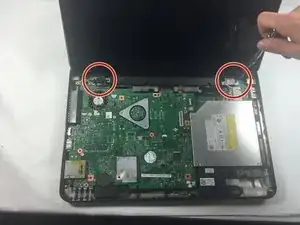
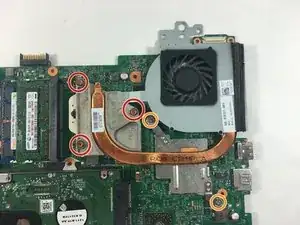
Unscrew the five 5 mm Phillips # 0 screws located in the red circles, found on the system board.
-
-
-
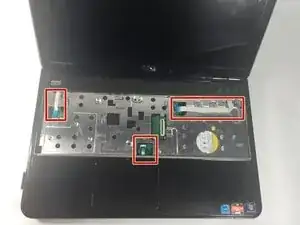
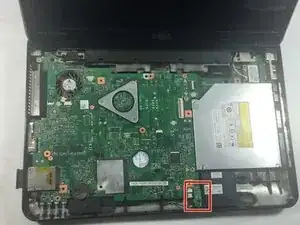
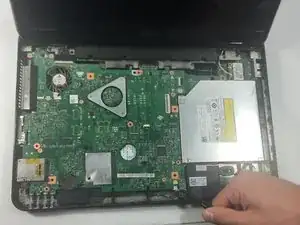
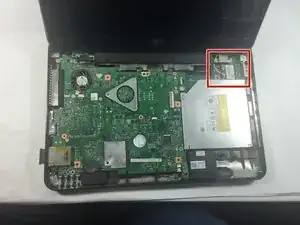
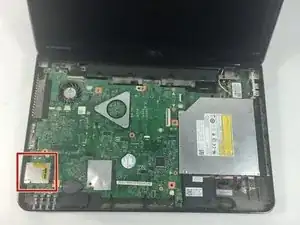
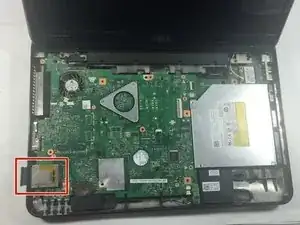
Unplug the small, green, rectangular Bluetooth receptor chip attached towards the bottom right hand corner of the system board.
-
Grasp the chip by placing your forefinger under the chip and thumb on the top, lightly pulling the chip upwards away from the device.
-
-
-
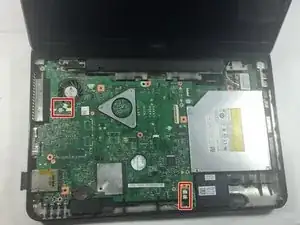
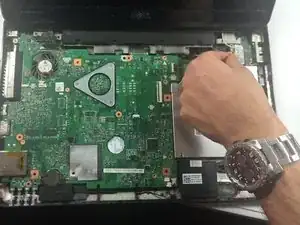
Unplug the small white cable connected to the fan in the upper left hand corner and to the speaker in the lower right hand corner of the device.
-
-
-
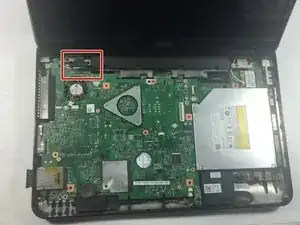
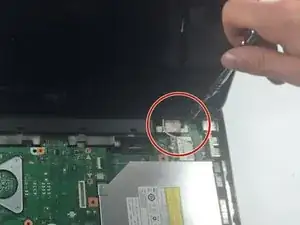
Unplug the rectangular black LCD cable attached to the main board towards the upper left hand corner.
-
-
-
Remove the SD card by pressing the SD card slot, on the side of the device, inside the device until you hear a click. Then release your pressure on the slot then gently slide the SD card out.
-
-
-
There are two 5 mm Phillips # 0 screws on each hinge.
-
Unscrew the four 5 mm Phillips # 0 screws holding the hinge that keeps the monitor in place.
-
-
-
Remove the monitor carefully.
-
Pull up and away on the black hinge cover with moderate force to release from the device.
-
-
-
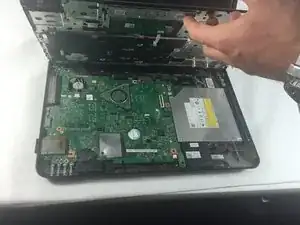
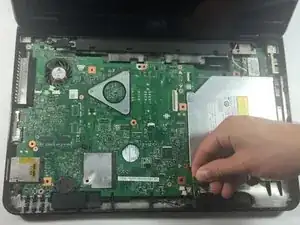
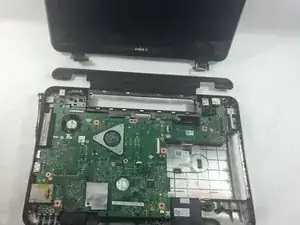
Remove the system board from the laptop.
-
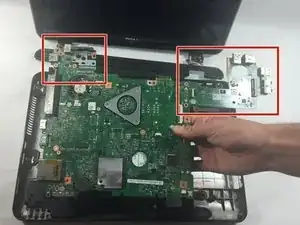
Disconnect the two minor boards, the VGA/Power Board on the left, and the I/O Board on the right, attatched to the system board.
-
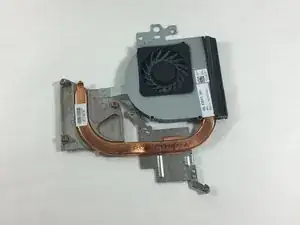
Flip the system board over revealing the fan compartment and the hard drive.
-
-
-
Remove the fan compartment from the main board by turning the three gold Phillips # 0 screws until they dislodge from the system board.
-
The gold screws will spin continuously when they are dislodged.
-
Unscrew the two silver 2 cm Phillips # 0 screws.
-


To reassemble your device, follow these instructions in reverse order.