Introduction
Prerequisite Only
-
-
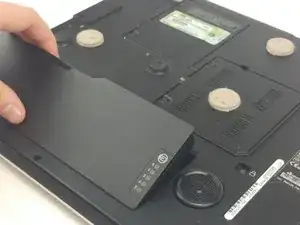
Remove the battery prior to working on any internal components.
-
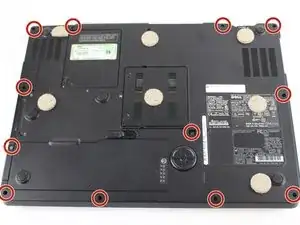
Remove the twelve 6mm Phillips screws from the bottom of the case.
-
-
-
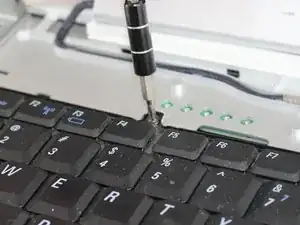
Remove the two 5mm Phillips screws retaining the keyboard.
-
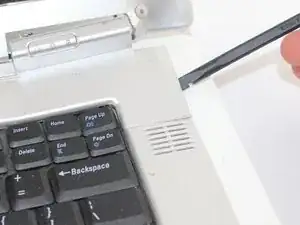
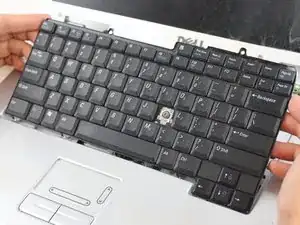
Pull the keyboard up and toward the monitor to reveal the ribbon cable beneath.
-
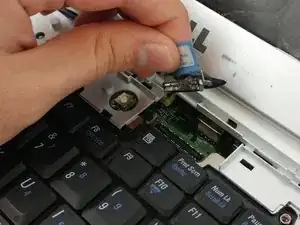
Firmly grasp the blue tape attached to the keyboard ribbon cable connector and pull upward away from the motherboard.
-
-
-
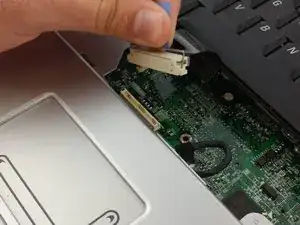
Firmly grasp the blue tape attached to the LCD display ribbon cable connector and pull upward away from the motherboard.
-
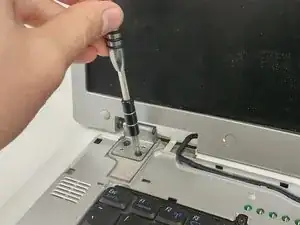
Remove the two 5mm Phillips screws holding the display hinge on both sides of the laptop.
-
-
-
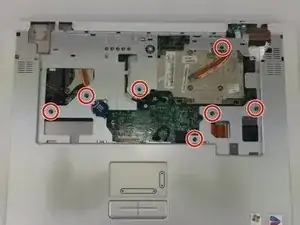
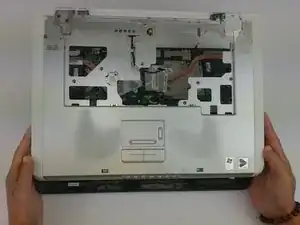
Remove the seven 6mm Phillips screws holding the trackpad/palm rest to the motherboard.
-
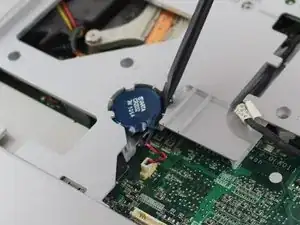
Gently pry the CMOS battery out of its retaining clip using a spudger.
-
-
-
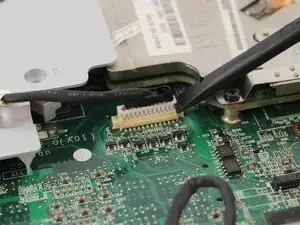
Remove the low profile connector for the keyboard status lights located next to the video card heat sink using a spudger.
-
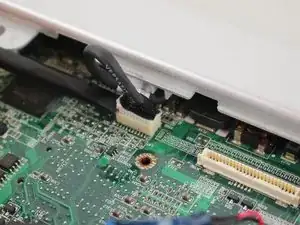
Remove the trackpad ribbon cable from the motherboard using a spudger.
-

To reassemble your device, follow these instructions in reverse order.