
Introduction
If you are looking to replace the motherboard of your Dell Chromebook 3100 then this guide is for you.
-
-
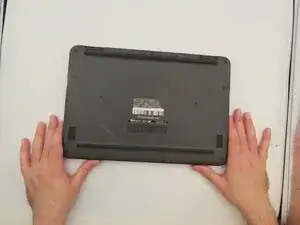
Flip the laptop so the bottom is facing upwards.
-
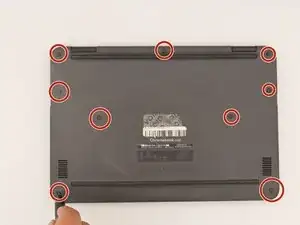
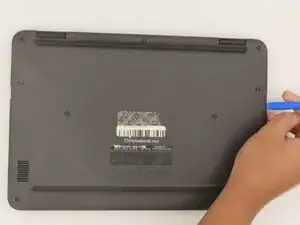
Loosen the nine screws from the back panel using a Phillips #0 screwdriver.
-
-
-
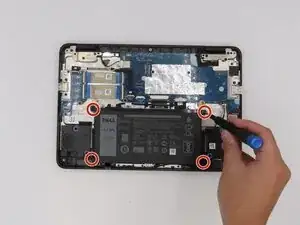
Remove the screws attached to the battery using a Phillips #0 screwdriver.
-
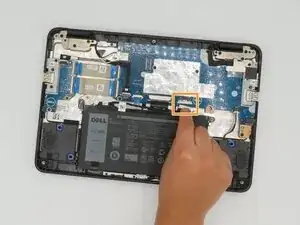
Disconnect the battery from the motherboard by gently pulling on the connector cable at the top of the battery.
-
-
-
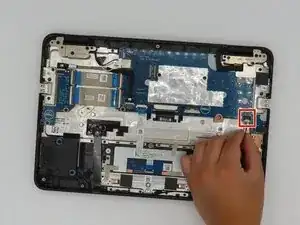
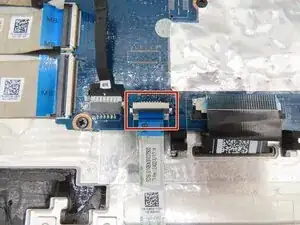
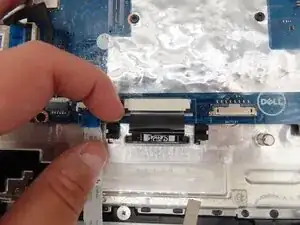
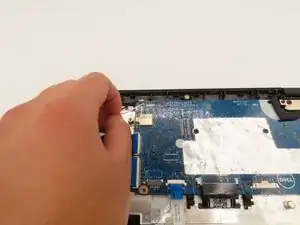
Using your finger or a pry tool, lift the grey switch open from the side closest to you.
-
Remove the EDP cable from its port by gently pulling away from you.
-
-
-
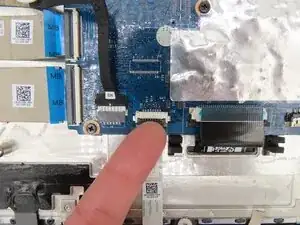
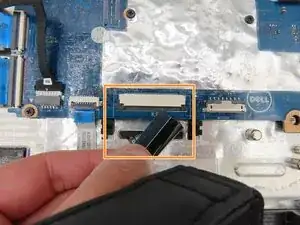
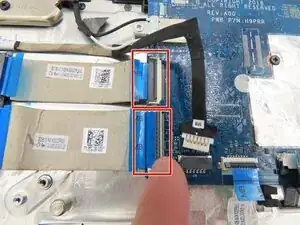
Use your finger or a pry tool to lift up the grey switch of the touch pad cable.
-
Gently remove the ribbon cable by pulling.
-
-
-
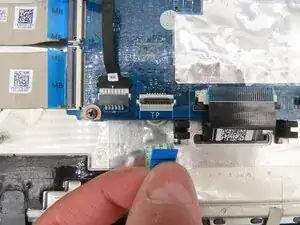
Using your finger or a pry tool, gently pull the two dark grey switches toward yourself until they release.
-
Gently remove the keyboard ribbon cable by pulling it.
-
-
-
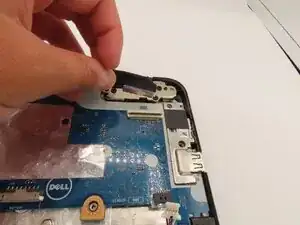
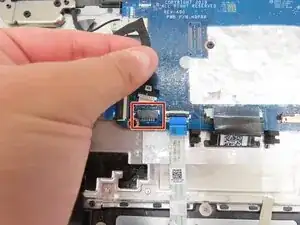
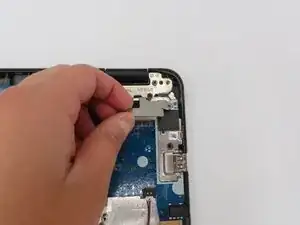
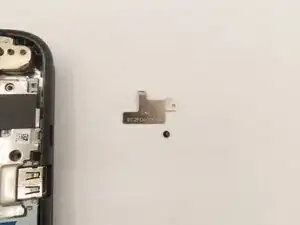
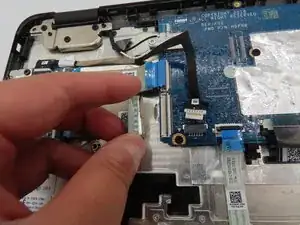
Use the Phillips #0 screwdriver to remove the 3 mm screw holding down the bracket housing for the EDP cable.
-
Remove the metal plate.
-
-
-
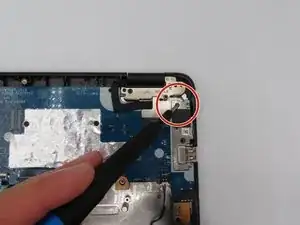
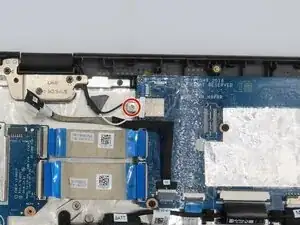
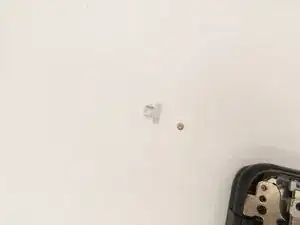
Using the Phillips #0 screwdriver, remove the 3mm screw that holds down the metal plate of the wireless adapter
-
Remove the metal plate.
-
Disconnect the two thin antennas connected to the wireless adapter by gently lifting and pulling them up towards you.
-
-
-
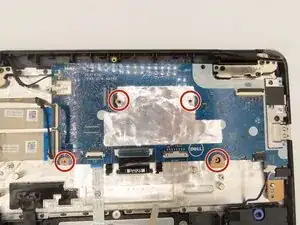
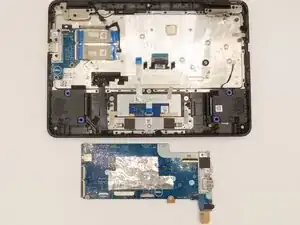
Using the Phillips #0 screwdriver, remove the four 3mm screws that hold down the motherboard.
-
Remove the motherboard by gently pulling it left and then up to stay clear of the external ports.
-


To reassemble your device, follow these instructions in reverse order.