Introduction
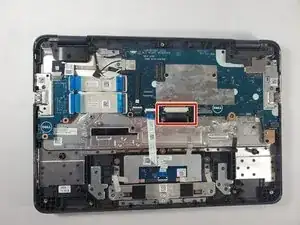
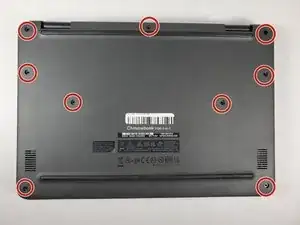
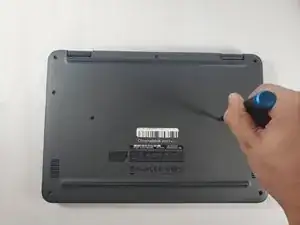
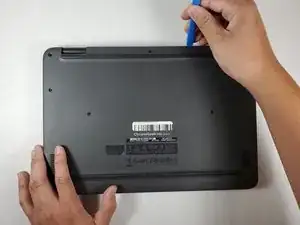
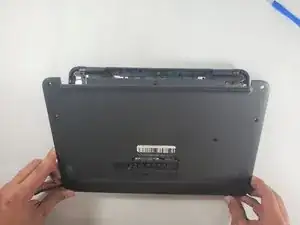
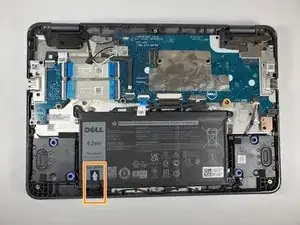
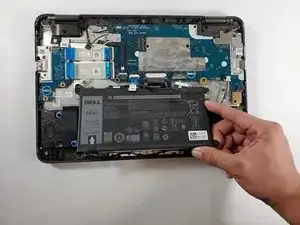
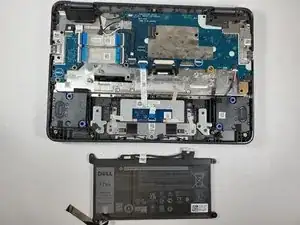
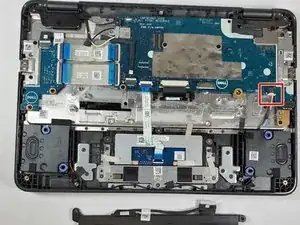
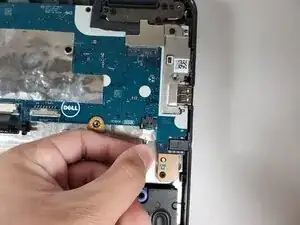
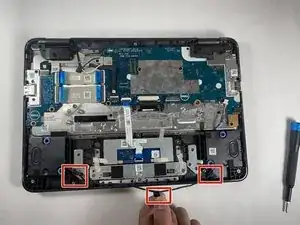
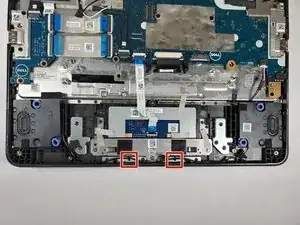
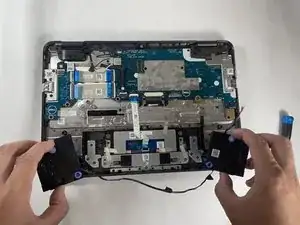
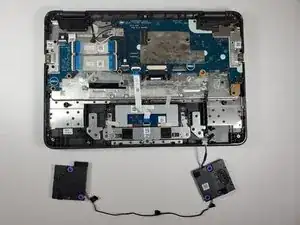
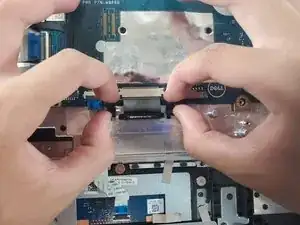
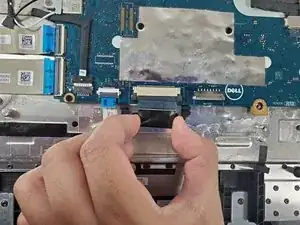
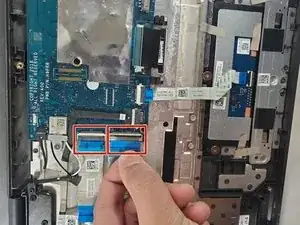
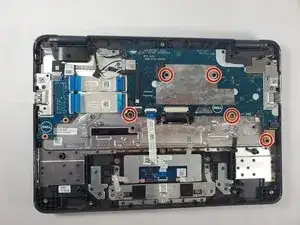
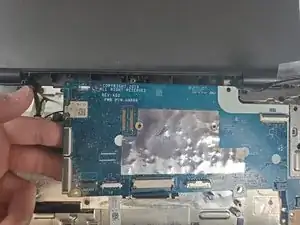
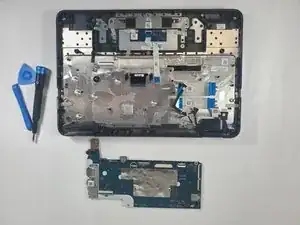
Follow this guide to remove and replace the motherboard in the Dell Chromebook 3100 2-in-1 laptop.
For your safety, discharge your battery below 25% before disassembling it. This reduces the risk of a dangerous thermal event if the battery is accidentally damaged during the repair.
Tools
Parts
-
-
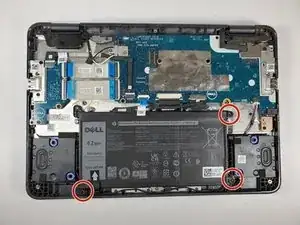
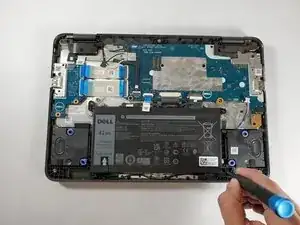
Using a Phillips #1 screwdriver, remove the three 4 mm screws that secure the battery.
-
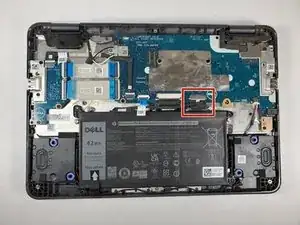
Remove the adhesive tape that secures the battery in place.
-
-
-
Remove adhesive tape that secures the speaker cable.
-
Disconnect the speaker cable from the connector on the system board.
-
-
-
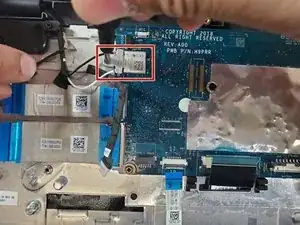
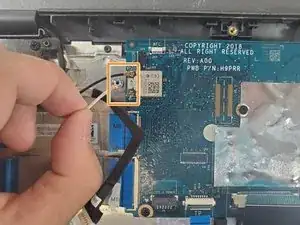
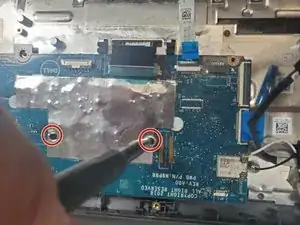
Remove the single 3 mm screw that secures the WLAN bracket to the system board using a Phillips #1 screwdriver.
-
Lift the WLAN bracket from the system board.
-
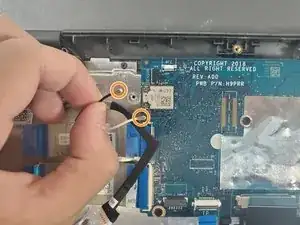
After lifting the bracket, carefully unplug the two coaxial cables.
-
-
-
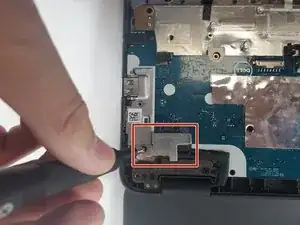
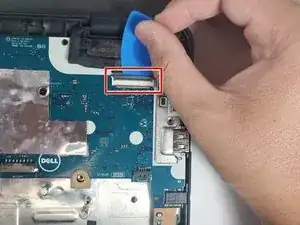
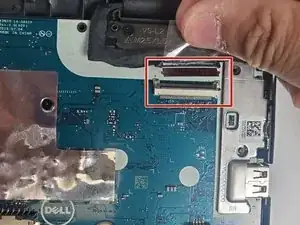
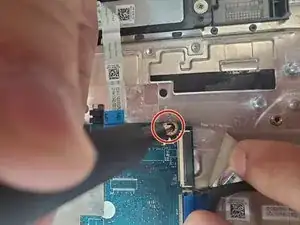
Remove the single 4 mm screw that secures the eDP bracket to the motherboard using a Phillips #1 screwdriver.
-
Remove the eDP bracket.
-
To reassemble your device, follow these instructions in reverse order.
One comment
Any idea how to use the USB repair shim? Dell's guide didn't help
Josie -
