Introduction
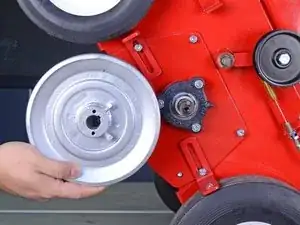
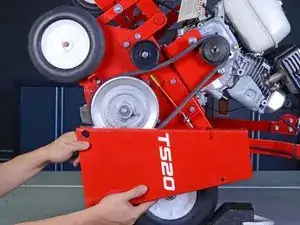
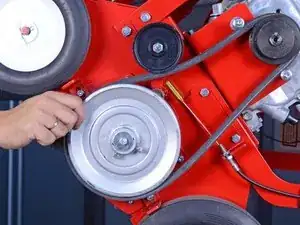
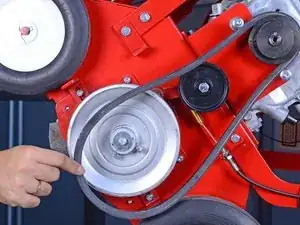
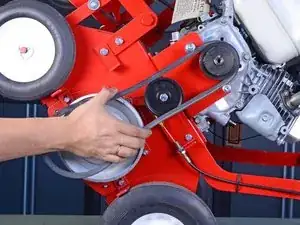
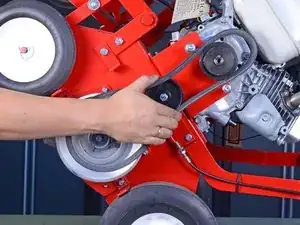
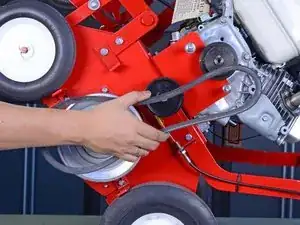
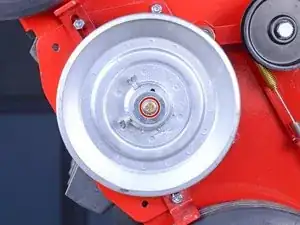
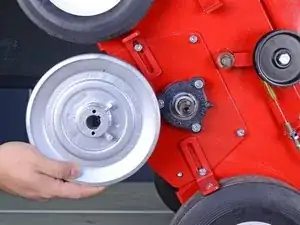
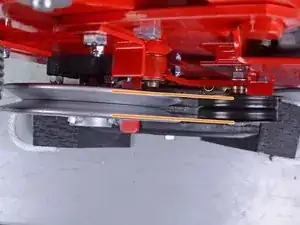
This guide shows how to remove and replace the drive pulley.
Note: The pulley can be hard to remove and requires a suitably sized gear puller to extract it.
Note: The pulley bolt may be heavily seized on with thread-lock. You may need to use a blowtorch to heat up the bolt in order to soften the thread-lock.
Tools
Parts
-
-
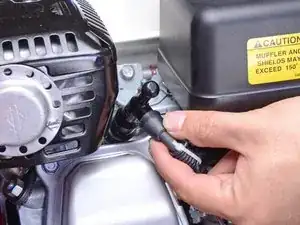
Disconnect the spark plug to prevent the engine from accidentally starting up during service:
-
Grab the plastic housing at the end of the spark plug wire.
-
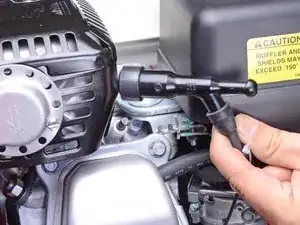
Pull firmly to disconnect the wire from the spark plug.
-
-
-
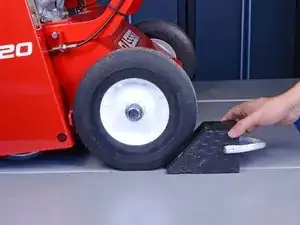
To prevent the over seeder from rolling during service, place wheel chocks behind a rear wheel.
-
-
-
Push down on the main handle to tilt the over seeder back on its rear wheels.
-
Place some weights on the handle, or tie the handle down, to prevent the machine from falling forward.
-
-
-
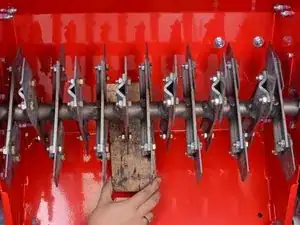
Place a block of wood to jam the blades so they don't rotate forward, allowing you to unscrew the pulley bolt.
-
-
-
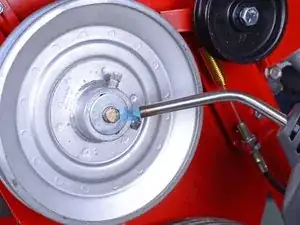
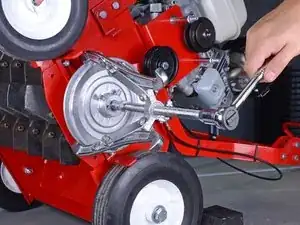
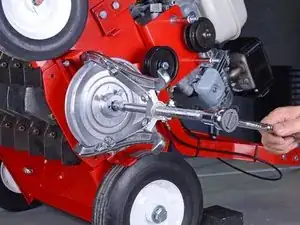
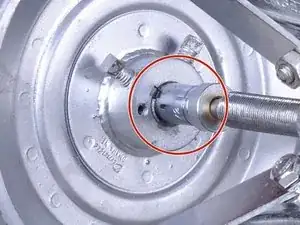
Attach a gear puller to the pulley.
-
If your gear puller's center pin is too thick for the pulley, use a 1/2" socket as a buffer.
-
Crank on the gear puller with a wrench to remove the pulley.
-
-
-
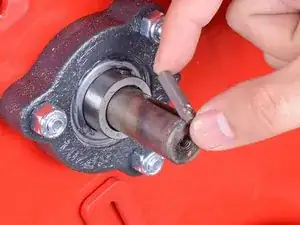
Lubricate the axle and key with machine oil.
-
Set the square key in the pulley first, then align the pulley onto the axle. This makes it slightly easier to hammer the pulley in place.
-
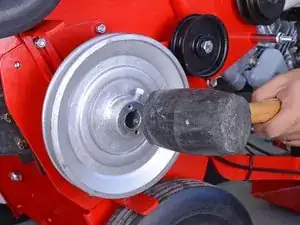
Hammer the pulley in place with a rubber mallet.
-
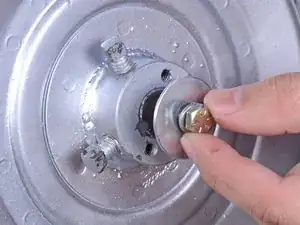
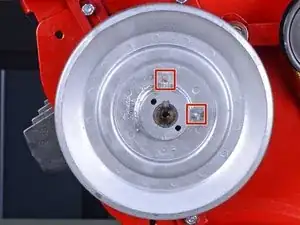
Before you tighten the set screws, make sure that the drive pulley's belt path aligns with the idler pulley.
-
To reassemble your device, follow these instructions in reverse order.
