Introduction
-
-
Place the phone screen-side down and place thumb on the yellow and black switch. Slide the switch to the right to unlock the back covering for removal.
-
-
-
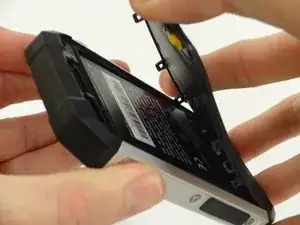
Remove the back covering by gently lifting upwards from the bottom of the back covering. The back will snap off and the battery is exposed.
-
-
-
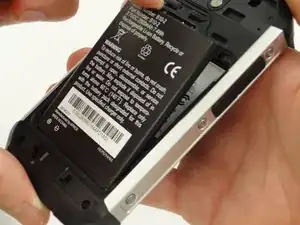
Place index finger at the top edge of the battery and gently lift upwards. The battery will slide cleanly out of the phone.
-
-
-
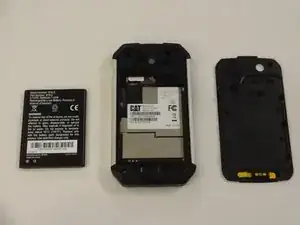
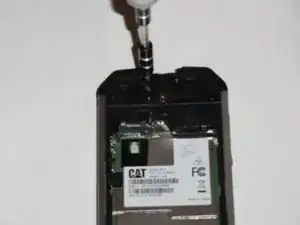
With the back cover removed, locate and remove the Phillips screw pictured top-center, and the two torx screws above and to either side of the Phillips screw. A T-5 bit is required for removal of the torx screws.
-
WARNING: Proceeding beyond this point will void the warranty for this device.
-
-
-
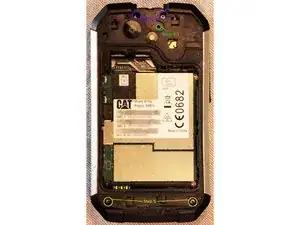
Next, remove the two torx (star-shaped) screws below the battery. These screws help to secure the outer shell of the phone around the motherboard. A T-5 bit is required for removal.
-
-
-
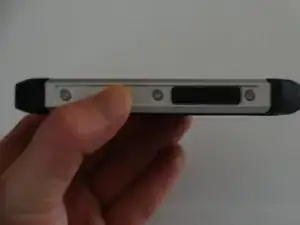
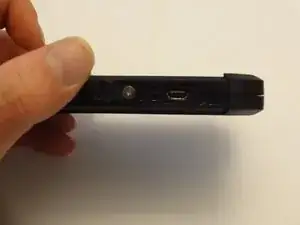
There are three remaining screws on each long side of the phone. A small hex bit is required for removal.
-
-
-
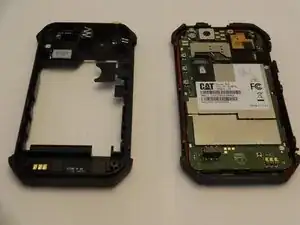
With all screws removed, the back and side pieces should come off the front of the phone, exposing the motherboard and various components as shown.
-
-
-
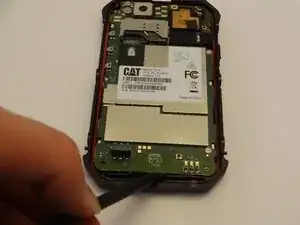
With all screws removed, move around the motherboard, carefully prying it from the remaining shell.
-
-
-
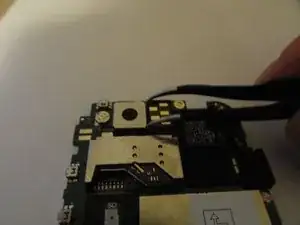
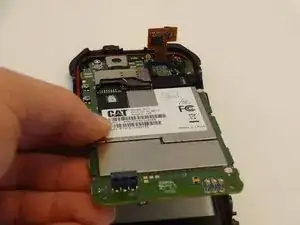
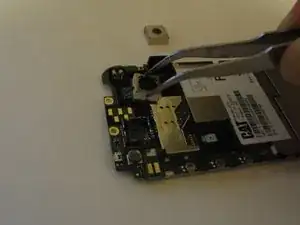
Finally, disconnect the chip seen in the upper right, and the board should pull away from the rest of the phone.
-
-
-
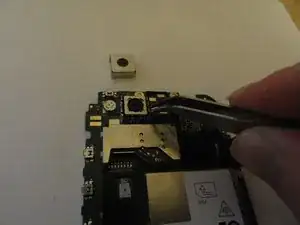
The module is also held in place by two small metal tabs to either side. To undo these, bend the bracket on both sides ever so slightly.
-
-
-
The camera module will now easily pull free.
-
When installing the new camera module, be sure to resecure the brackets on either side. A faint click should also be heard when pressing the new piece into its socket. These are the tabs hooking onto the brackets, and will signify it is in securely.
-


To reassemble your device, follow these instructions in reverse order.