
Introduction
A common issue with this camera is a cracked display screen or the screen not showing the picture, meaning it is damaged. This guide will walk you through the process of replacing the screen.
Parts
-
-
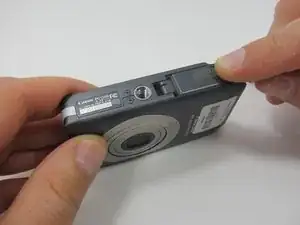
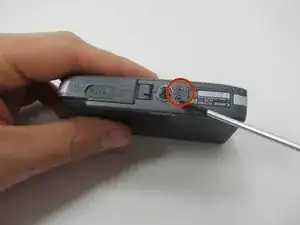
Locate the battery cover on the bottom of your camera.
-
Slide the tab to the right to open the battery cover.
-
-
-
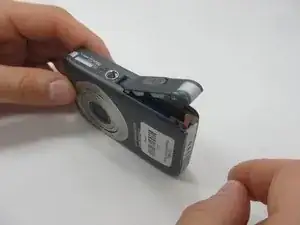
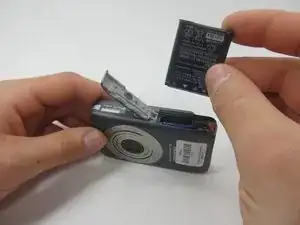
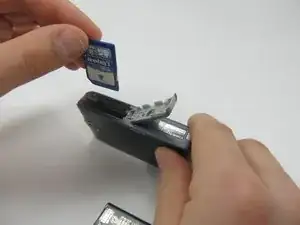
Push down on the memory card until it clicks and releases.
-
Pull up on the memory card to remove it.
-
-
-
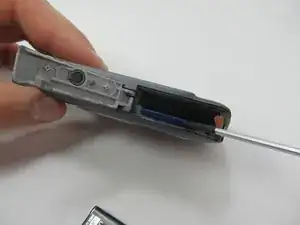
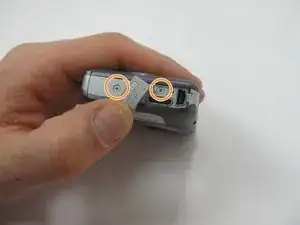
Using the Phillips #00 screwdriver, remove the two 3.1mm screws from the bottom of the camera.
-
-
-
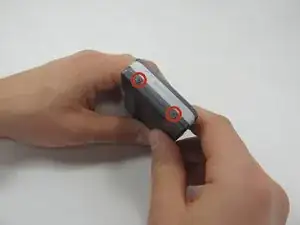
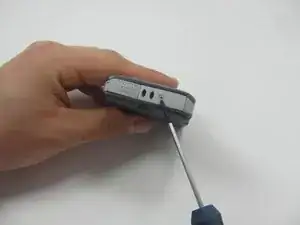
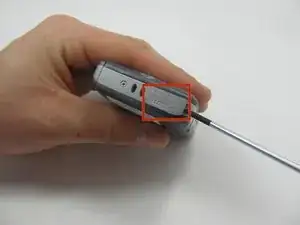
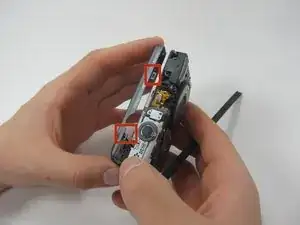
Ensure that the screen is facing you, and then rotate it till you see the screws on the side of the camera.
-
Use the Phillips #00 screwdriver to remove the two 3.1 mm screws.
-
-
-
Use the Philips #00 screwdriver to pry open the charging port cover.
-
Once you pry open the charging port cover, rotate the cover so that you have access to the screw underneath. Which is seen in the next image.
-
Remove both 3.1 mm screws using the Phillips #00 screwdriver.
-
-
-
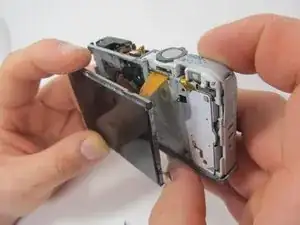
Turn the camera so the bottom is once again facing up.
-
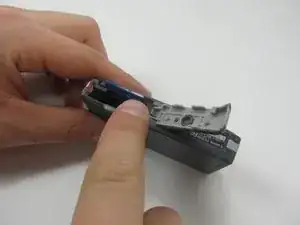
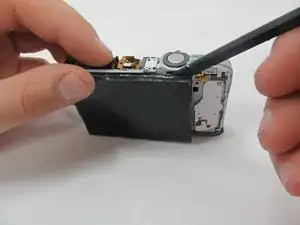
With the battery door still open, use a spudger to remove the cover from the front of the camera.
-
-
-
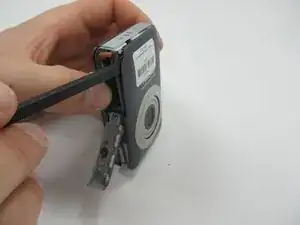
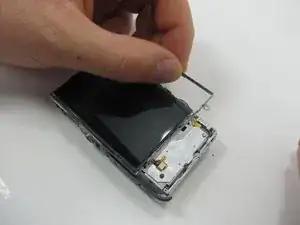
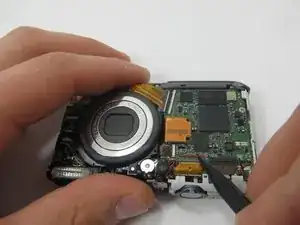
Use the spudger to lift up the latch on the zero insertion force connector (ZIF).
-
Slide the now free ribbon cable from the connector.
-
-
-
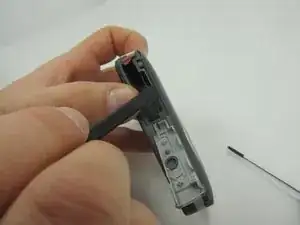
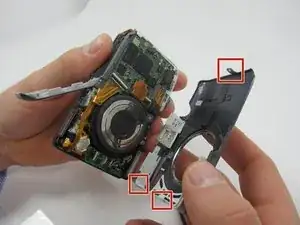
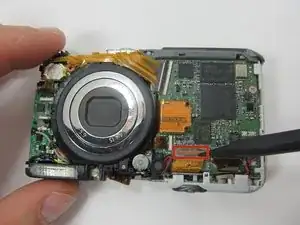
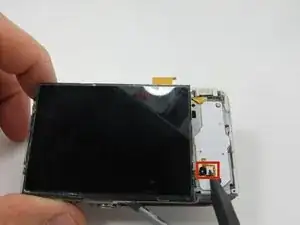
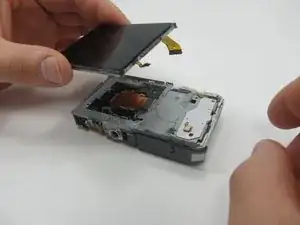
Holding the display screen, gently pull the ribbon cable out through the frame of the camera.
-


To reassemble your device, follow these instructions in reverse order.