Introduction
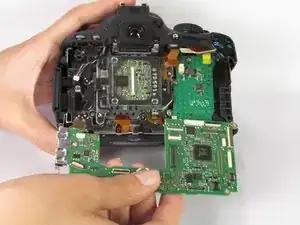
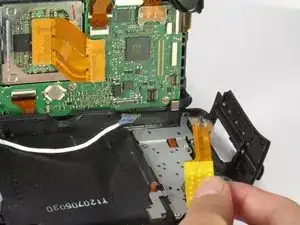
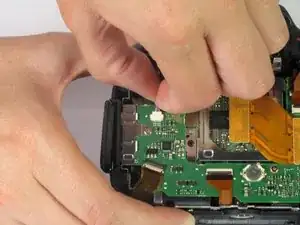
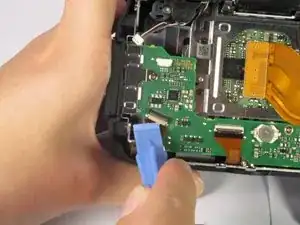
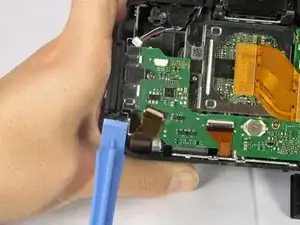
This guide will detail the process of replacing the motherboard. Replacing the motherboard is a more involved process and should not be done unless your are sure there is an issue with the motherboard.
Tools
-
-
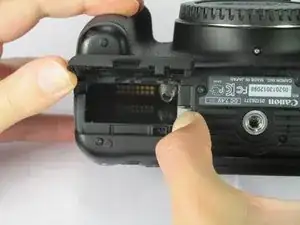
Locate the battery cover at the bottom of the camera.
-
Pull down on the black tab to open the cover.
-
-
-
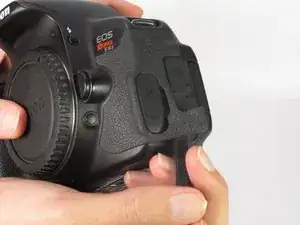
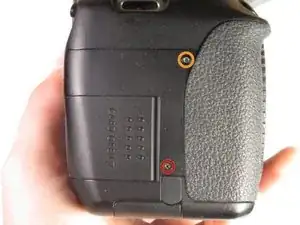
Use the spudger to pry off the rubber grip and reveal the screws.
-
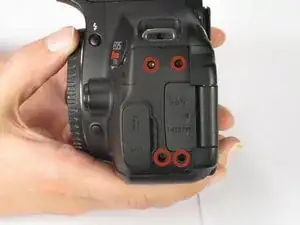
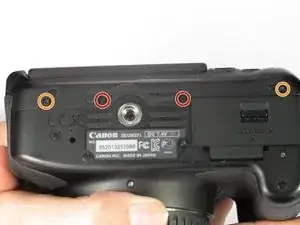
Unscrew the four 5.5mm Torx screws using the Torx T6 screwdriver.
-
-
-
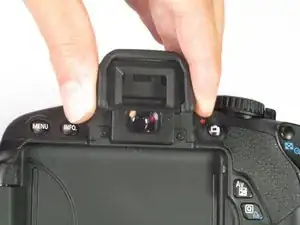
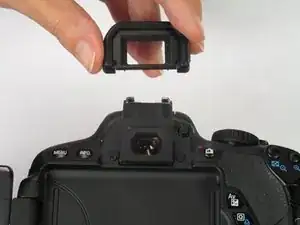
Pull off the plastic cover from the viewfinder.
-
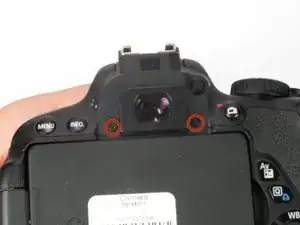
Unscrew the two 3.4mm JIS screws using the JIS #00 screwdriver.
-
-
-
Remove the following screws from the device using the JIS #00 screwdriver:
-
Two 3.4mm JIS screws.
-
Two 5.9mm JIS screws.
-
-
-
Remove the following screws from the device using the JIS #00 screwdriver:
-
One 3.4mm JIS screw.
-
One 5.9 mm JIS screw.
-
-
-
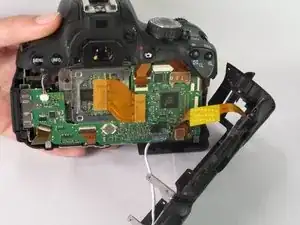
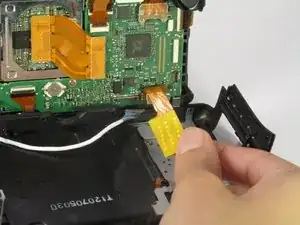
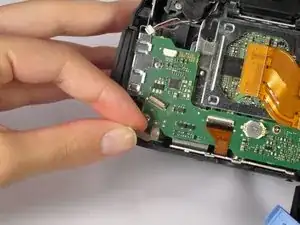
In the lower right corner of the mother board, detach the blue cable.
-
Then detach the ribbon cable going from the motherboard to the rear panel.
-
-
-
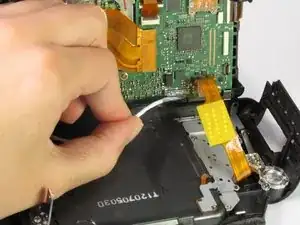
In the upper left corner of the motherboard, remove the small multicolored wire from the motherboard.
-
-
-
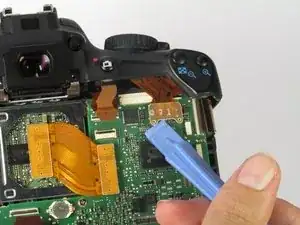
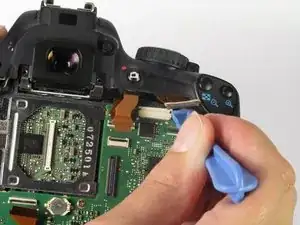
Use the plastic opening tool to flip up ribbon cable connector.
-
Gently disconnect the ribbon cable by pulling it away from the motherboard.
-
-
-
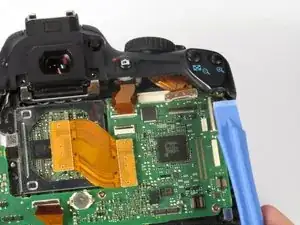
In the upper right corner of the motherboard, use the plastic opening tool to remove the clear cable connector from the motherboard.
-
-
-
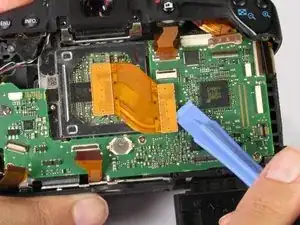
Use the plastic opening tool to remove the ribbon cable connecting the image sensor to the motherboard.
-
-
-
Use the plastic opening tool to push on the indents of the plastic header to disconnect from the motherboard.
-
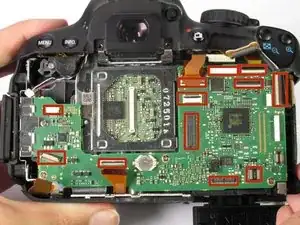
Make sure all cables are disconnected from the motherboard.
-
-
-
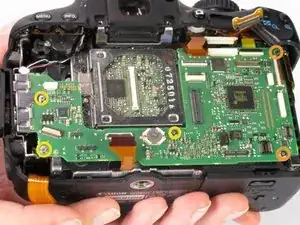
Remove the following screws from the motherboard using the JIS #00 screwdriver:
-
Two 3.9mm JIS screws.
-
Three 2.9mm JIS screws
-
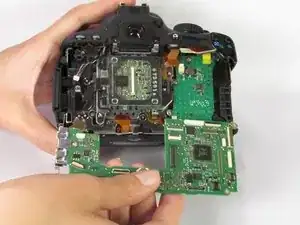
Gently pull the motherboard out of the camera.
-
To reassemble your device, follow these instructions in reverse order.
2 comments
This guide gets an upvote.
It's the first camera disassembly guide I've seen so far on ifixit that includes the single most important precaution: the camera has a body cap fitted to avoid dust, dirt or other objects getting into the mirror box. Bravo!
Where can we buy the parts?
tjt263 -
