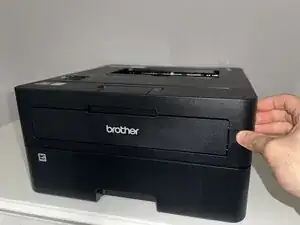
Introduction
If your Brother HL-L2400D printer produces faded prints, streaks, or error messages indicating that the drum needs replacement, it’s time for a new drum unit. The drum is a critical component that transfers toner onto paper; over time, it wears out and affects print quality.
This guide will walk you through the step-by-step process of replacing the drum in your Brother HL-L2400D, ensuring smooth operation and high-quality prints. Whether you’re a beginner or experienced with printer maintenance, our instructions will make the process quick and hassle-free.
Let’s get started!
-
-
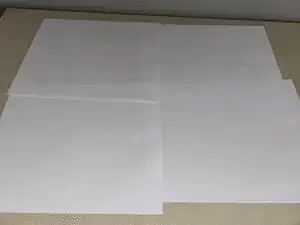
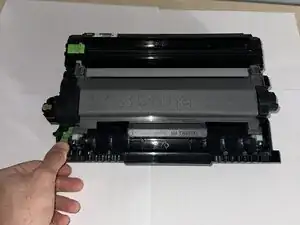
Place the drum onto a sheet of paper.
-
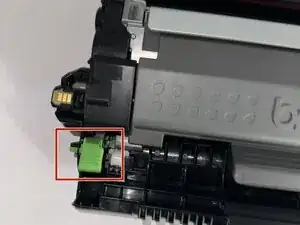
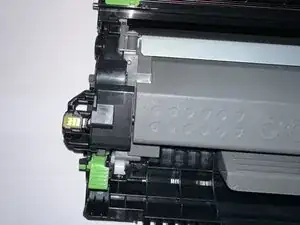
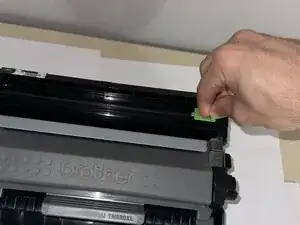
Press the green tab on the side to pop out the inside component.
-
-
-
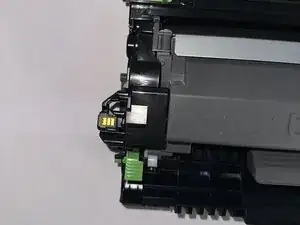
Press the green tab firmly until you hear a noise.
-
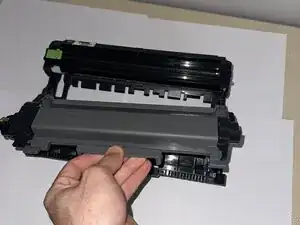
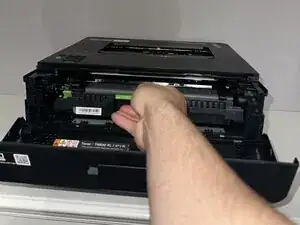
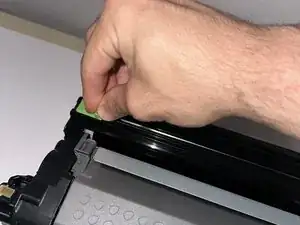
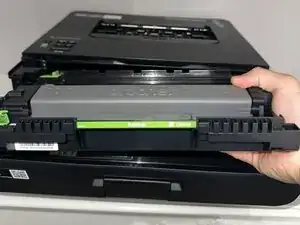
Pull out the drum using the closest grey part to you.
-
-
-
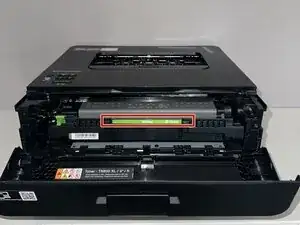
To clean the imaging of the drum, use the slider above.
-
Make sure to go back and forth with the slider several times.
-
-
-
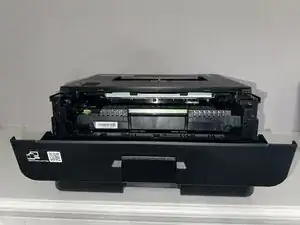
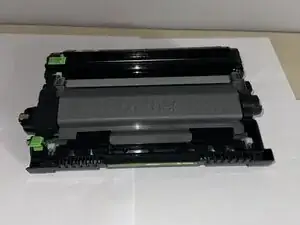
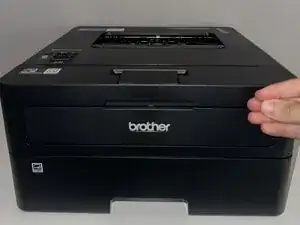
Place your replaced part back into the printer.
-
Press and hold the "Go" button at the bottom of the printer.
-
Let go once all four of the button's LEDs are lit up.
-


You have successfully replaced the drum! Contact a local recycling centre or a specialized recycling service for instructions on properly disposing of the cartridge or drum unit.