Introduction
This guide will explain the process of replacing a faulty screen in your Blackberry Bold 9900. It will require a near complete disassembly of the phone, but keeping that retro Blackberry alive in a world of smartphones is invigorating and worth it, right?
Tools
-
-
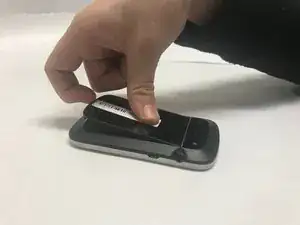
Place phone screen down.
-
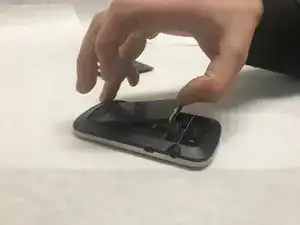
Use your finger to life upward on the battery case.
-
Pull the cover away from the battery.
-
-
-
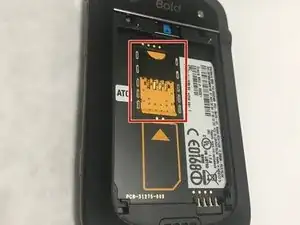
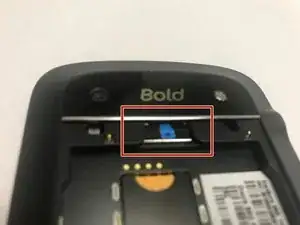
The Mini-SIM card is located inside the red rectangle.
-
To remove the Mini-SIM Card, push and slide the card inward towards the top of the phone. It will be ejected.
-
-
-
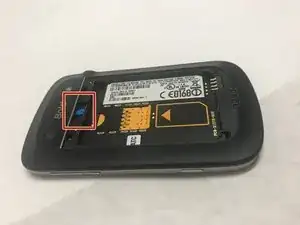
The MicroSD card is located where the red rectangle is shown.
-
To remove MicroSD card, push the card inward towards the top of the phone then release. The MicroSD card will be ejected.
-
-
-
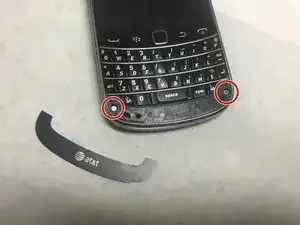
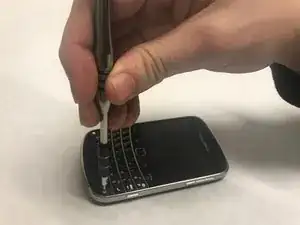
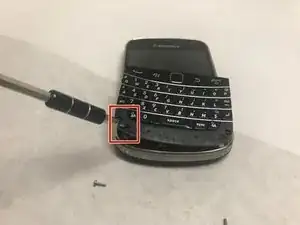
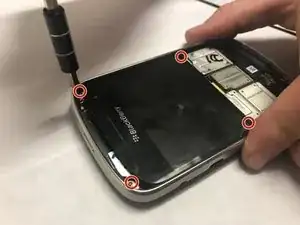
Using the T5 Torx Screwdriver, remove the four torx screws that are located on the bottom half of the device
-
-
-
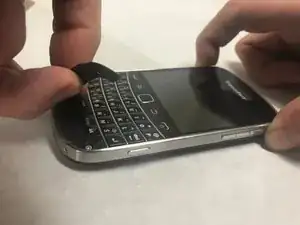
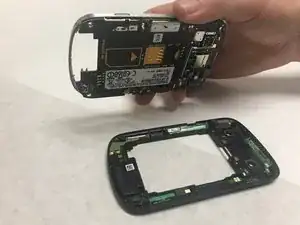
Now, carefully and gently using your fingers, lift and remove the assembly from the back case.
-
-
-
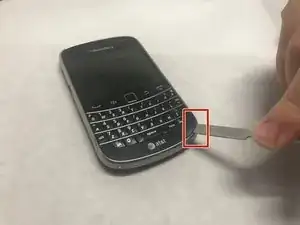
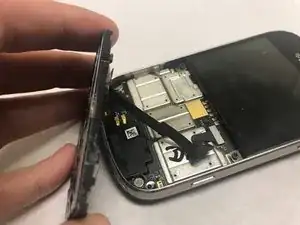
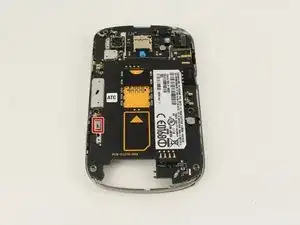
Use the black nylon spudger to pop the press fit connector up from the lower left corner of the motherboard.
-
-
-
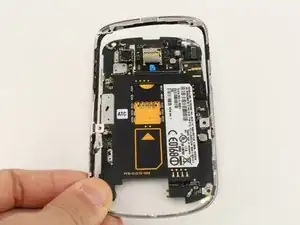
Lift the midframe, which contains the power/volume buttons, off of the motherboard and screen.
-
-
-
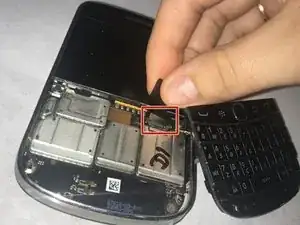
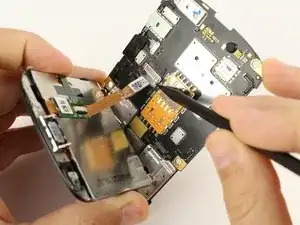
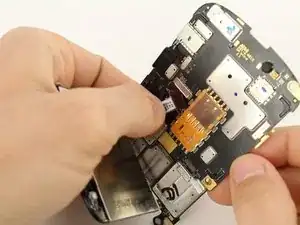
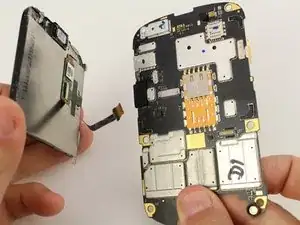
Using a spudger, gently remove the display cable out from the motherboard.
-
When it seems it has become loose enough, remove it by pinching the ribbon firmly with your fingers and gently sliding it the rest of the way out.
-
To reassemble your device, follow these instructions in reverse order.

