Introduction
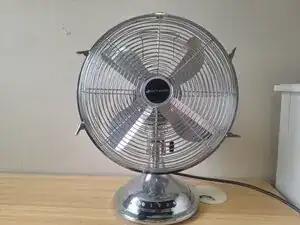
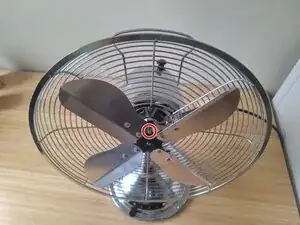
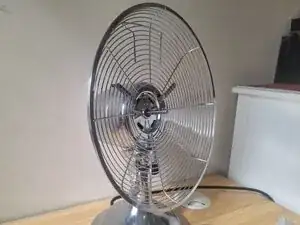
If your Bionaire BDF1214CR-CN fan is making unusual noises, not circulating air effectively, or has visible cracks or damage on the blade, it's likely time for a replacement. This guide will walk you through the process of safely replacing the fan blade to restore your fan’s functionality.
Replacing the fan blade is a straightforward repair that can enhance your fan's efficiency and prolong its lifespan, helping you avoid the expense and waste of purchasing a new unit. Failing to replace it can make the fan inefficient and potentially unsafe to use.
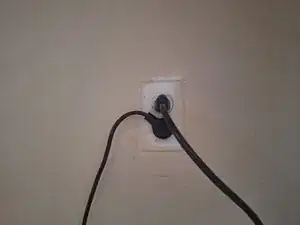
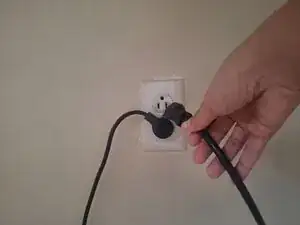
If you have recently used the fan, let it cool down first before you begin. Also, make sure that the fan is off and unplugged before you begin this repair.
Tools
Parts
-
-
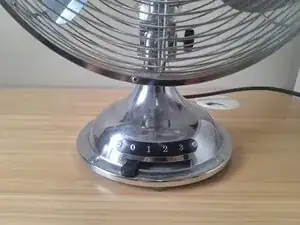
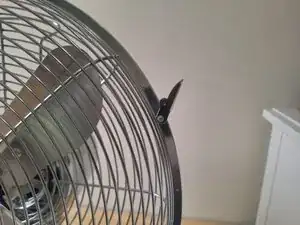
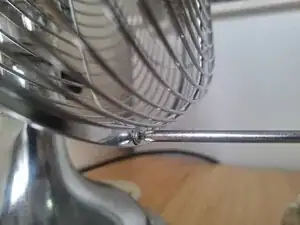
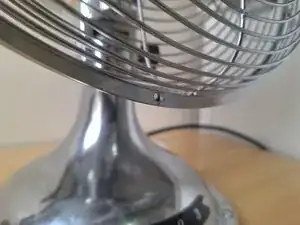
Use the Phillips #2 screwdriver to loosen the 7 mm screw at the bottom of the grill.
-
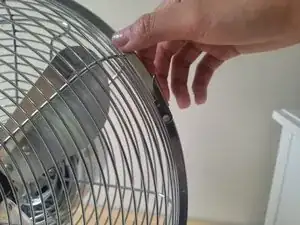
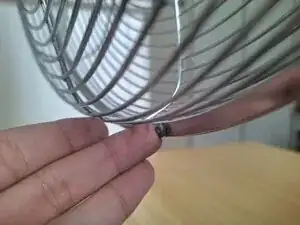
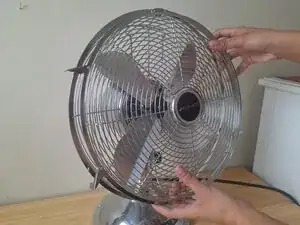
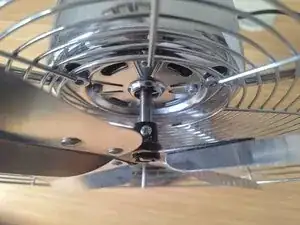
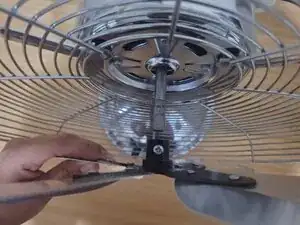
When the 7 mm Phillips #2 screw is loose, turn to the back of the fan and rotate the small bolt counterclockwise until it pops out.
-
Remove the 7 mm Phillips #2 screw.
-
-
-
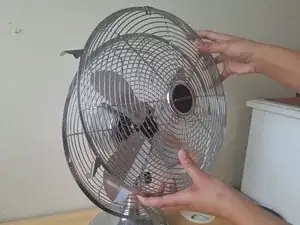
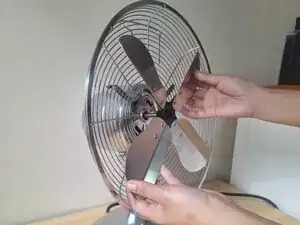
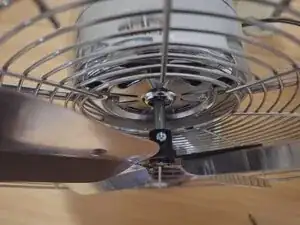
Rotate the fan blade until the 6 mm Phillips #2 screw behind the blade is pointing upwards.
-
Use the Phillips #2 screwdriver to remove the 6 mm screw
-
-
-
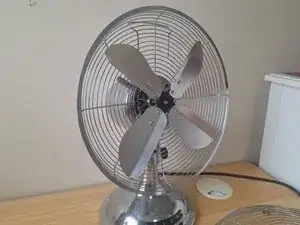
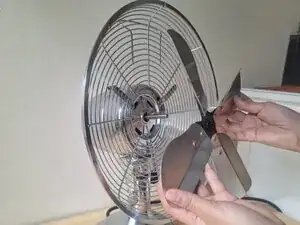
Position the new fan blade where the dents are faced upward and the 6 mm Phillips #2 screw on the fan blade is also pointed upwards.
-
Slide the fan blade onto the rotor.
-
Use a Phillips #2 screwdriver to tighten the screw.
-

To reassemble your device, follow these instructions in reverse order starting from Step 4.