
Introduction
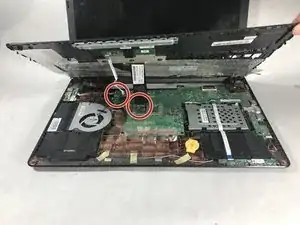
This guide will show how to remove and replace the motherboard. Please note the motherboard is a very fragile component of the laptop and can break easily.
-
-
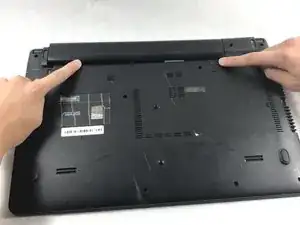
To unlock the right tab, push the right slider to the left with one hand.
-
Push the battery out with the other hand.
-
-
-
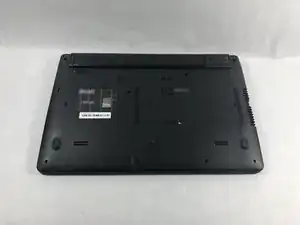
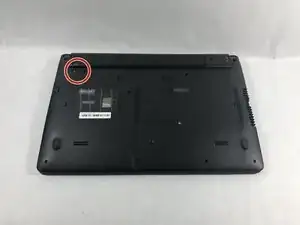
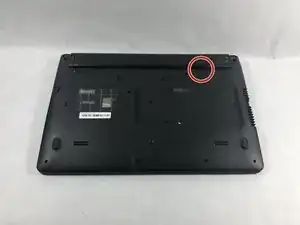
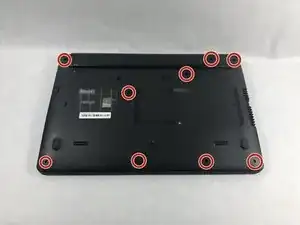
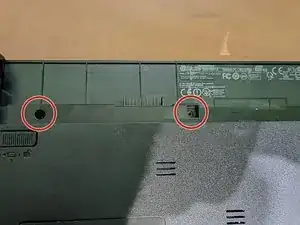
Using the Phillips #00 screwdriver unscrew all nine screws from the bottom of the laptop, as well as the additional two screws inside the battery compartment.
-
-
-
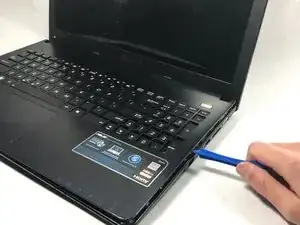
Pry off the keyboard cover on the edge using the plastic opening tool.
-
Start from one side. Once it is lose, carry out the same procedure on the front and other side.
-
-
-
Slowly lift the keyboard upward, but do not remove completely.
-
Remove the two data cables that attach the keyboard to the motherboard.
-
-
-
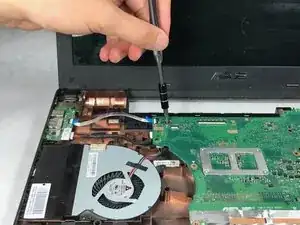
Unscrew the three screws on the left hand side of the big motherboard.
-
This will loosen the motherboard, which will allow for better access to the cables in the next step.
-
-
-
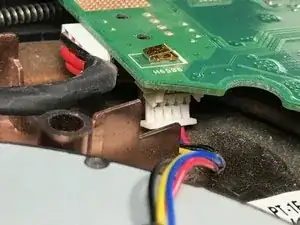
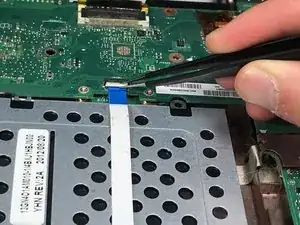
Remove the connector cable attached to the bottom of the motherboard.
-
Take the black plastic spudger and press down on the lower half of the white plastic piece to remove the connector cable.
-
-
-
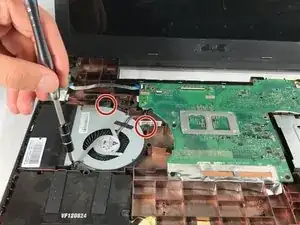
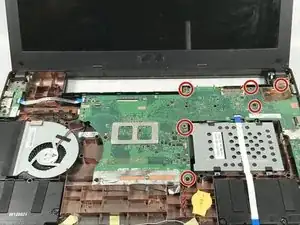
Unscrew the six screws that hold the motherboard to the bottom of the laptop using a Phillips #00 screwdriver.
-
-
-
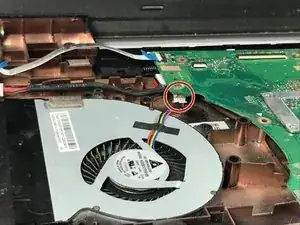
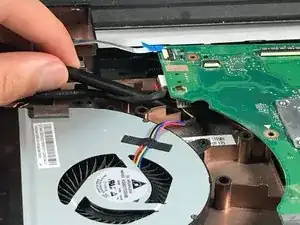
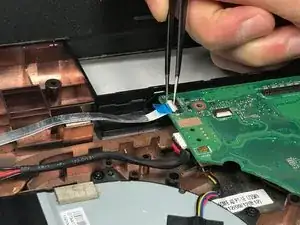
Remove the cable on the left side of the motherboard.
-
Use tweezers to pull the white tab up in order to release this cable.
-
-
-
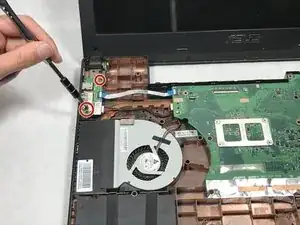
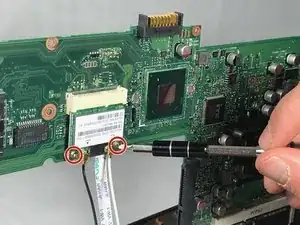
On the left side is a small piece of the motherboard. Unscrew the two screws holding this piece down with the Phillips #00 screwdriver.
-
-
-
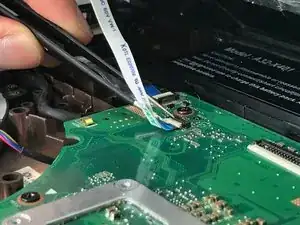
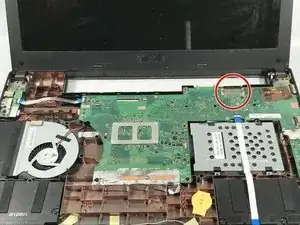
Release the connector cable on the back right side of the motherboard.
-
Peel off the tape with tweezers so that the cable can be released.
-
Using the black plastic spudger, push the back half of the cable towards the screen.
-
-
-
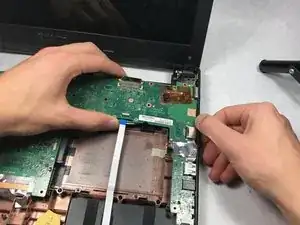
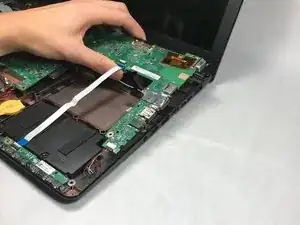
Grip the motherboard firmly and pull the board leftward and upwards so that the ports on the right side escape their frames.
-
-
-
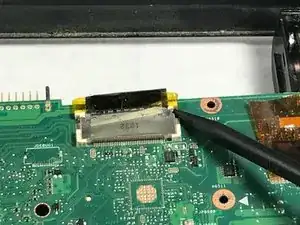
On the back of the motherboard there are two screws that attach the LCD connector to the motherboard.
-
Unscrew the two screws using the Phillips #00 screwdriver.
-
Pull the connector downwards and out.
-


To reassemble your device, follow these instructions in reverse order.