Introduction
-
-
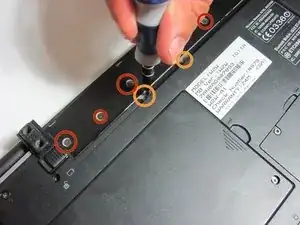
Remove the battery, then unscrew the 7 3 mm Phillips screws behind the battery. Make sure they go in separate, organized piles.
-
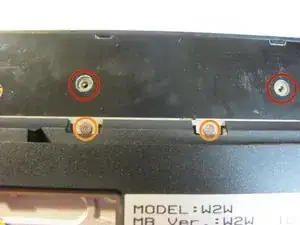
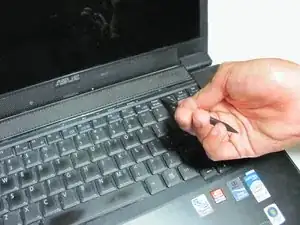
Unscrew the 2 4 mm Phillips head screws by the battery.
-
-
-
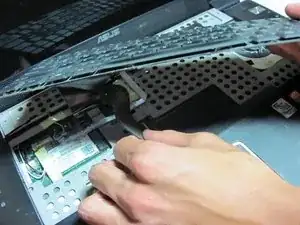
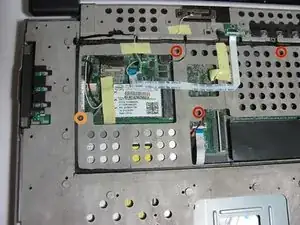
Detach the ribbon cable from the keyboard by pulling the end of the ribbon cable that is attached inside of the laptop.
-
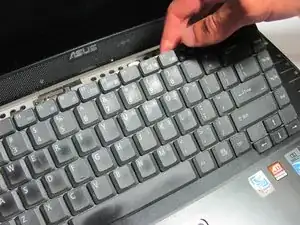
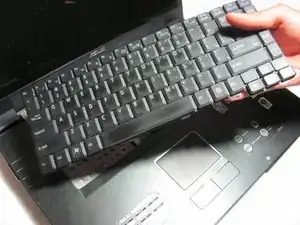
Now you can fully remove the keyboard from the laptop.
-
-
-
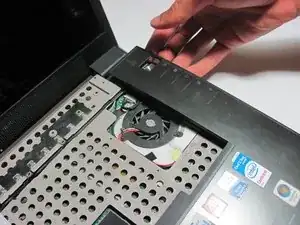
Place your fingers or a spudger between the front panel and the rest of the laptop.
-
Pull upwards gently to detach the side you are grabbing.
-
Repeat on the other side until the panel easily peels off the laptop.
-
-
-
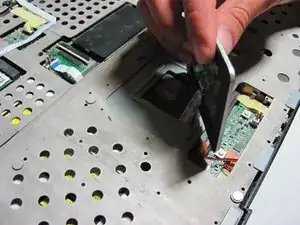
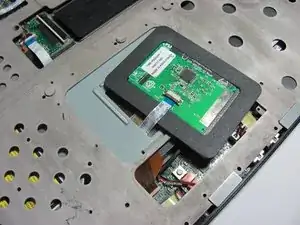
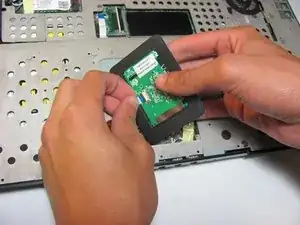
Gently pull the ribbon cable out of its socket attached to the touchpad.
-
You are now able to remove the touchpad.
-
-
-
Unscrew the 3 13 mm Phillips screws on the surface of the panel.
-
Unscrew the 4 mm Phillips screw beneath the panel.
-
-
-
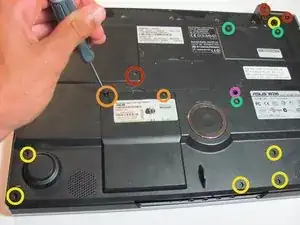
Unscrew the six 17 mm Phillips head screws on the stands on the back and the 2 "A" screws of the same size adjacent to the stands.
-
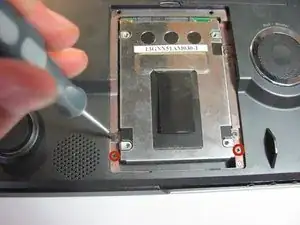
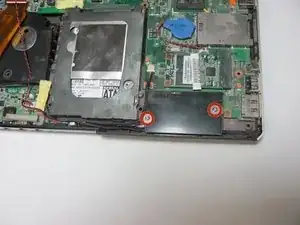
Unscrew the two C Phillips head screws on the hard drive panel. There is also one more C screw in the upper right corner of the laptop as shown.
-
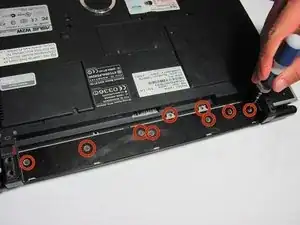
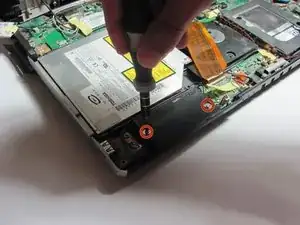
Unscrew the eight 8mm lock phillips screws and the screws along the outside of the laptop.
-
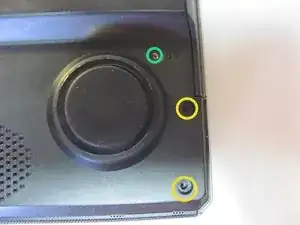
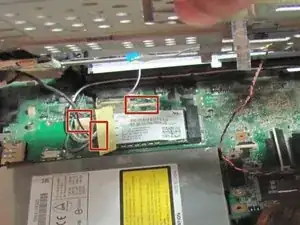
Unscrew the three 3mm E Phillips screw and the one 3mm D Phillips screw.
-
Unscrew the 5mm Phillips head screw that lies just above the D screw.
-
-
-
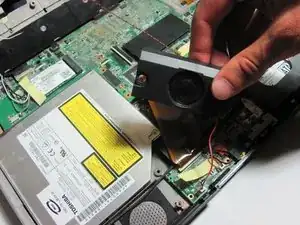
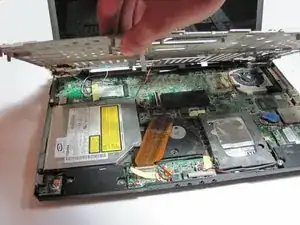
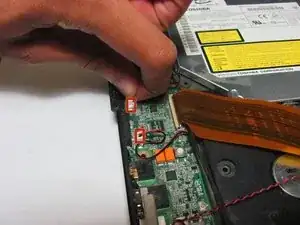
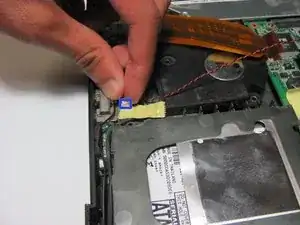
Carefully remove the ribbons from the base.
-
Then you can lift the panel to access the components beneath.
-
-
-
Remove the 2 4 mm, wide Phillips screws per speaker holding in the two speakers at the lower end of the device.
-


To reassemble your device, follow these instructions in reverse order.