Introduction

If your Asus VivoBook S14 is crashing frequently, displaying a blue screen with an error message, or failing to boot up, the motherboard may be failing and require a replacement. If your Asus VivoBook S14 requires a motherboard replacement, use this guide.

Please ensure the device is powered down prior to start of this guide.

  1. SkAXX6FgDEu43Gcl
    SkAXX6FgDEu43Gcl
    QxMhZBIRuSxoswEW
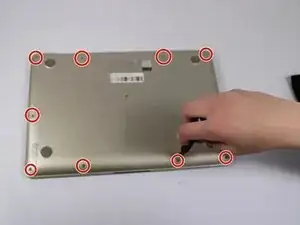
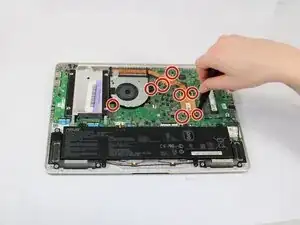
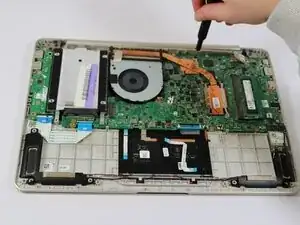
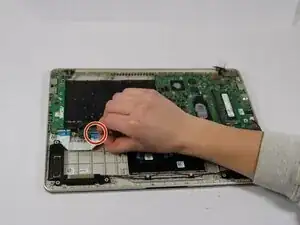
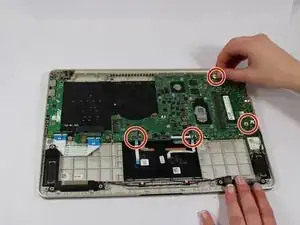
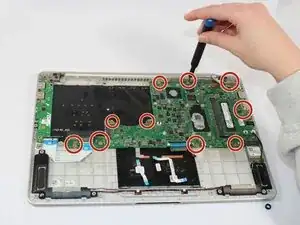
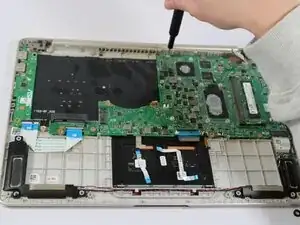
    • Remove all eleven 5 mm screws on the back panel with a JIS #000 screwdriver.

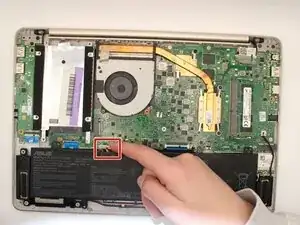
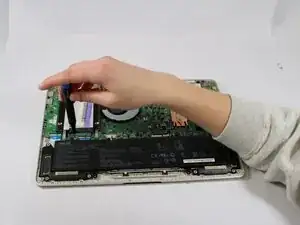
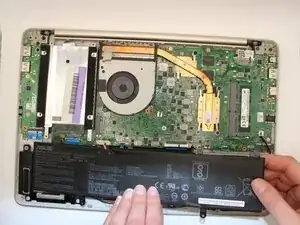
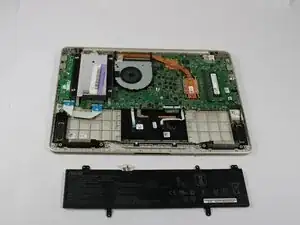
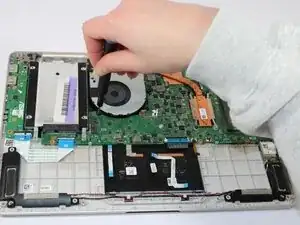
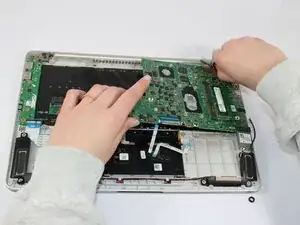
    • Gently pry off the back cover.

  2. JgpVxJJepgX2Ssl5
    • Carefully detach the connector from the motherboard.

    • If the battery is swollen or is need of disposal, please follow this guide.

  3. AKsDNjcrXgBhjCrC
    AKsDNjcrXgBhjCrC
    O2qYiJicr42CexFh
    • Remove the 5 mm screws holding the battery in place with a JIS #000 screwdriver.

  4. pHOOFvwWj1WbItZf
    pHOOFvwWj1WbItZf
    GmPEVCmoOyKwHsJB
    • Lift the battery out of the battery socket.

  5. KvOUZrhXKy4O16Sd
    KvOUZrhXKy4O16Sd
    XHJicVpBWYskDLhb
    • Use the JIS #000 screwdriver to remove the 5mm screws holding the hard drive into place.

  6. vjrawUOQ4s4MkcIc
    vjrawUOQ4s4MkcIc
    34Ji43jBscyRWelU
    VNQy6MmunVFiw3vJ
    • Gently remove the hard drive by pulling up from the motherboard and out.

    • Set aside.

  7. SisMu63v6oDbYfRc
    • Disconnect the fan connector from the motherboard.

  8. SfsTCmjOLJTWbpln
    SfsTCmjOLJTWbpln
    wGqKlZM6rsaYTX6j
    cSQcuOnkiuWaTCnP
    • Remove all eight of the 5 mm screws from the fan and heat sink using a JIS #000 screwdriver.

  9. qwGBTvdTLNQaUOXw
    • Gently remove the fan and heat sink from the motherboard.

    • Set aside.

  10. HjNAasVBWZ3CIbvf
    HjNAasVBWZ3CIbvf
    HapS4BxVISbBWvbn
    • Disconnect all five connectors from the motherboard.

  11. KTbIl12PjFaVQyH5
    KTbIl12PjFaVQyH5
    MXncOGMpIhRYNlQR
    • Remove ten 5 mm screws that hold the motherboard into place with a JIS #000 screwdriver.

  12. quZaSswDbgEZ62Eq
    quZaSswDbgEZ62Eq
    xwmcYBHUClTveUQR
    • Gently lift the motherboard out of its compartment.

Conclusion

To reassemble your device, follow these instructions in reverse order.

Prashanta

Member since: 26/02/25

253 Reputation

0 comments