Introduction
The ASUS ROG Zephyrus G16 is a powerful gaming and productivity laptop known for its sleek design and performance capabilities. Over time, like any laptop, its internal battery can degrade and lose efficiency. Replacing the battery can restore the device’s portability and overall functionality without the need to replace the entire laptop.
This guide is intended for users who have some basic understanding of laptop components and are comfortable working with internal hardware. You’ll be guided step-by-step through the battery replacement process, helping you safely remove the old battery and install a new one.
Before proceeding, make sure your replacement battery is compatible with your exact G16 model (e.g., GU603 or GU605). Also, make sure to turn off and unplug your laptop from the outlet before you begin the repair to avoid damaging your device.
-
-
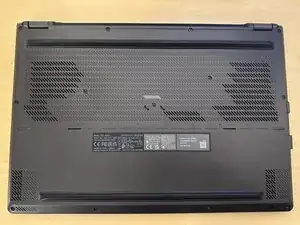
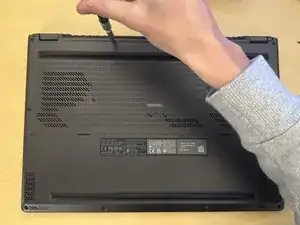
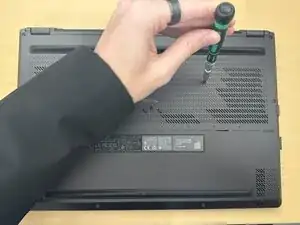
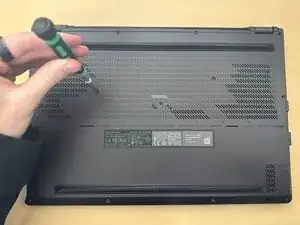
Remove the Phillips #0 screws from the bottom casing.
-
Six 8.0 mm-long screws
-
Three 6.0 mm-long screws
-
-
-
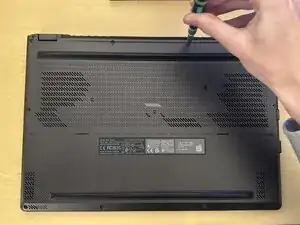
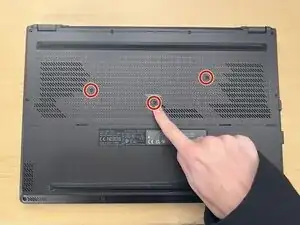
Use a Phillips #0 screwdriver to remove the three 6.0 mm screws located in the center bottom of the laptop.
-
-
-
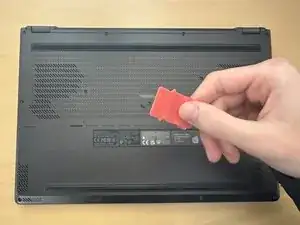
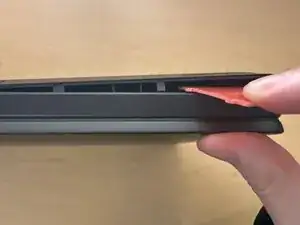
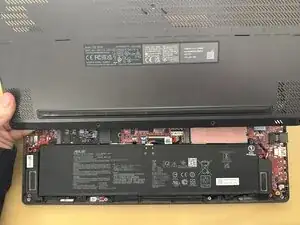
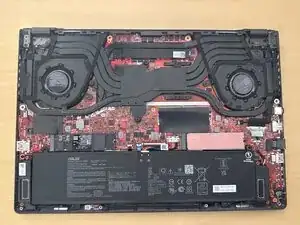
Insert an opening pick or tool into the bottom right corner of the laptop and gently pry open the bottom casing.
-
-
-
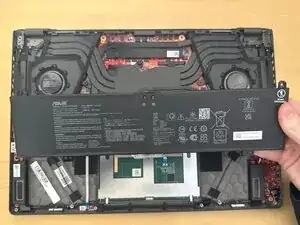
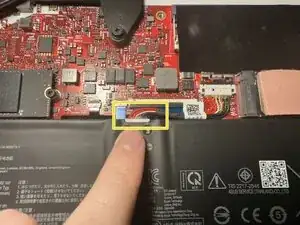
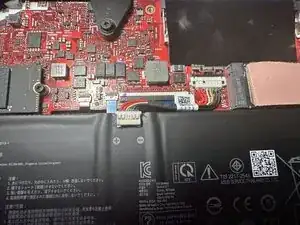
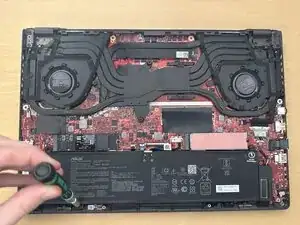
Use a plastic opening pick to pry the battery cable upward and disconnect it from the battery.
-
-
-
Remove the four Phillips #0 screws securing the battery.
-
Two 6.0 mm-long screws
-
Two 3.0 mm-long screws
-


To reassemble your device, follow these instructions in reverse order. For optimal performance, calibrate your newly installed battery after completing this guide.
Take your e-waste to an R2 or e-Stewards certified recycler.