Introduction
This replacement guide will aid users in upgrading their Hard Drive. Doing this is one way to make a device run faster and overall upgrade its performance.
This is not a cure all solution but it will aid in the speed at which the device can navigate through its programs.
Tools
-
-
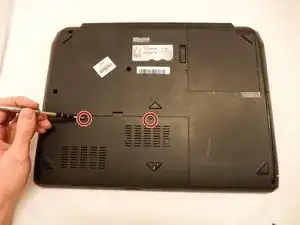
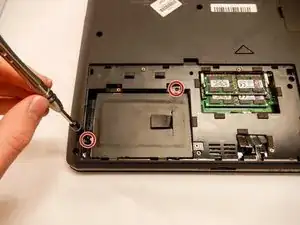
Using the Phillips size 0 head screwdriver, remove the 2 3.6 mm screws on the back plate located on the bottom left portion of the back of the laptop.
-
-
-
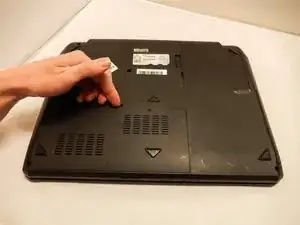
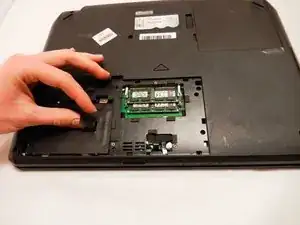
Lift up and remove the back plate that is located in the back, bottom left portion of the laptop.
-
-
-
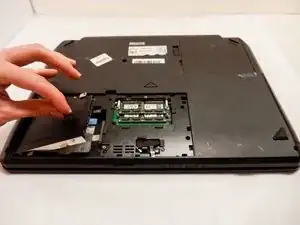
Grab the plastic tab.
-
Gently pull towards the outer edge of the device.
-
Lift out to fully remove.
-

Conclusion
To reassemble your device, follow these instructions in reverse order.
