Introduction

The Asus ROG G20CB is a compact gaming desktop that uses custom cooling and a specialized case layout. Replacing the graphics card (GPU) can significantly boost performance, but due to the small form factor and custom internal design, it's slightly trickier than on a regular tower. This guide will walk you through the process carefully.

Check GPU size: The G20CB supports small dual-slot GPUs (generally under 10.5 inches / 266mm long). Only 6-pin or 8-pin PCIe connectors.

  1. HIWZTdRdyrdEGQEm
    HIWZTdRdyrdEGQEm
    pSt6SnOcCbHpeH6P
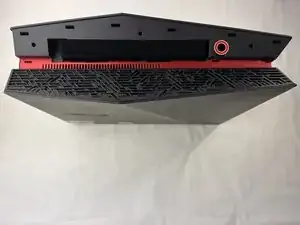
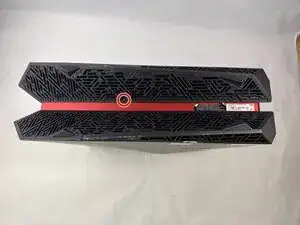
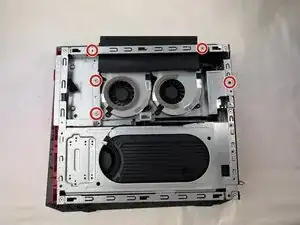
    • Remove each of the two 4.6 mm Phillips screws on the top and bottom of the tower.

  2. O3MRNAQ5hn5NnvfB
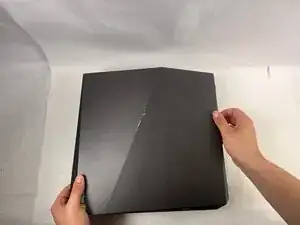
    • Slide the front panel to the left and lift gently.

    • There is a cable connecting the panel to the computer. Handle it gently and avoid straining the connected panel.

  3. sGk1HM5WhVEMqObM
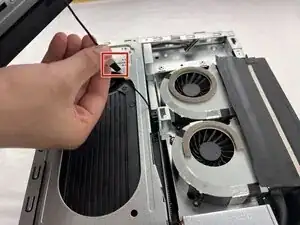
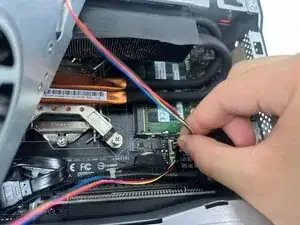
    • Disconnect the cable carefully by pulling gently on both sides of the connector.

  4. oOkwnwdBmCmxlgcU
    • Remove the five 4.6 mm Phillips screws holding down the fan tray and then pull the fan tray out of the system.

    • The fans are connected by a thin cable, be gentle when removing tray.

  5. TylPQQAhqE11bf4X
    • Carefully unplug the two fan cables from the motherboard by pulling straight up from the base of the connector.

  6. Wn2tQyPqIfWMqp1H
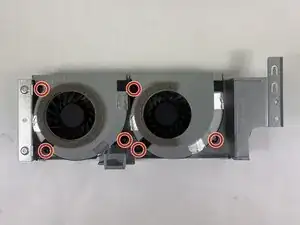
    • Remove the six 4.6 mm Phillips screws connecting the fans to the fan tray.

  7. xqrqMSbJHqNFoSPG
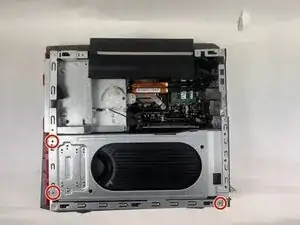
    • Remove the three 4.6 mm Phillips screws from the graphics card housing.

  8. MBdMriXtP5URDifb
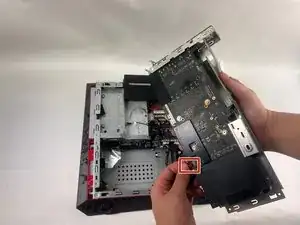
    • Pull the graphics card housing out of the case.

    • Be mindful of the 8-pin power cable connected to the graphics card.

  9. pYbSnJDFDfvIlxOv
    • Push down the clip on the red cable connector and firmly pull the cable from the graphics card.

  10. wUMyVwhvoiiwEWBn
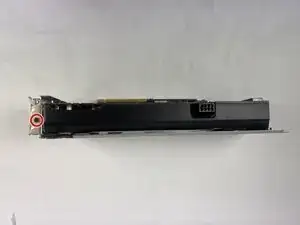
    • Remove the 3.7 mm Phillips screw from the graphics card and its housing.

  11. DjXZEFaJA5OPAZVm
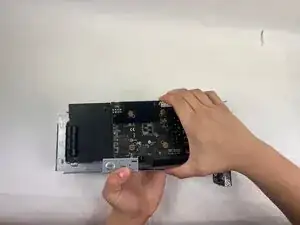
    • Slide the graphics card out of the housing.

  12. Iqrbu2PspVupnFGV
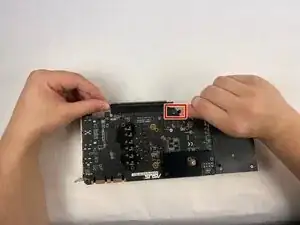
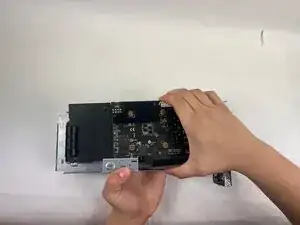
    • Use one hand to bend up the PCIE riser clip, then with the other hand push it off the graphics card.

    • This riser will need to be used with the new graphics card in order to be installed in this system.

Conclusion

To reassemble your device, follow the above steps in reverse order.
Take your e-waste to an R2 or e-Stewards certified recycler.
Repair didn’t go as planned? Try some basic troubleshooting or ask our Answers community for help.
AdamGadd

Member since: 21/03/25

343 Reputation

0 comments