Introduction
Is your ASUS Chromebook Flip screen cracked, flickering, or completely unresponsive? Whether it’s physical damage or display issues that are slowing you down, this guide will walk you through the process of replacing the screen on your ASUS Chromebook Flip CX1400FKA-AS88F.
Before you begin this repair, make sure to power off your Chromebook and disconnect it from the charging adapter.
-
-
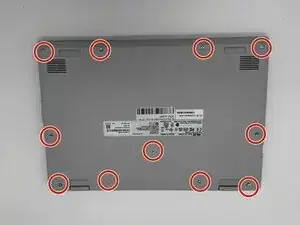
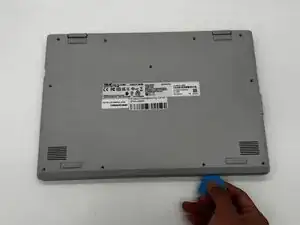
Remove the ten screws from the bottom of the device.
-
Caution: be gentle with removing the screws. If you go too fast, you could strip and damage the screws on the bottom of the device.
-
Reminder: please put your screws somewhere visible and easy to see.
-
-
-
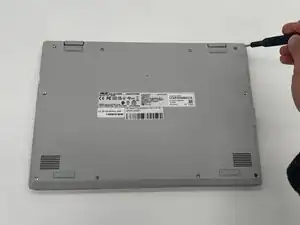
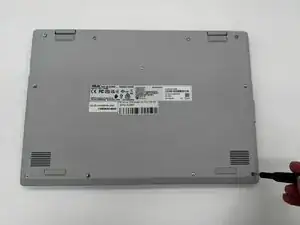
Use an iFixit opening tool or nylon spudger to separate the case from the device.
-
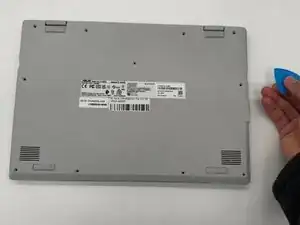
Place the tip of the opening tool in the seam between the front and back case and slide it around the perimeter of the device to release the clips holding it together.
-
Remove the back casing from your Chromebook.
-
Reminder: please use something plastic or silicone-based to pry the case off of the laptop. Using metal could damage the insides of something as delicate as your laptop.
-
-
-
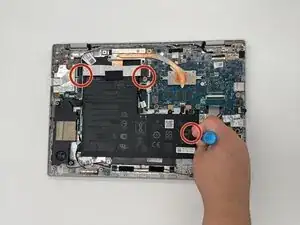
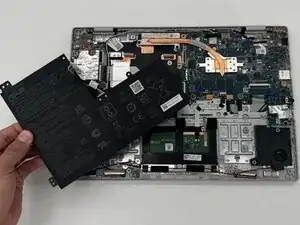
Use a screwdriver to remove the three 6.4 mm screws to loosen the brackets that hold the battery in place.
-
Remove the brackets.
-
Remove the 6.4 mm battery screw that was under the bracket.
-
-
-
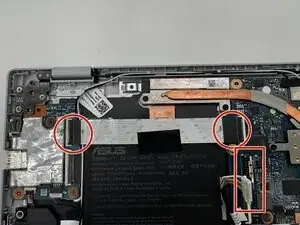
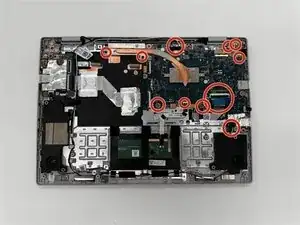
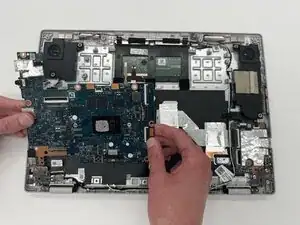
Remove all tabs connecting the motherboard to other devices.
-
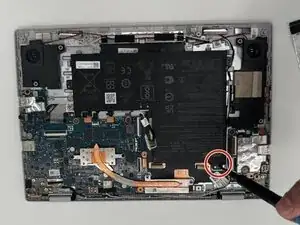
Unscrew all mounting screws securing the motherboard.
-
Carefully remove the motherboard from the base.
-
-
-
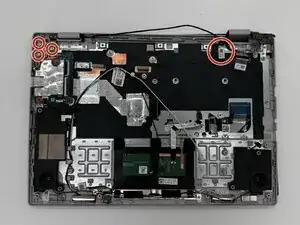
Remove the piece underneath the motherboard.
-
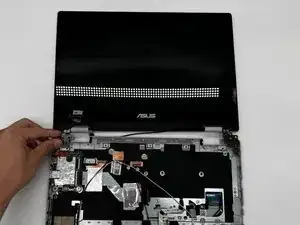
Unscrew the screws that attach the screen to the base.
-


To reassemble your device, follow these instructions in reverse order. Take your e-waste to an R2 or e-Stewards certified recycler.