Introduction
In this guide, we’ll show you how to safely replace the action buttons on your Anbernic RG35XXSP handheld console.
Over time, continuous use can wear out the buttons, causing them to become unresponsive. If your inputs are slow, inconsistent, or not working at all, it’s likely time to replace the action buttons. Installing new buttons can improve responsiveness and enhance your overall gaming experience.
Common Causes
- Delayed or inconsistent input during gameplay
- Buttons feel stuck, soft, or don’t spring back
- Some buttons no longer respond at all
- Physical wear or damage to the button caps
This guide walks you through each step of the replacement process, with helpful tips to ensure a smooth and effective repair.
Before you begin the repair, make sure to turn off the game and unplug from the charger.
-
-
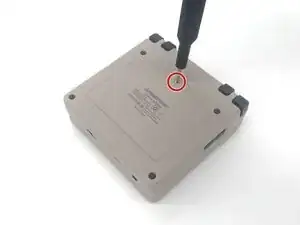
Use a Phillips #00 screwdriver to remove the single 5 mm screw securing the battery cover.
-
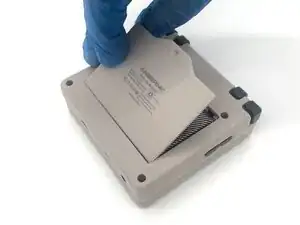
Lift the battery door and remove it.
-
-
-
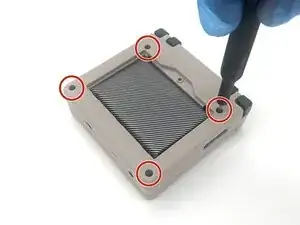
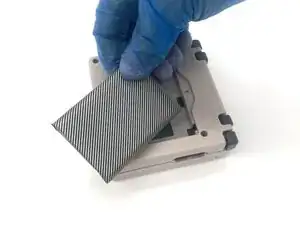
Use a T6 Torx screwdriver to remove the four 5 mm screws.
-
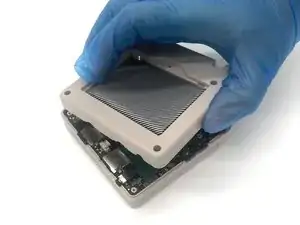
Lift the whole back case with the battery up from the device.
-
-
-
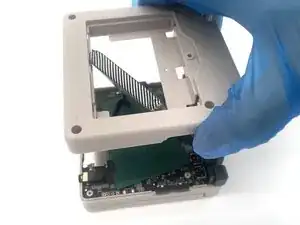
Remove the battery from the back compartment and fit it through the gap in the back case.
-
Put the plastic case aside for reassembly.
-
-
-
Pinch the sides of the battery connector and slide it from the socket to disconnect the battery cable.
-
Remove the battery.
-
-
-
Pinch the R2 button and gently lift it to remove it.
-
Pinch the R1 button and gently lift it to remove it.
-
-
-
Pinch the L2 button and gently lift it to remove it.
-
Pinch the L1 button and gently lift it to remove it.
-
-
-
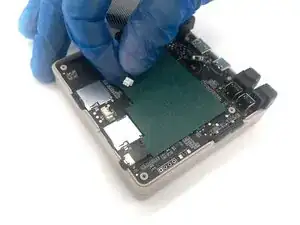
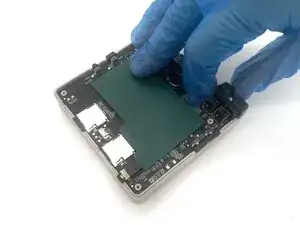
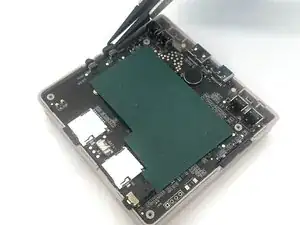
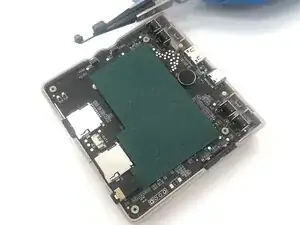
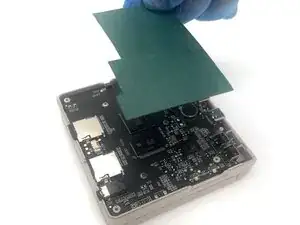
Remove the green paper sheet from the motherboard.
-
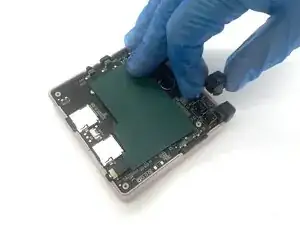
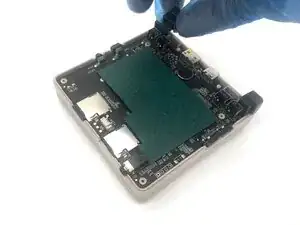
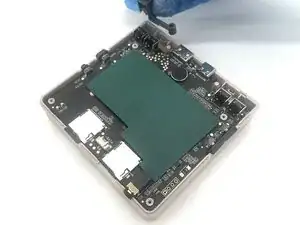
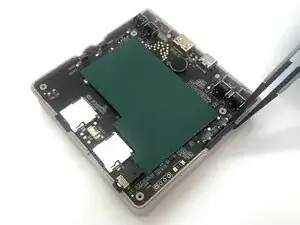
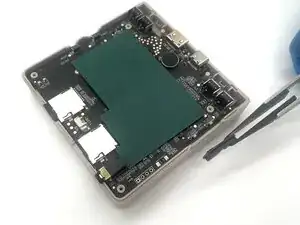
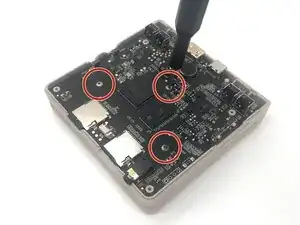
Use a Phillips #00 screwdriver to remove the three 5 mm screws from the motherboard.
-
-
-
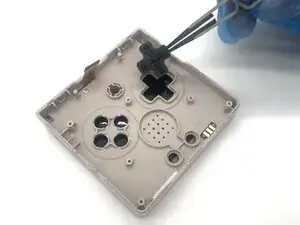
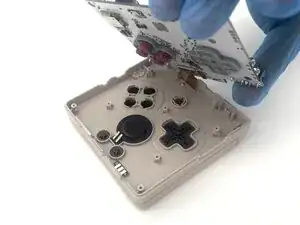
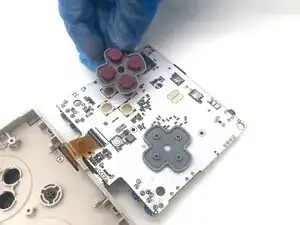
Flip the motherboard over to reveal the action and directional buttons.
-
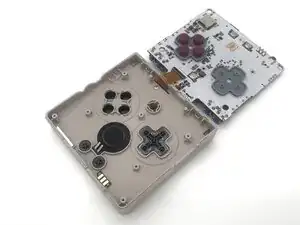
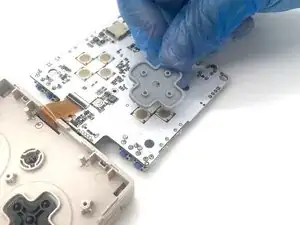
Remove the action and directional button gaskets from the motherboard.
-


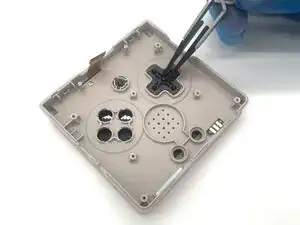

To reassemble your device, follow these instructions in reverse order. Take your e-waste to an R2 or e-Stewards certified recycler.