Introduction

  1. YRwpEDdnIb4X3BCx
    YRwpEDdnIb4X3BCx
    Ms6EGxbvhDpmacZX
    NwkxORvm53JiPXKc
    • Remove the micro SD card located on the left and right sides of the device by pushing into the SD card slot and pulling the card out.

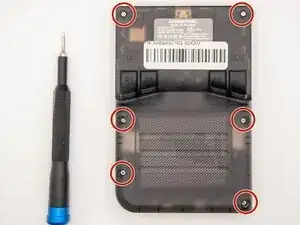
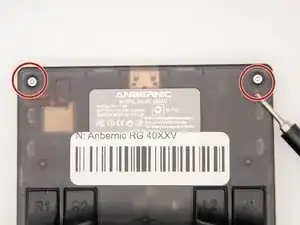
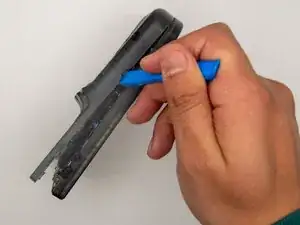
    • Unscrew all six 7.5 mm screws on the backside of the case using a 1.5 mm hex screwdriver.

  2. xonZ1HVsxZuONLDm
    xonZ1HVsxZuONLDm
    TWTqNLro5qWipheZ
    • Take apart the case by separating the front and back sides using an iFixit opening tool.

    • When using the opening tool, carefully pry open the case to avoid damaging the device.

  3. e5U26GNK3MWYa6uj
    e5U26GNK3MWYa6uj
    pH1HqHOFF5g4vBOW
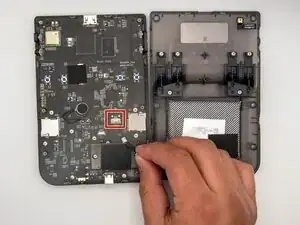
    • Disconnect the battery connection cable by gently pulling it away with angled tweezers from the slot that connects the cable to the motherboard.

    • The cable connection to the motherboard is labeled "+BAT-" for easy identification.

  4. ayq26DjEfkeJAuXK
    ayq26DjEfkeJAuXK
    ksXXQPUDQKDRIeHC
    tNlfwbADLkHGaeLT
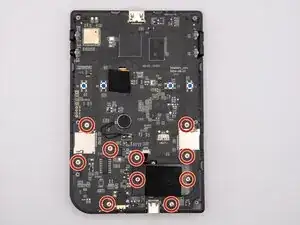
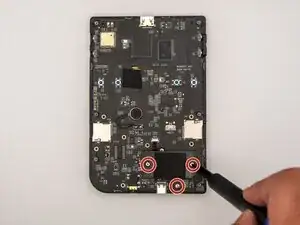
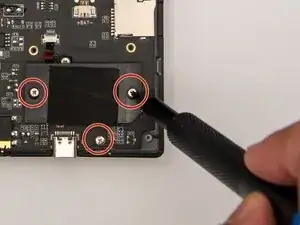
    • Using a Phillips #00 screwdriver, remove the 10 5.5 mm screws securing the circuit board to the case.

  5. QURVmVaJPBlQgosb
    QURVmVaJPBlQgosb
    BX4D42QhqqBPERd3
    IUZOXywvcgfYnK5X
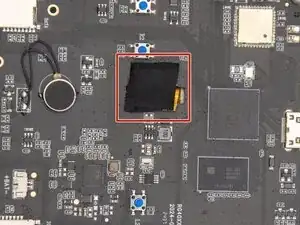
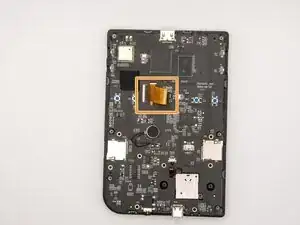
    • Remove the tape covering the ribbon cables.

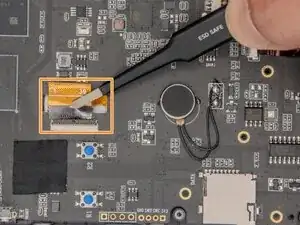
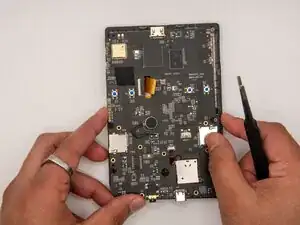
    • Using ESD-safe tweezers, gently pull the ribbon cables away from the circuit board.

    • Using ESD-safe tweezers will prevent further damage to your device and harm to yourself.

  6. XeWmKxjuYZkQGryJ
    • Gently lift the circuit board out of the case.

Conclusion

To reassemble your device, follow these instructions in reverse order.

Kristen Gismondi

Member since: 12/11/14

95320 Reputation

0 comments