Introduction
This guide will show you how to remove the front speakers from your device.
-
-
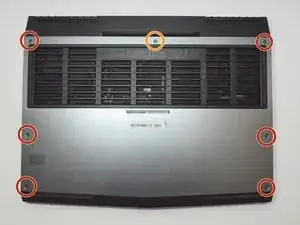
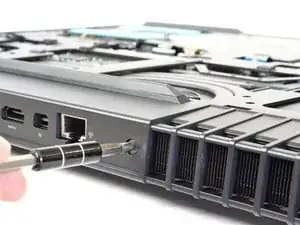
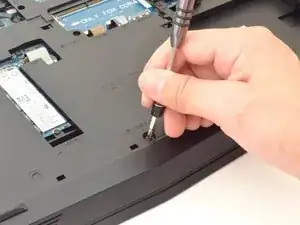
Use a PH1 screwdriver bit to remove the six M2.5x13 screws (2.4 mm) on the back of the laptop.
-
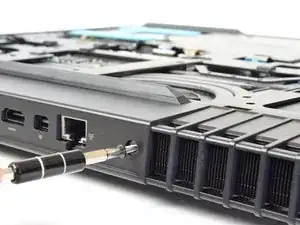
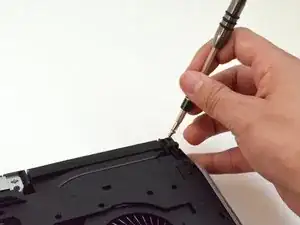
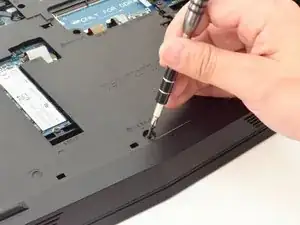
Use a PH1 screwdriver bit to loosen the one M2x3 screw (1.9 mm).
-
-
-
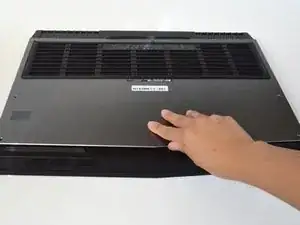
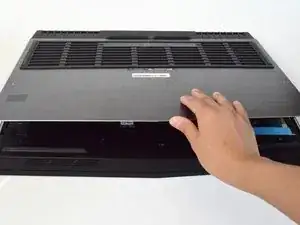
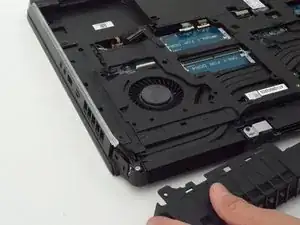
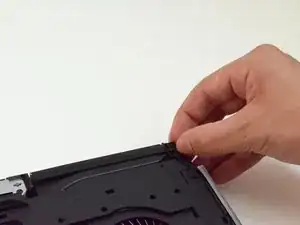
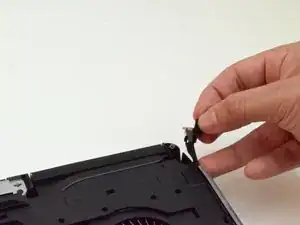
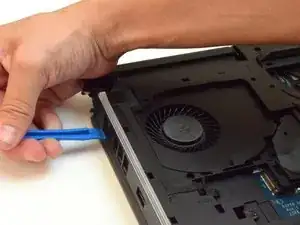
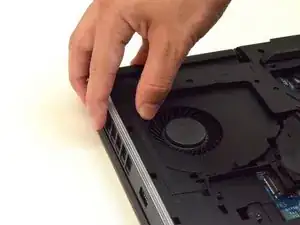
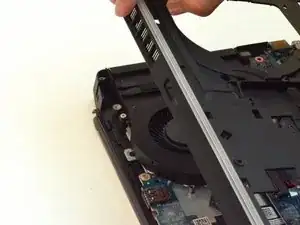
Pull the base cover up to remove it.
-
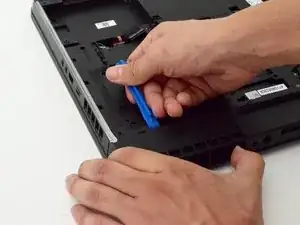
If you are having trouble, insert a plastic opening tool into the divots along the laptop's edges to loosen.
-
-
-
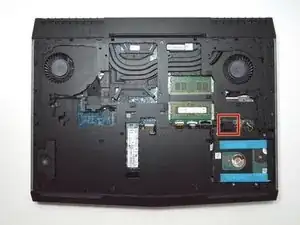
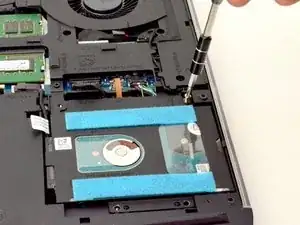
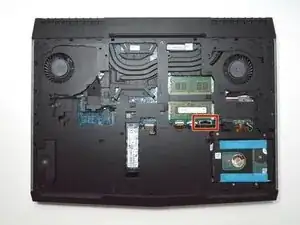
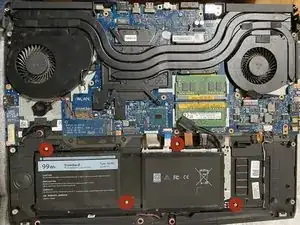
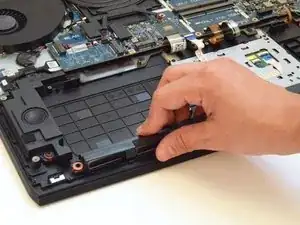
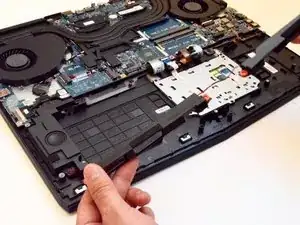
Disconnect the battery connector cable, located on the right side of the laptop, above the hard disk drive.
-
-
-
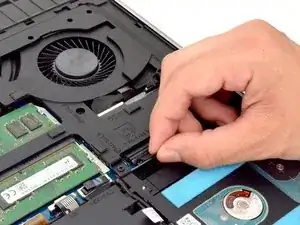
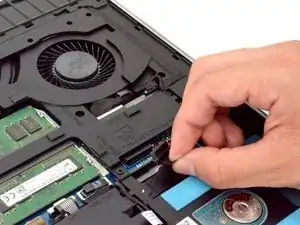
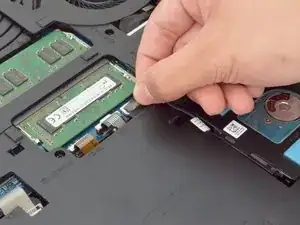
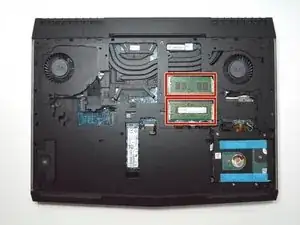
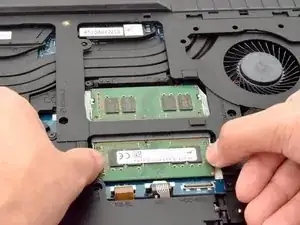
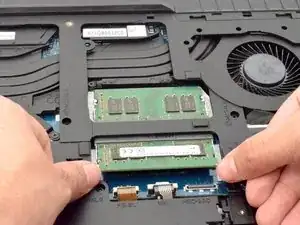
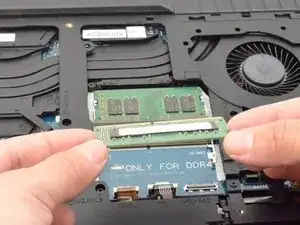
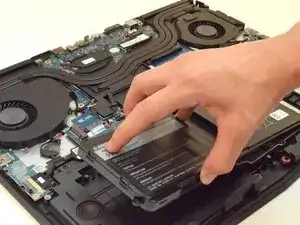
Slide the RAM card out towards yourself to remove it.
-
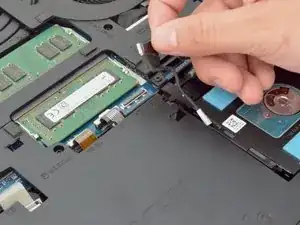
Repeat the same step for the RAM card above.
-
-
-
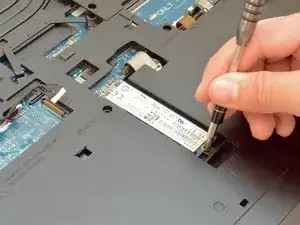
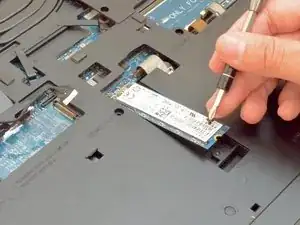
Peel back plastic cover of wi-fi card.
-
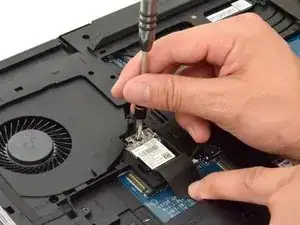
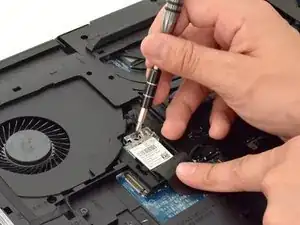
Use a PH1 screwdriver bit and remove the one M2x3 screw (1.9 mm)
-
-
-
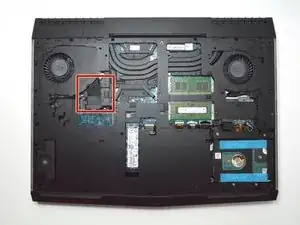
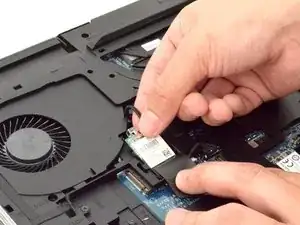
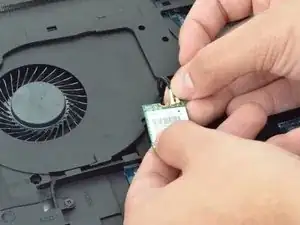
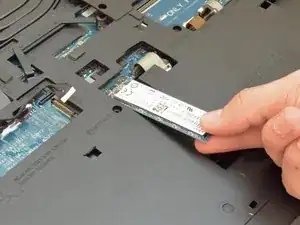
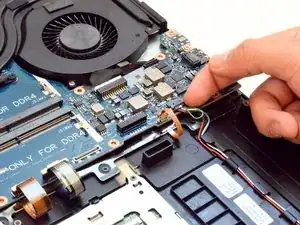
Locate the cables that connect the wi-fi card.
-
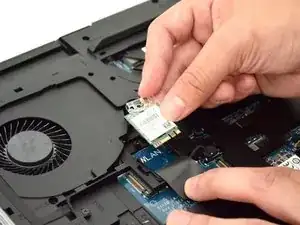
Gently pull upwards to remove cables and slide the wi-fi card out from its slot.
-
-
-
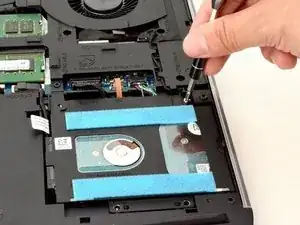
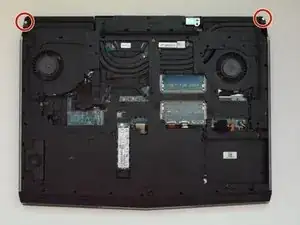
Remove the two M2.5x7 screws (2.44 mm) located on the rear panel using a PH1 screwdriver bit.
-
-
-
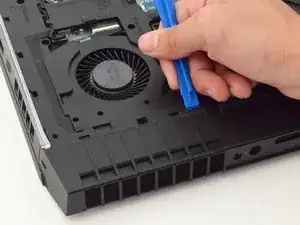
Insert the plastic opening tool under the fan shroud to slowly lift it up.
-
Repeat process on the middle and opposite side.
-
-
-
Unscrew the two M2x3 screws (1.9 mm) at the top right and top left of the laptop that hold the tron lights in place.
-
-
-
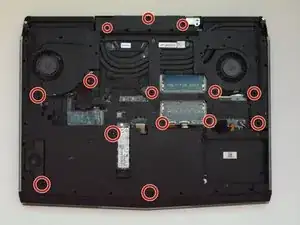
Remove the fourteen M2.5XL8' screws (2.4 mm) located in the plastic cover using the PH1 screwdriver.
-


To reassemble your device, follow these instructions in reverse order.