Introduction

  1. ANV5MmEIfwxWKuFX
    ANV5MmEIfwxWKuFX
    gmtKBAF16KCiIibL
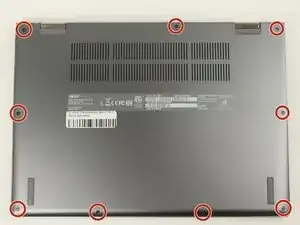
    • Flip the laptop to show the bottom side.

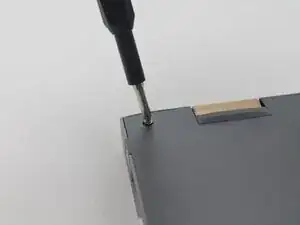
    • Remove the nine 6.5 mm screws using a JIS #1 screwdriver.

  2. Wkn1YlgNTRxc2BCJ
    Wkn1YlgNTRxc2BCJ
    UOcVUvnFJZaM2KUb
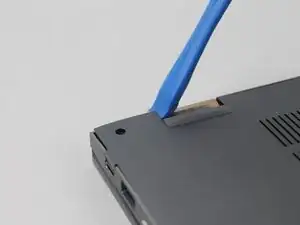
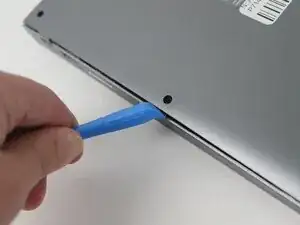
    • Use a plastic opening tool to separate the outer casing and panel; gently work the tool around the entire outer edge

    • The easiest place to start is at one of the hinges. The corners can be somewhat difficult.

    • Be gentle. The internal clips can snap.

  3. FKyUYKmuVpcePLkL
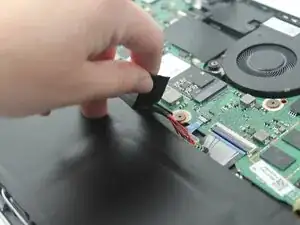
    • Peel off the tape covering the wires.

  4. SAEuY2TADcPy5e1b
    SAEuY2TADcPy5e1b
    chJNmJBN5DHYrsrm
    VfDJW4M6uoH3w1ka
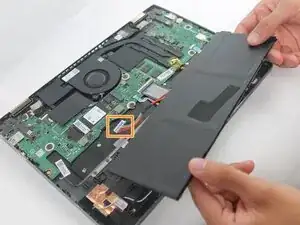
    • Lift the battery from its studs, and place it closer to you.

    • The battery is not clamped or screwed onto the frame. Once you disconnect the battery, you are able to safely remove it by picking it up.

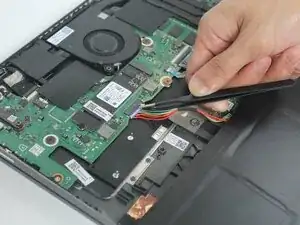
    • Unplug the rainbow wires connecting the battery to the motherboard.

    • Be sure to only grab the white portion of the plug, do not overstretch the rainbow wires.

    • Remove the battery from the laptop.

  5. dMX14dR6yqjIUNXn
    dMX14dR6yqjIUNXn
    2kMpXZjSvd2G2nXc
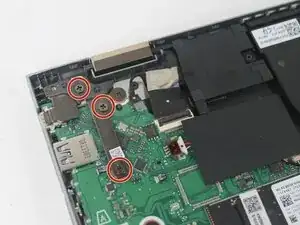
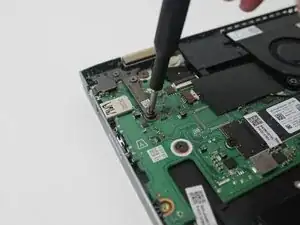
    • Remove the three 4.6 mm screws holding the left-side screen bracket to the internal components using a JIS #1 screwdriver.

  6. V6AgLmLTCKIsOeUJ
    • Flip the bracket away from its original location.

  7. mEElKbVaQPFXPxgh
    mEElKbVaQPFXPxgh
    hRNkYpBe6jbP26pY
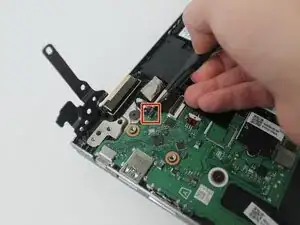
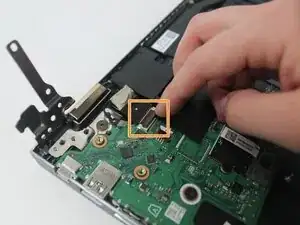
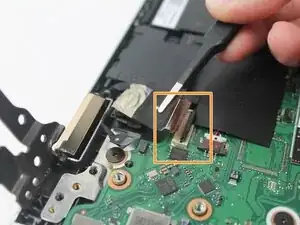
    • Remove the clear tape securing the smaller wire.

    • Flip the small black clip securing the larger wire.

    • The wire below loosely sits inside the plug. It is fine if it comes out on its own after the clip is opened.

  8. 5DTAHirp1FBxXQA5
    5DTAHirp1FBxXQA5
    CDlVhcjcLenQCBnq
    VqxjrE1xfuVVNCbO
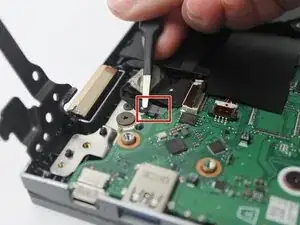
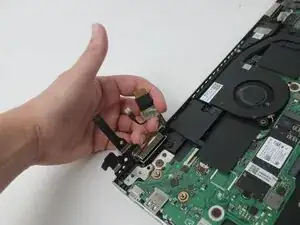
    • Unplug the smaller wire.

    • Lift the larger wire, if it is still in place.

  9. giE5H1uHUrNlrWO3
    giE5H1uHUrNlrWO3
    fKXsMxXfKArUeLtv
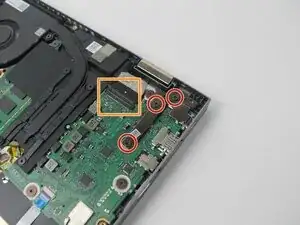
    • Remove the three 4.6 mm screws holding the right-side screen bracket to the internal components using a JIS #1 screwdriver.

    • Disconnect the ribbon cable from the motherboard.

    • There is only one wire on the right side. It's similar to the larger wire on the previous side, but slightly wider.

  10. fZjSKmvsnjItolNN
    fZjSKmvsnjItolNN
    NBD4BWCKdjhCwdjs
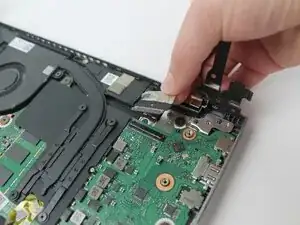
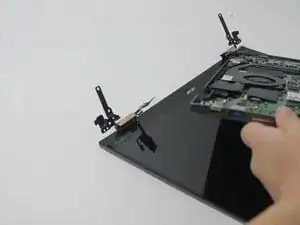
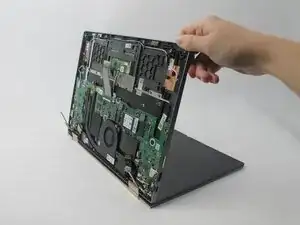
    • Remove the panel you've been working on.

    • Lift from the front edge of the panel, so that it and the screen form a 90 degree angle.

    • Pull the electrical panel straight back, away from the hinges/brackets. It shouldn't require any force.

Conclusion

To reassemble your device, follow these instructions in reverse order.
Kristen Gismondi

Member since: 12/11/14

95320 Reputation

0 comments