Introduction
-
-
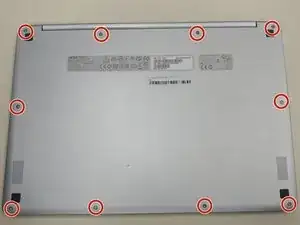
First begin by flipping the laptop on its back and having the back cover face you directly.
-
Then unscrew the ten Phillips head screws that hold down the back cover using a Phillips #0 Screw Driver.
-
-
-
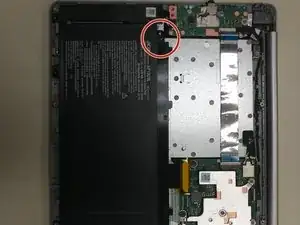
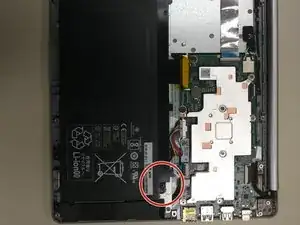
look for the battery in the bottom half of the computer
-
Once you have found the battery, look for the screws that secure the battery, in the upper left and right corners.
-
-
-
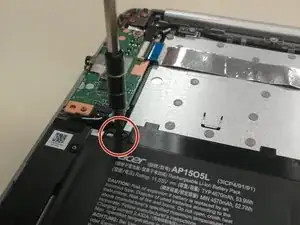
Begin by unscrewing the two Phillips head screws that hold down the battery using a J1 sized screwdriver.
-
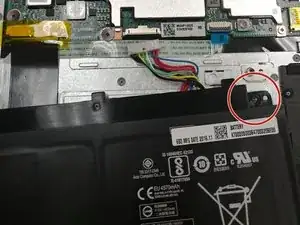
Finally remove the battery from the laptop.
-
-
-
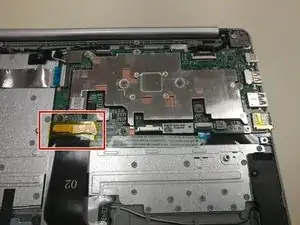
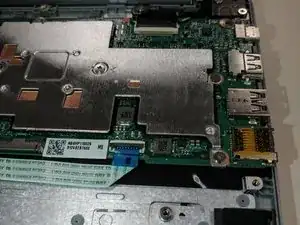
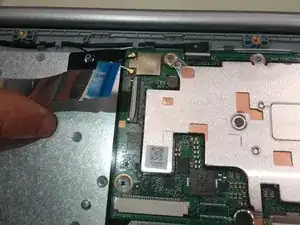
Remove the yellow tape covering the ribbon cable in the bottom left of the motherboard as shown.
-
Carefully remove the ribbon cable out from the connector.
-
-
-
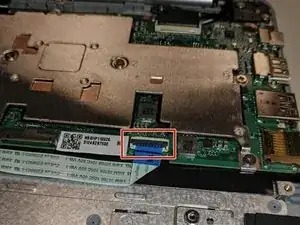
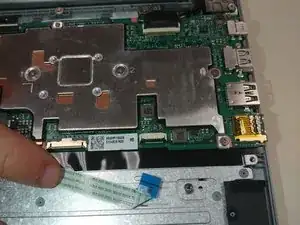
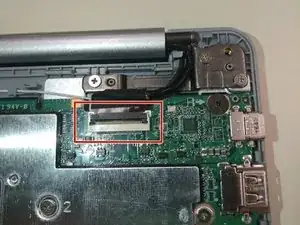
Fold up the grey cover to release the ribbon cable in the bottom right of the board as shown.
-
Carefully pull out the ribbon cable from the port by the blue tape.
-
-
-
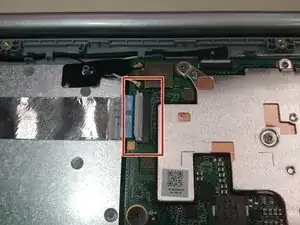
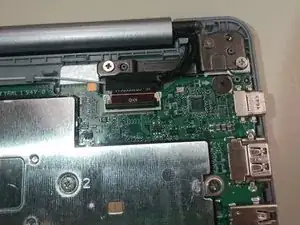
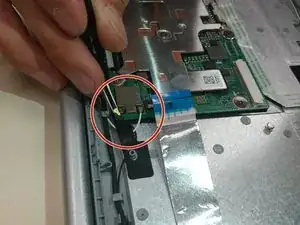
Fold up the white cover to release the ribbon cable in the top left of the board as shown.
-
Carefully pull out the ribbon cable from the port by the blue tape.
-
-
-
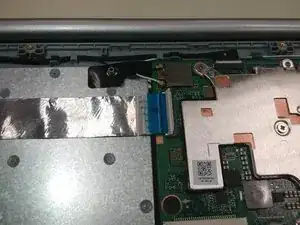
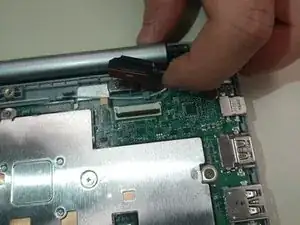
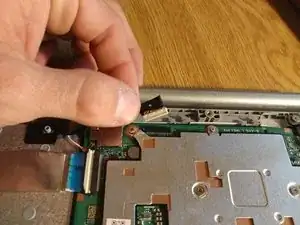
Fold up the grey cover to release the cable on the top right of the board as shown
-
Carefully pull out the cable from the port.
-
-
-
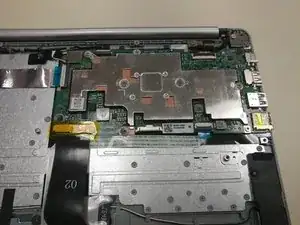
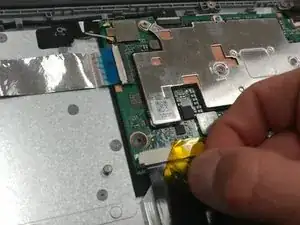
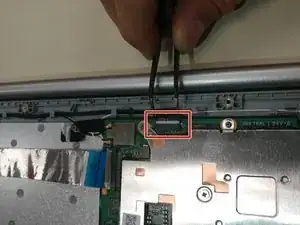
Carefully pull off both brass connectors from the top left of the board with tweezers as shown.
-
-
-
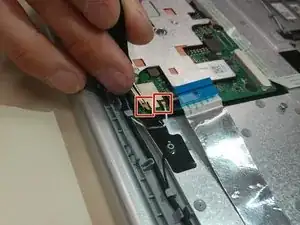
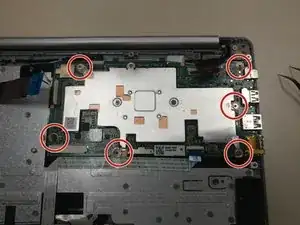
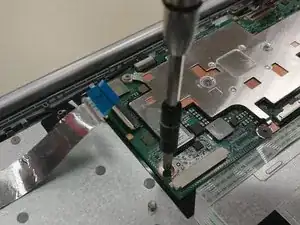
Remove the six screws from the board as shown. There are two types of screws here, so be careful to keep them separate for reassembly.
-


To reassemble your device, follow these instructions in reverse order.

7 comments
thanks for the write up! do you know where the bluetooth is on the motherboard? I presume step 10 are the connections to the wifi antennae?
This Chromebook likely uses a dual chip which can be seen in step 10. I’m guessing the chip is a 802.11AC 2x2 MIMO WLAN + Bluetooth 4.0 from looking at the specs.
wich is the firmware write protect screw on the motherboard to cheng the os to win10 ??
loudikov -
This is an ARM MT8173 machine, no Windows 10 for this hardware… Win10 for ARM is still on ARM based Surface, and gives poor experience.
Bonjour,
J ai un chromebook CB5-312T quelle carte mère je dois acheter et où mon chromebook ne s allume plus.
Merci