
Introduction
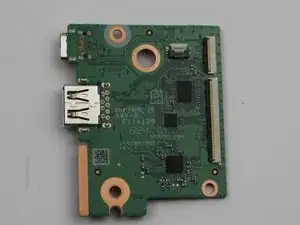
If your Acer Chromebook CB315-4H-P8FZ's USB port isn't working, it might be due to physical damage like bent pins, internal connection issues, or debris inside the port. Signs of trouble include devices not being recognized, unstable connections, or the port feeling loose. If cleaning doesn't help and other devices work fine, the port itself may be damaged, and replacing it could be necessary to restore full functionality.
-
-
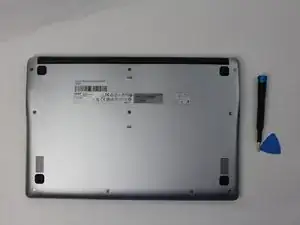
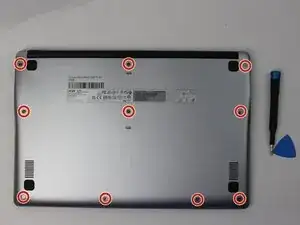
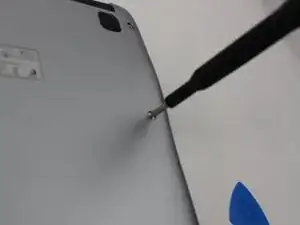
Remove the ten 6 mm Phillips screws that secure the lower case.
-
Insert an opening pick in the seam between the lower case and chassis.
-
Slide the opening pick around the perimeter of the device, prying every couple of centimeters, until the lower case fully releases.
-
Remove the lower case.
-
-
-
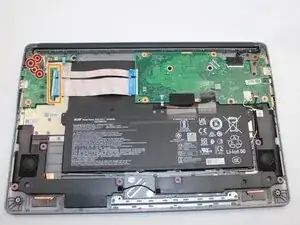
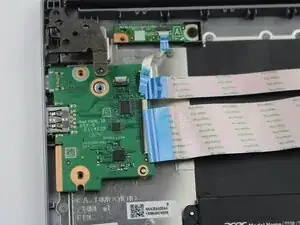
Remove the four Phillips screws that secure the I/O board to the chassis and hinge.
-
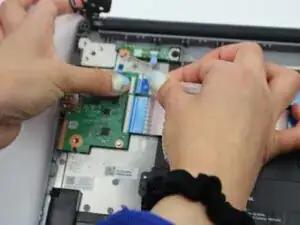
Flip up the two black ZIF locking flaps. Disconnect the two ribbon cables.
-
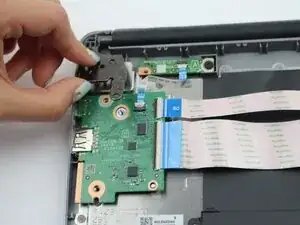
Grip the right side of the I/O board and pull it a few millimeters to the right to unseat the ports from the chassis.
-
Lift the I/O board up and out.
-
-
-
Place the new USB-C I/O board into position on the motherboard. (Time: 30 seconds)
-
Reconnect all cables to the new I/O board by gently pressing them into their ports. (Time: 1–2 minutes)
-
Secure the I/O board with screws using a #1 Phillips screwdriver. (Time: 1–2 minutes)
-
Align and place the back cover onto the Chromebook to prepare for reassembly. (Time: 30 seconds)
-
Power on the Chromebook by pressing the power button. (Time: 30 seconds)
-
Plug a device into the new USB-C port to test for proper functionality. (Time: 1 minute)
-

To reassemble your device, follow the above steps in reverse order.
Take your e-waste to an R2 or e-Stewards certified recycler.
Repair didn’t go as planned? Try some basic troubleshooting or ask our Answers community for help.