Introduction
If the I/O board for your Acer Chromebook (model C731-C8VE) is damaged, defective or generally needs a replacement, this guide is here to help you.
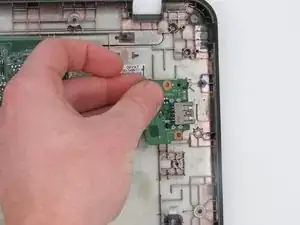
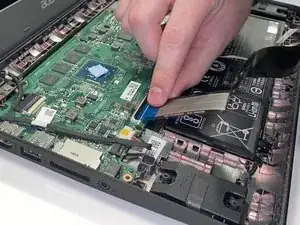
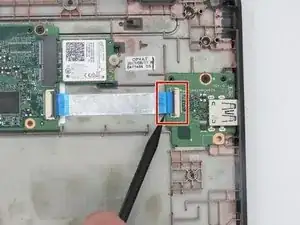
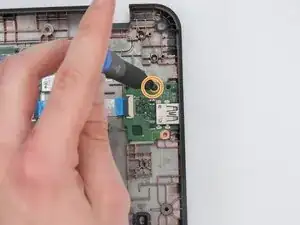
In order to remove the I/O board you must first remove the ribbon cable and the screw that is connected to the I/O board. After this is completed you should be able to gently slide the I/O board out and replace it.
You will of course need to ensure that your laptop is completely powered off and not connected to a source of power to avoid risk of electrocution or other injury.
Tools
-
-
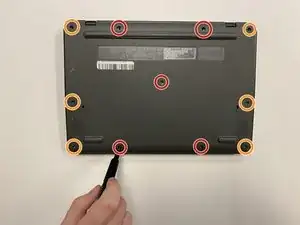
Use a JIS #00 screwdriver to remove the 11 screws on the underside of the laptop.
-
These 2 mm screws have washers and will be located on the left and right of the device.
-
The 2 mm screws marked orange do not have washers attached and must be placed in these specific areas.
-
-
-
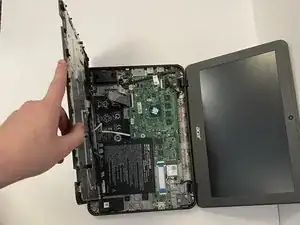
Use the iFixit opening tool to remove the keyboard from the device by prying it loose from the base.
-
-
-
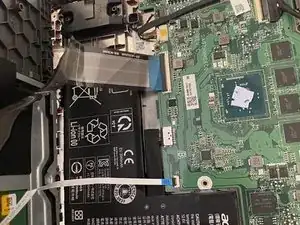
Detach the wires connecting the keyboard and the touchpad to the motherboard by lifting the black connectors up.
-
-
-
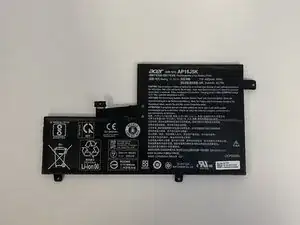
Use the JIS #00 screwdriver to take out the 1mm screw that connects the battery to the base.
-
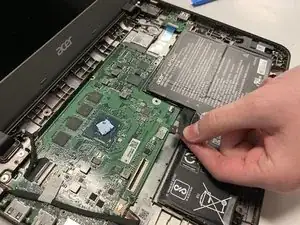
Detach the battery from the motherboard by lifting it up gently to avoid any damage to the motherboard.
-
-
-
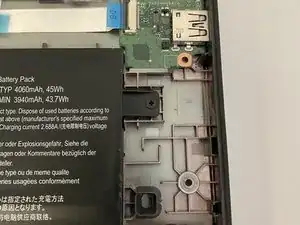
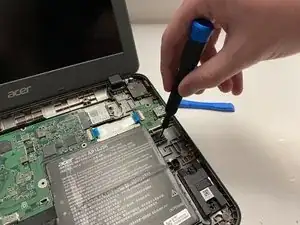
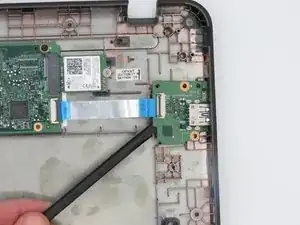
Gently leverage the I/O board using the spudger until you can nudge it from underneath.
-
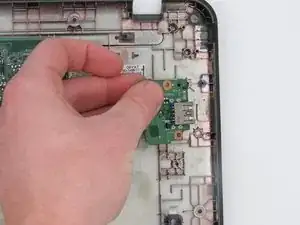
Carefully grab the I/O board with your fingers and remove it from the device.
-
To reassemble your device, follow these instructions in reverse order.
