
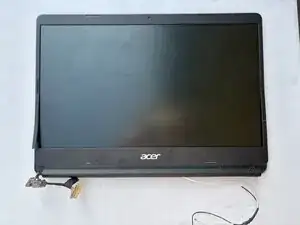
Introduction
If your Acer C933 Chromebook (Model: N19Q2) has damaged or loose hinges, this guide will walk you through the process of replacing them with new ones. The hinges are essential components that allow your screen to open and close smoothly while keeping it securely positioned at your preferred angle.
Important: Before you begin the repair, make sure your laptop is completely powered off and disconnected from any power source.
-
-
Make sure to power off the device and keep it off for the duration of the procedure.
-
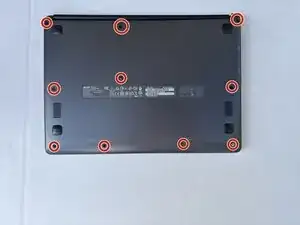
Use a Phillips #00 screwdriver to remove the ten 3 mm screws from the bottom panel.
-
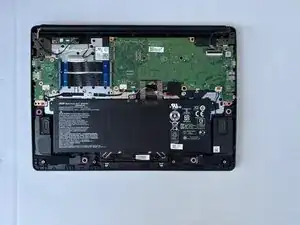
Use an opening tool or spudger to release the clips securing the bottom case.
-
Remove the bottom panel.
-
-
-
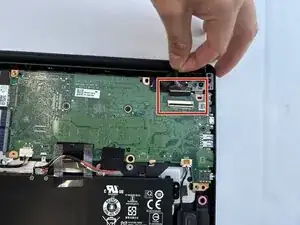
To disconnect the display screen cable, use a clean finger nail to flip up the flap to unlock its position. Carefully use tweezers of clean fingers to pull the display screen cable out.
-
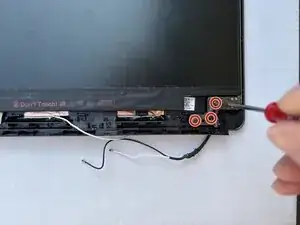
Slide a thin, ESD-safe pry tool or angled tweezers under the metal neck of the Wi-Fi connector (as close to the head as possible) and lift straight up from the board.
-
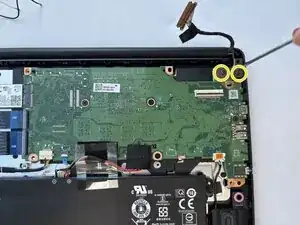
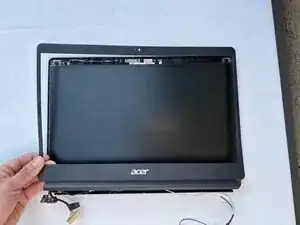
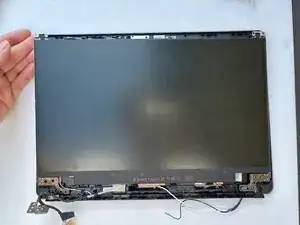
Use a Phillips #00 screwdriver to remove the 3 mm screws securing the each hinge set to the chassis. Remove the display assembly.
-
-
-
Use a Phillips #00 screwdriver to remove the 3 mm screws holding the hinge set to the display assembly.
-
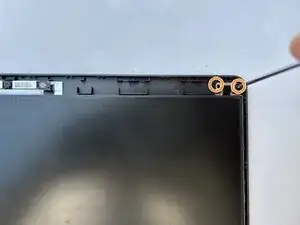
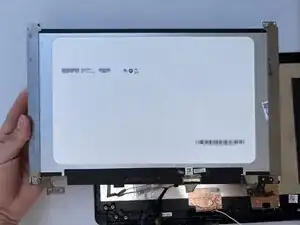
Use a Phillips #00 screwdriver to remove the 2.5 mm screws holding the screen in place.
-
-
-
Turn the screen around and remove a hinge set from each side.
-
Put the new hinge set in place and press down.
-


To reassemble your device, follow the instructions one through five in reverse order.