
Introduction
Step-by-step instructions on how to remove a hard drive from an Acer Aspire One D270 computer.
-
-
Find a clean and flat surface to work on. Turn off the system by pressing and holding the power button.
-
Disconnect power cord and network cable by gripping the plug and pulling straight from the socket.
-
-
-
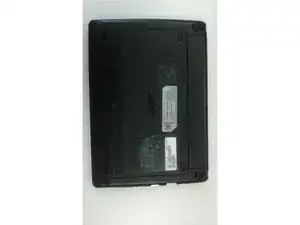
To remove the battery, turn the system with the top down and the battery facing up and away from you.
-
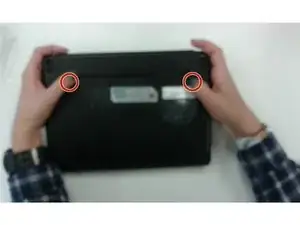
Slide the battery lock/unlock button to unlock, by pressing down on the tabs and sliding the lock outwards.
-
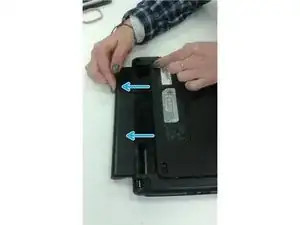
Push the battery release button and slide the battery out and off the system.
-
-
-
To remove the keyboard, turn the system right side up.
-
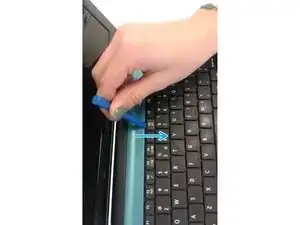
Unlock the latch above the F8 key at the top of the keyboard by prying up towards you with a plastic opening tool. Continue along the top of the keyboard and unlock the remaining 4 latches.
-
Lift the keyboard out from the top, until you can see the keyboard FPC (Flexible Printed Circuit) cable.
-
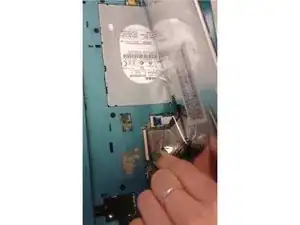
Carefully pull out the keyboard cable. Note: If you are not sure you will be able to get the cable back in the correct way, mark the cable and the socket with a sharpie.
-
Set the keyboard down in a clean flat space.
-
-
-
To remove the base cover, remove all the screws from under keyboard using a J1 Phillips head screwdriver. There are 13 screws.
-
Flip the system over.
-
Press down on the tab labeled door release until it releases. The tab is located on the lower right side of the system.
-
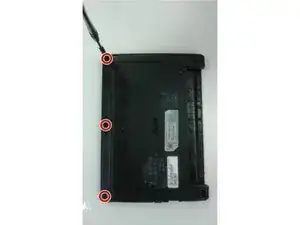
Remove the base cover by removing the three screw opposite of the battery side.
-
-
-
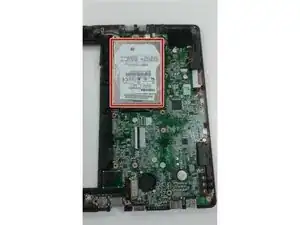
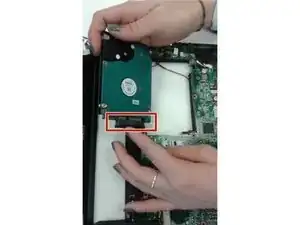
Flip the device back over and then locate the hard drive. It is the large silver rectangular piece with a label on it.
-
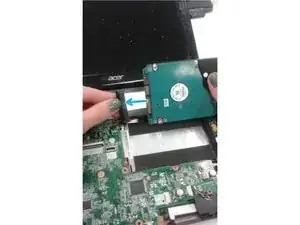
Pull the hard drive up from the end opposite the FPC cable and out to the right.
-
Disconnect the hard drive FPC cable from the mainboard.
-
Place the hard drive on a clean, dry, flat surface.
-

To reassemble your device, follow these instructions in reverse order.
5 comments
Am I able to access the CMOS (the small battery that deals with BIOS stuff) with this method?
Fantastic. Worked perfectly.
Works great.