Introduction
If your Acer Aspire E5-571P-55TL is taking excessively long periods of time to open or run programs, your hard drive may need to be replaced. The hard drive is a physical disk that is constantly read from and written on, which leads to wear-and-tear over time. To see more common issues which may require hard drive removal, see our Acer E5-571P-55TL troubleshooting guide.
This guide will explain how to replace the hard drive for the Acer E5-571P-55TL. Before performing actions in this guide be sure to power off your laptop and remove the power adapter.
-
-
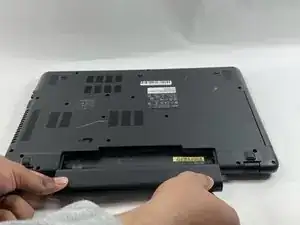
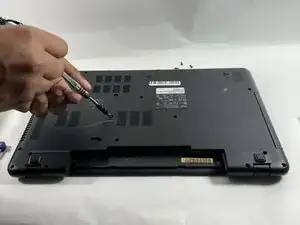
Place the Spudger into the battery lock and slide it to the left until you hear the battery unlock.
-
-
-
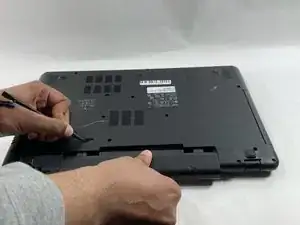
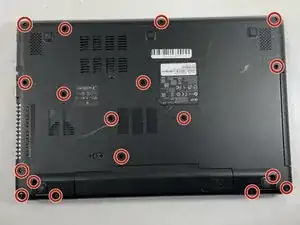
Using a Phillips #0 screwdriver, remove each of the eighteen 8 mm screws from the bottom of the laptop.
-
-
-
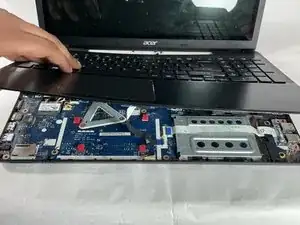
Carefully place your fingers underneath the top of the keyboard just below the screen.
-
Pull upwards until you can hear the keyboard click out of place.
-
Continue around the entire laptop, carefully pulling the keyboard and palm rest assembly slightly from the frame to reveal the ribbon connectors.
-
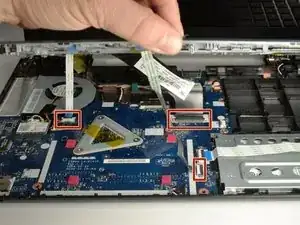
After the keyboard is detached, unplug each of the three ribbon cables and remove the keyboard and palm rest assembly.
-
-
-
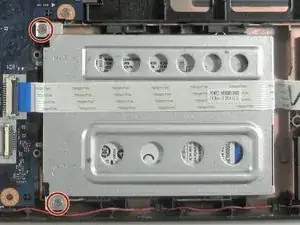
Using a Phillips #0 screwdriver, remove the two 8 mm screws holding the hard drive carriage in place.
-
-
-
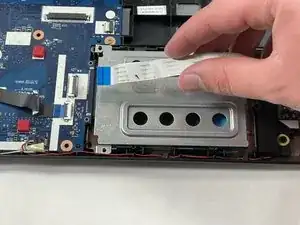
Carefully unplug the ribbon cable running across the hard drive carriage and place it to the side.
-
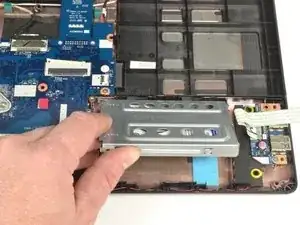
Remove the hard drive by sliding it to your right, away from the motherboard, next pull the hard drive towards yourself and away from the laptop.
-
-
-
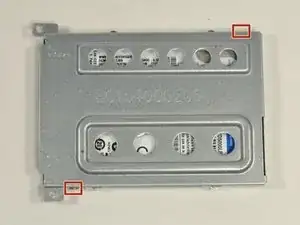
Once again using a Phillips #0 screwdriver, remove the two 3 mm screws highlighted on each side of the hard drive case.
-
Open the hard drive case to replace the hard drive.
-


To reassemble your device, follow these instructions in reverse order.