
Introduction
This is a guide that shows you how to replace the fan for a ASUS X552LAV-BBI5N08 laptop.
-
-
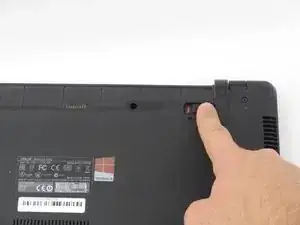
Slide the right button to the left.
-
Hold the left button to the right.
-
While you hold the left button in position, slide the battery out by pushing it away from you.
-
-
-
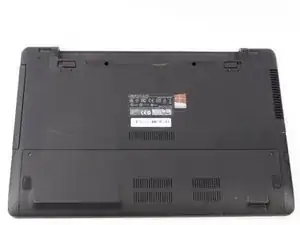
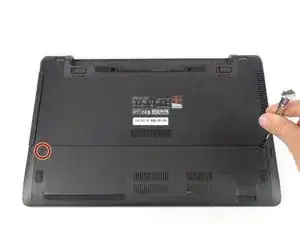
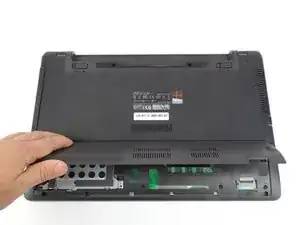
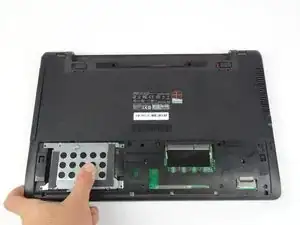
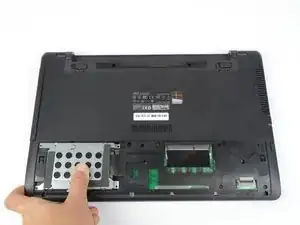
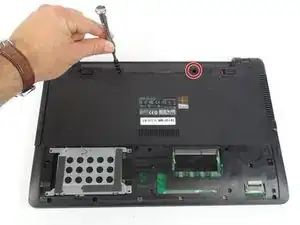
Locate the bottom panel. It is at the opposite end of the battery.
-
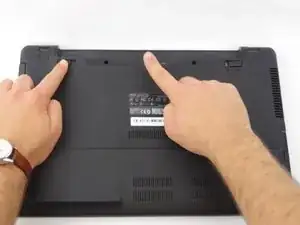
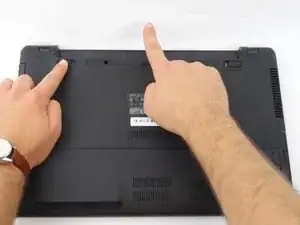
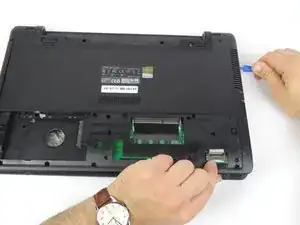
Remove the two 12mm screws at the bottom panel with a Tri-wing Y1 screwdriver.
-
-
-
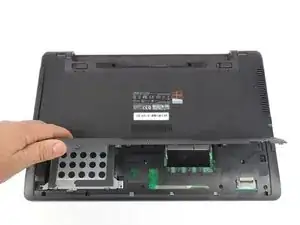
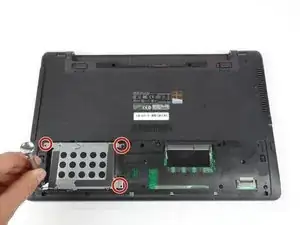
Remove the four 5.5mm screws located on the hard drive case using a Tri-wing Y1 screwdriver.
-
Slide the hard drive out to the left.
-
-
-
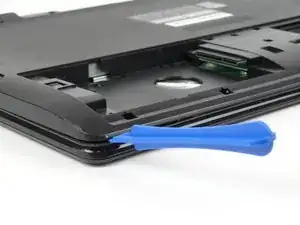
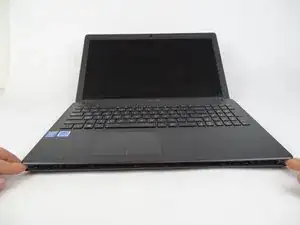
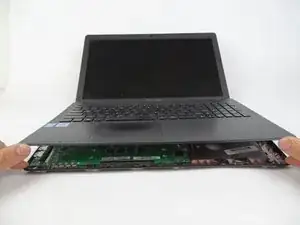
Use opening tool to split keyboard from base of the laptop.
-
Make sure to start from one end and go around the edges.
-
Use Tri-wing Y1 screwdriver to remove two 12mm screws from battery area.
-
-
-
Flip up the small locking flap for the two ZIF connectors.
-
Unplug connectors that are keeping keyboard connected
-
-
-
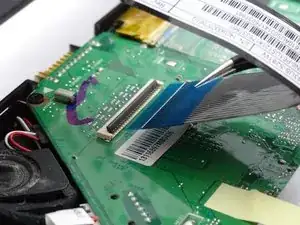
Flip up the locking flap for the ZIF connector.
-
Unplug the connector that is keeping the keyboard connected.
-
-
-
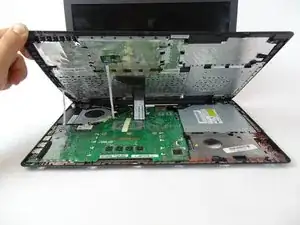
Remove keyboard from laptop.
-
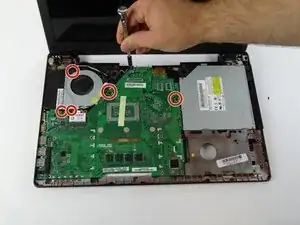
Remove the five 4mm screws (with a Tri-wing Y1 screwdriver) that are both connecting the fan and motherboard.
-
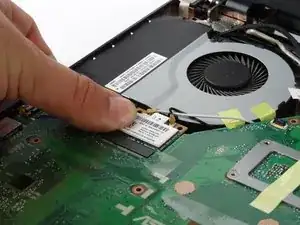
Pull out WiFi from below the cooling fan by lifting the edge nearest to the fan and sliding it towards the fan.
-
-
-
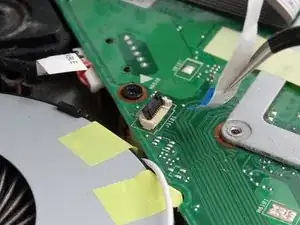
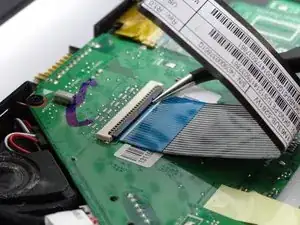
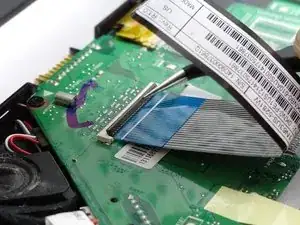
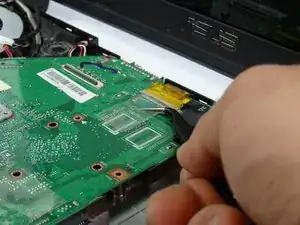
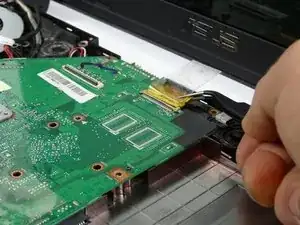
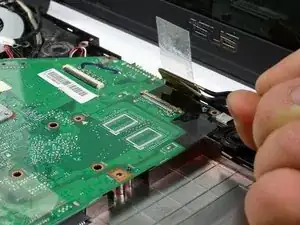
Lift yellow ZIF connector from the top of the motherboard to remove the connector.
-
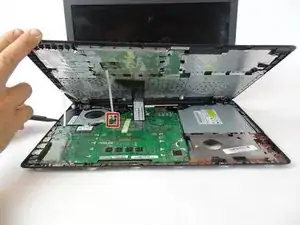
Lift up motherboard from bottom edge towards the screen.
-
-
-
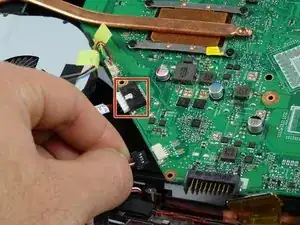
Unplug the two bundled cable connector from pin sockets below the fan.
-
Remove the motherboard and place on a flat surface.
-
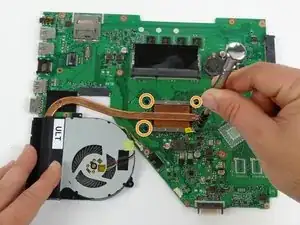
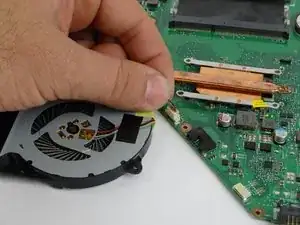
Remove four 4mm screws with a Tri-wing Y1 screwdriver from the CPU.
-
-
-
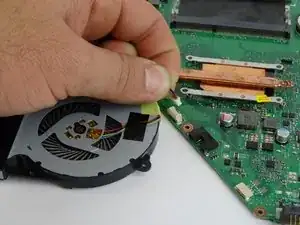
Disconnect bundled cable connector from the motherboard
-
Remove fan part from the motherboard.
-
-
-
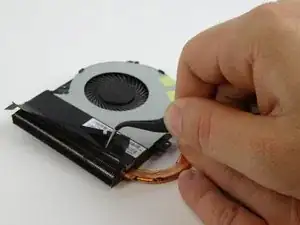
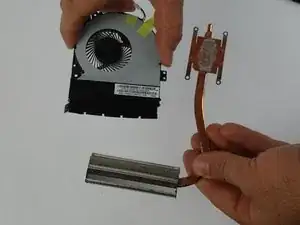
Remove the black tape from the top of the fan radiator.
-
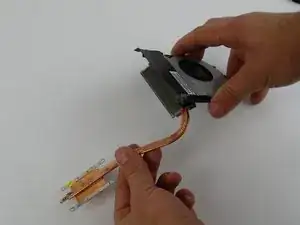
Remove radiator by tilting it down and pulling it out from the fan.
-


To reassemble your device, follow these instructions in reverse order.