Introduction
Parts
-
-
Lay the Chromebook flat.
-
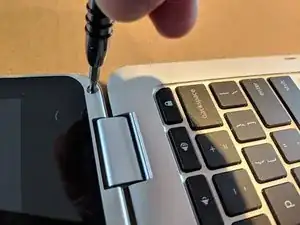
Remove the two screws at the bottom of the display bezel.
-
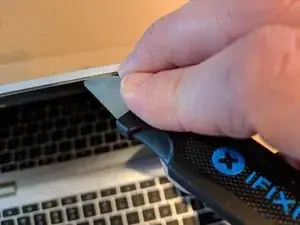
Using the Jimmy or a plastic opening tool, gently pry open the top and side edges of the display cover.
-
-
-
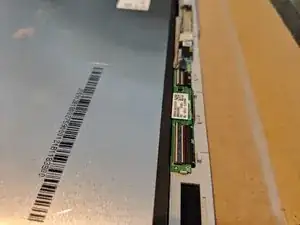
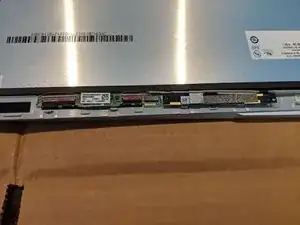
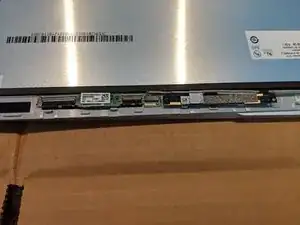
To remove the thin cables for the digitizer, you must first open the fastener by flipping the off-white plastic edge closest to the LCD towards the outside edge of the frame.
-
Once the fasteners have been opened, use two spudgers to remove each cable by unfolding and dragging them back towards the outside edge of the frame.
-
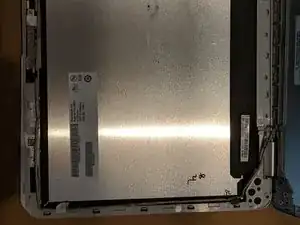
To release circuit board, use a spudger tool to pry the gray clip back. Gently pull up on the left edge of the circuit board.
-
The right edge of the circuit board is glued down. Using a spudger, pry up on the right edge to free it from the frame display.
-
-
-
Use the Angled Tweezer to gently remove the brown wire from the channel. This wire travels from the hinge around the bottom edge and connects to the digitizer and webcam.
-
-
-
Follow the previous steps to replace the display just as you've removed it. Take care to ensure the LCD and Digitizer/Webcam cables are properly seated in the channels before sealing the lid.
-
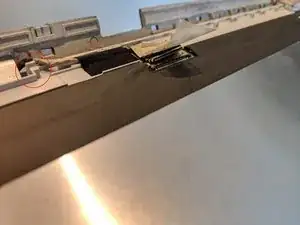
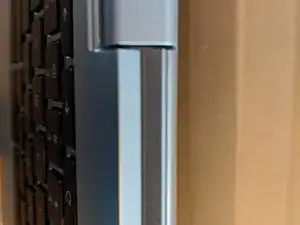
When the laptop lid is sealed, the hinge edge will lay uniformly flat.
-

To reassemble your device, follow these instructions in reverse order.

One comment
Thanks, took a bit of searching to actually find a replacement screen! eventually got one sent from china via eBay, this guide was invaluable , thank you so much.
Kev in -