Introduction
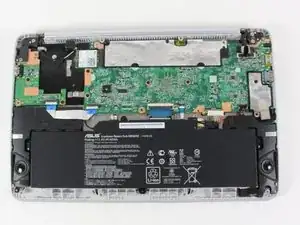
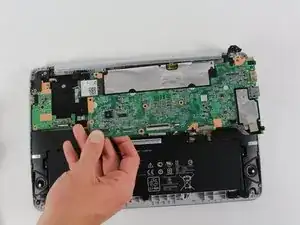
This guide will take you through a step-by-step process for the removal of your Chromebook’s motherboard.
Tools
-
-
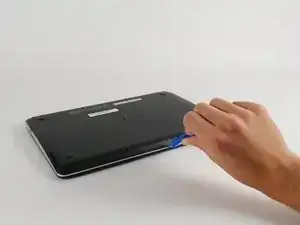
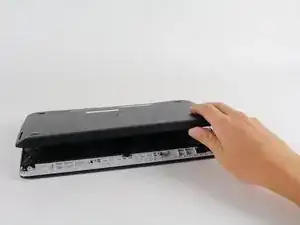
Use the plastic opening tool to gently work around the edge of the Chromebook until the back panel starts to lift off.
-
-
-
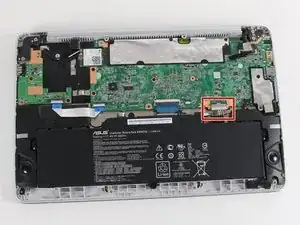
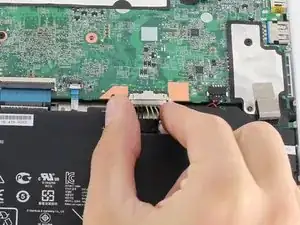
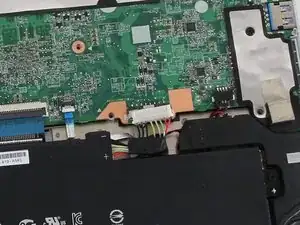
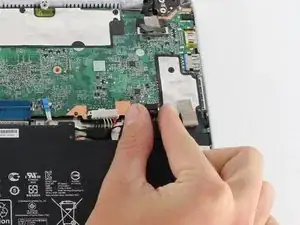
To disconnect the battery, pinch the multi-color bundle cable with your thumb and forefinger and pull directly back.
-
-
-
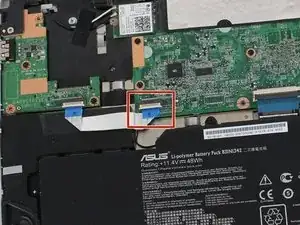
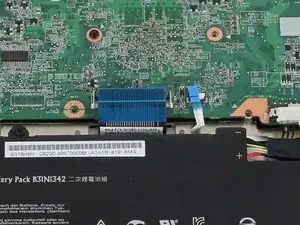
Disconnect the USB board ZIF (zero insertion force) connector located towards the bottom left of the motherboard.
-
Flip the ZIF connector retaining flap up using either a spudger or your fingers.
-
Pull gently on the ribbon cable to disconnect it from the motherboard.
-
-
-
Disconnect the large keyboard and small touchpad ZIF connectors, both located in the middle of the bottom edge of the motherboard.
-
Flip both ZIF retaining flaps up using either a spudger or your fingers.
-
Gently pull on each ribbon cable to disconnect them from the motherboard.
-
-
-
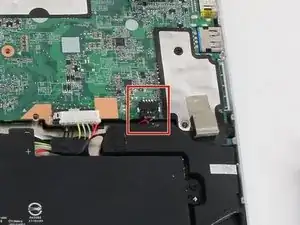
Disconnect the speaker's black bundled cable connector (the cable is white, black and red).
-
Pinch the black bundled cable connector between your thumb and pointer finger and pull.
-
-
-
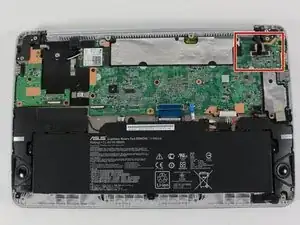
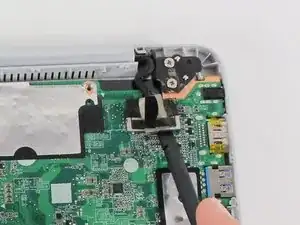
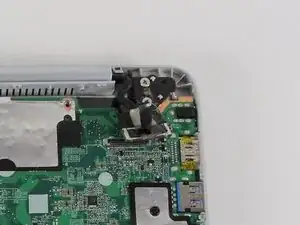
Disconnect the screen cable connector located towards the top right of the motherboard.
-
Using a spudger, gently pry up the sides of the connector.
-
Pull off the connector with your hands.
-
-
-
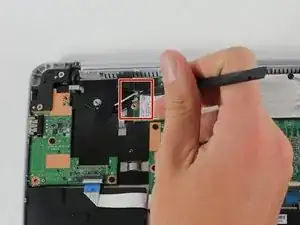
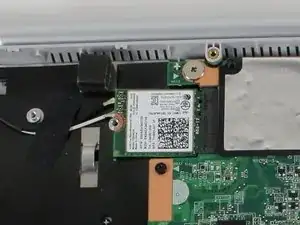
Disconnect the black and white antenna cable connectors for the WiFi card. The connectors look like small buttons on the ends of colored wires.
-
Gently pry the cable connectors off with your fingers or a spudger.
-
-
-
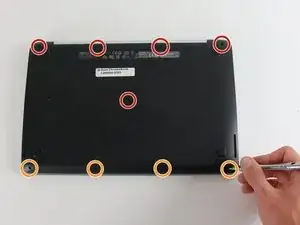
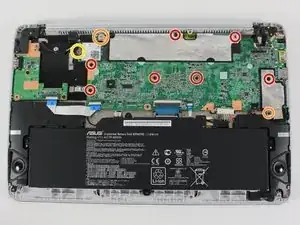
Remove the eight Phillips #0 4.7 mm screws.
-
Remove the Phillips #0 3.7 mm screw.
-
Remove the Phillips #0 2.8 mm screw.
-
To reassemble your device, follow these instructions in reverse order.
